Most homeowners think about accessibility only after something goes wrong - a fall on the basement stairs, a hip replacement, a parent who can no longer manage the front steps. By that point the options are narrow and expensive, and the work has to happen under pressure. The better approach is to build accessibility into renovations you were already planning, when walls are open, floors are up, and the incremental cost is a fraction of what a retrofit would run.
That shift in timing is where a knowledgeable contractor earns their fee. Barrier-free work touches structure, plumbing, electrical, and finishes at the same time, and small dimensional mistakes - a doorway framed two inches too narrow, blocking installed at the wrong height - are the kind of thing you only discover once the drywall is closed. Working with a general contractor experienced in this type of project, such as House Renovations, which handles full-service renovations across Mississauga, Toronto and the Greater Toronto Area, keeps the accessibility requirements coordinated with everything else happening on site rather than treated as an afterthought.
Two things collide here. The region's population is aging quickly, and a large share of its housing stock was never designed for anyone with limited mobility. Postwar bungalows in Mississauga, Etobicoke and Scarborough sit three or four risers above grade with a tight interior stair to the basement. Two-storey homes from the 1970s onward put all the bedrooms upstairs and the only full bathroom with them. Narrow 30-inch doors, 800-millimetre hallways, and high tubs are the norm.
The result is that a homeowner who wants to stay put after a mobility change usually cannot, not because the house is too small, but because a handful of dimensions are wrong.
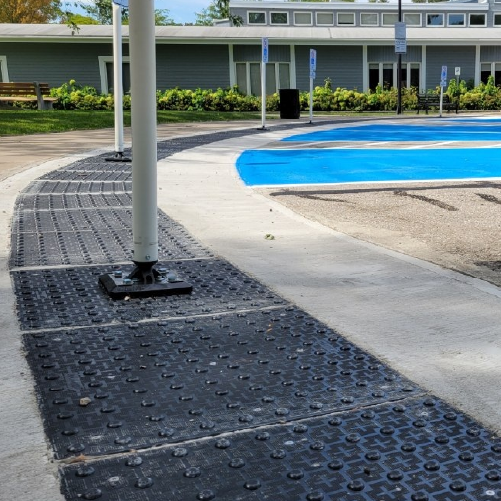
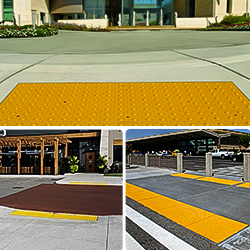
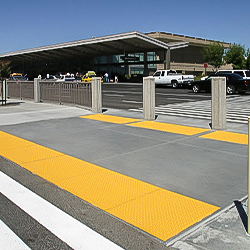
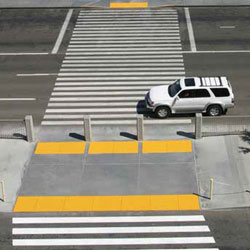
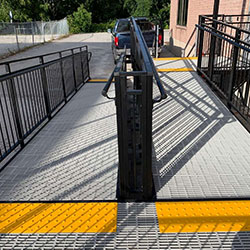
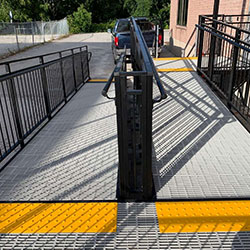
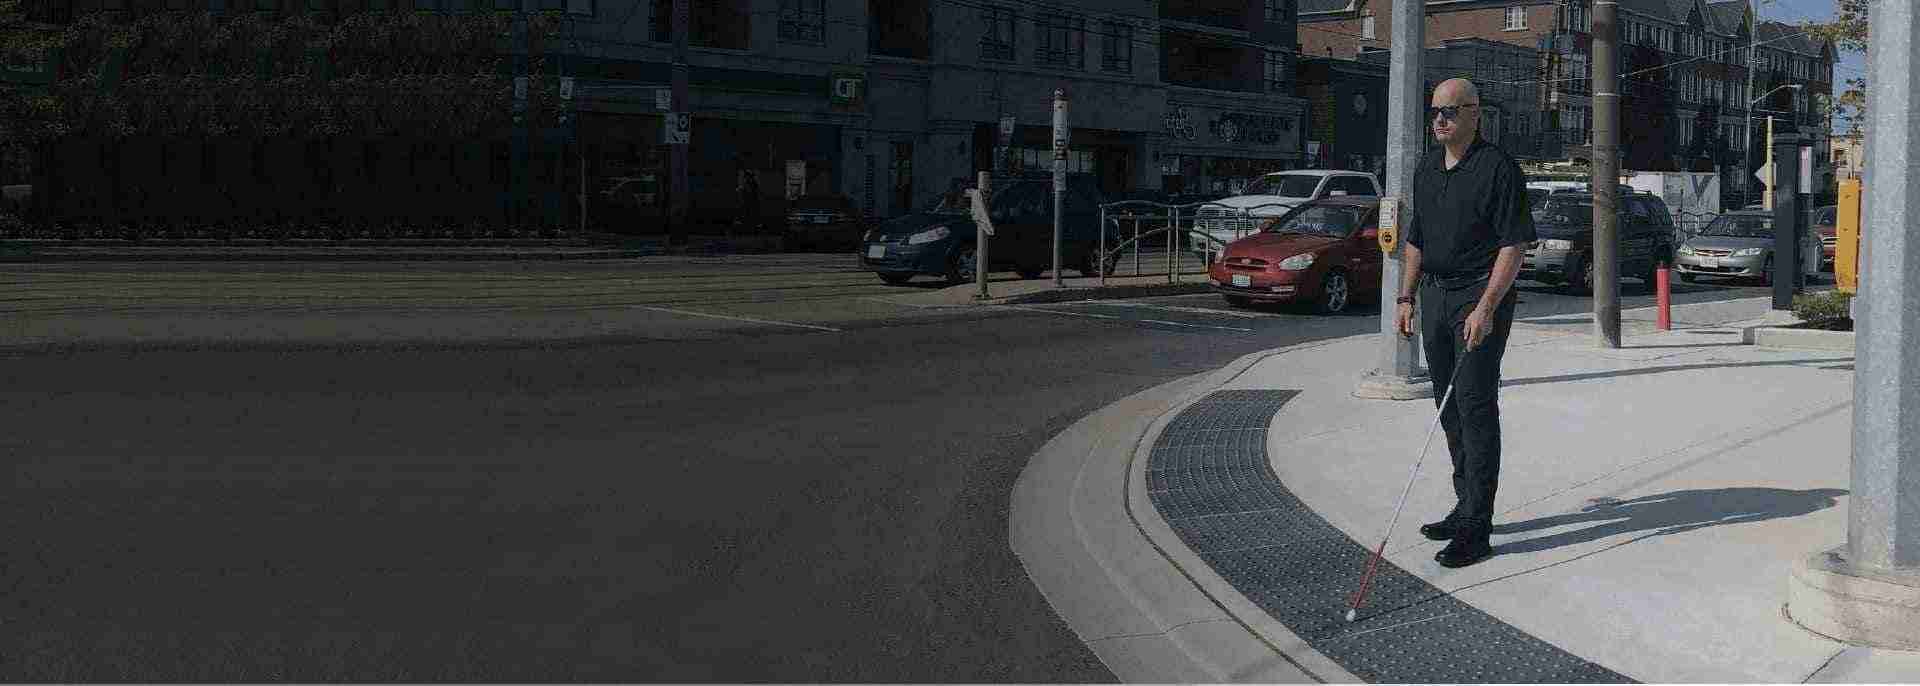
Access begins where the car stops. A walkway that's 900 millimetres wide with a heaved slab and no handrail is a barrier regardless of how good the interior renovation is.
Priorities in order:
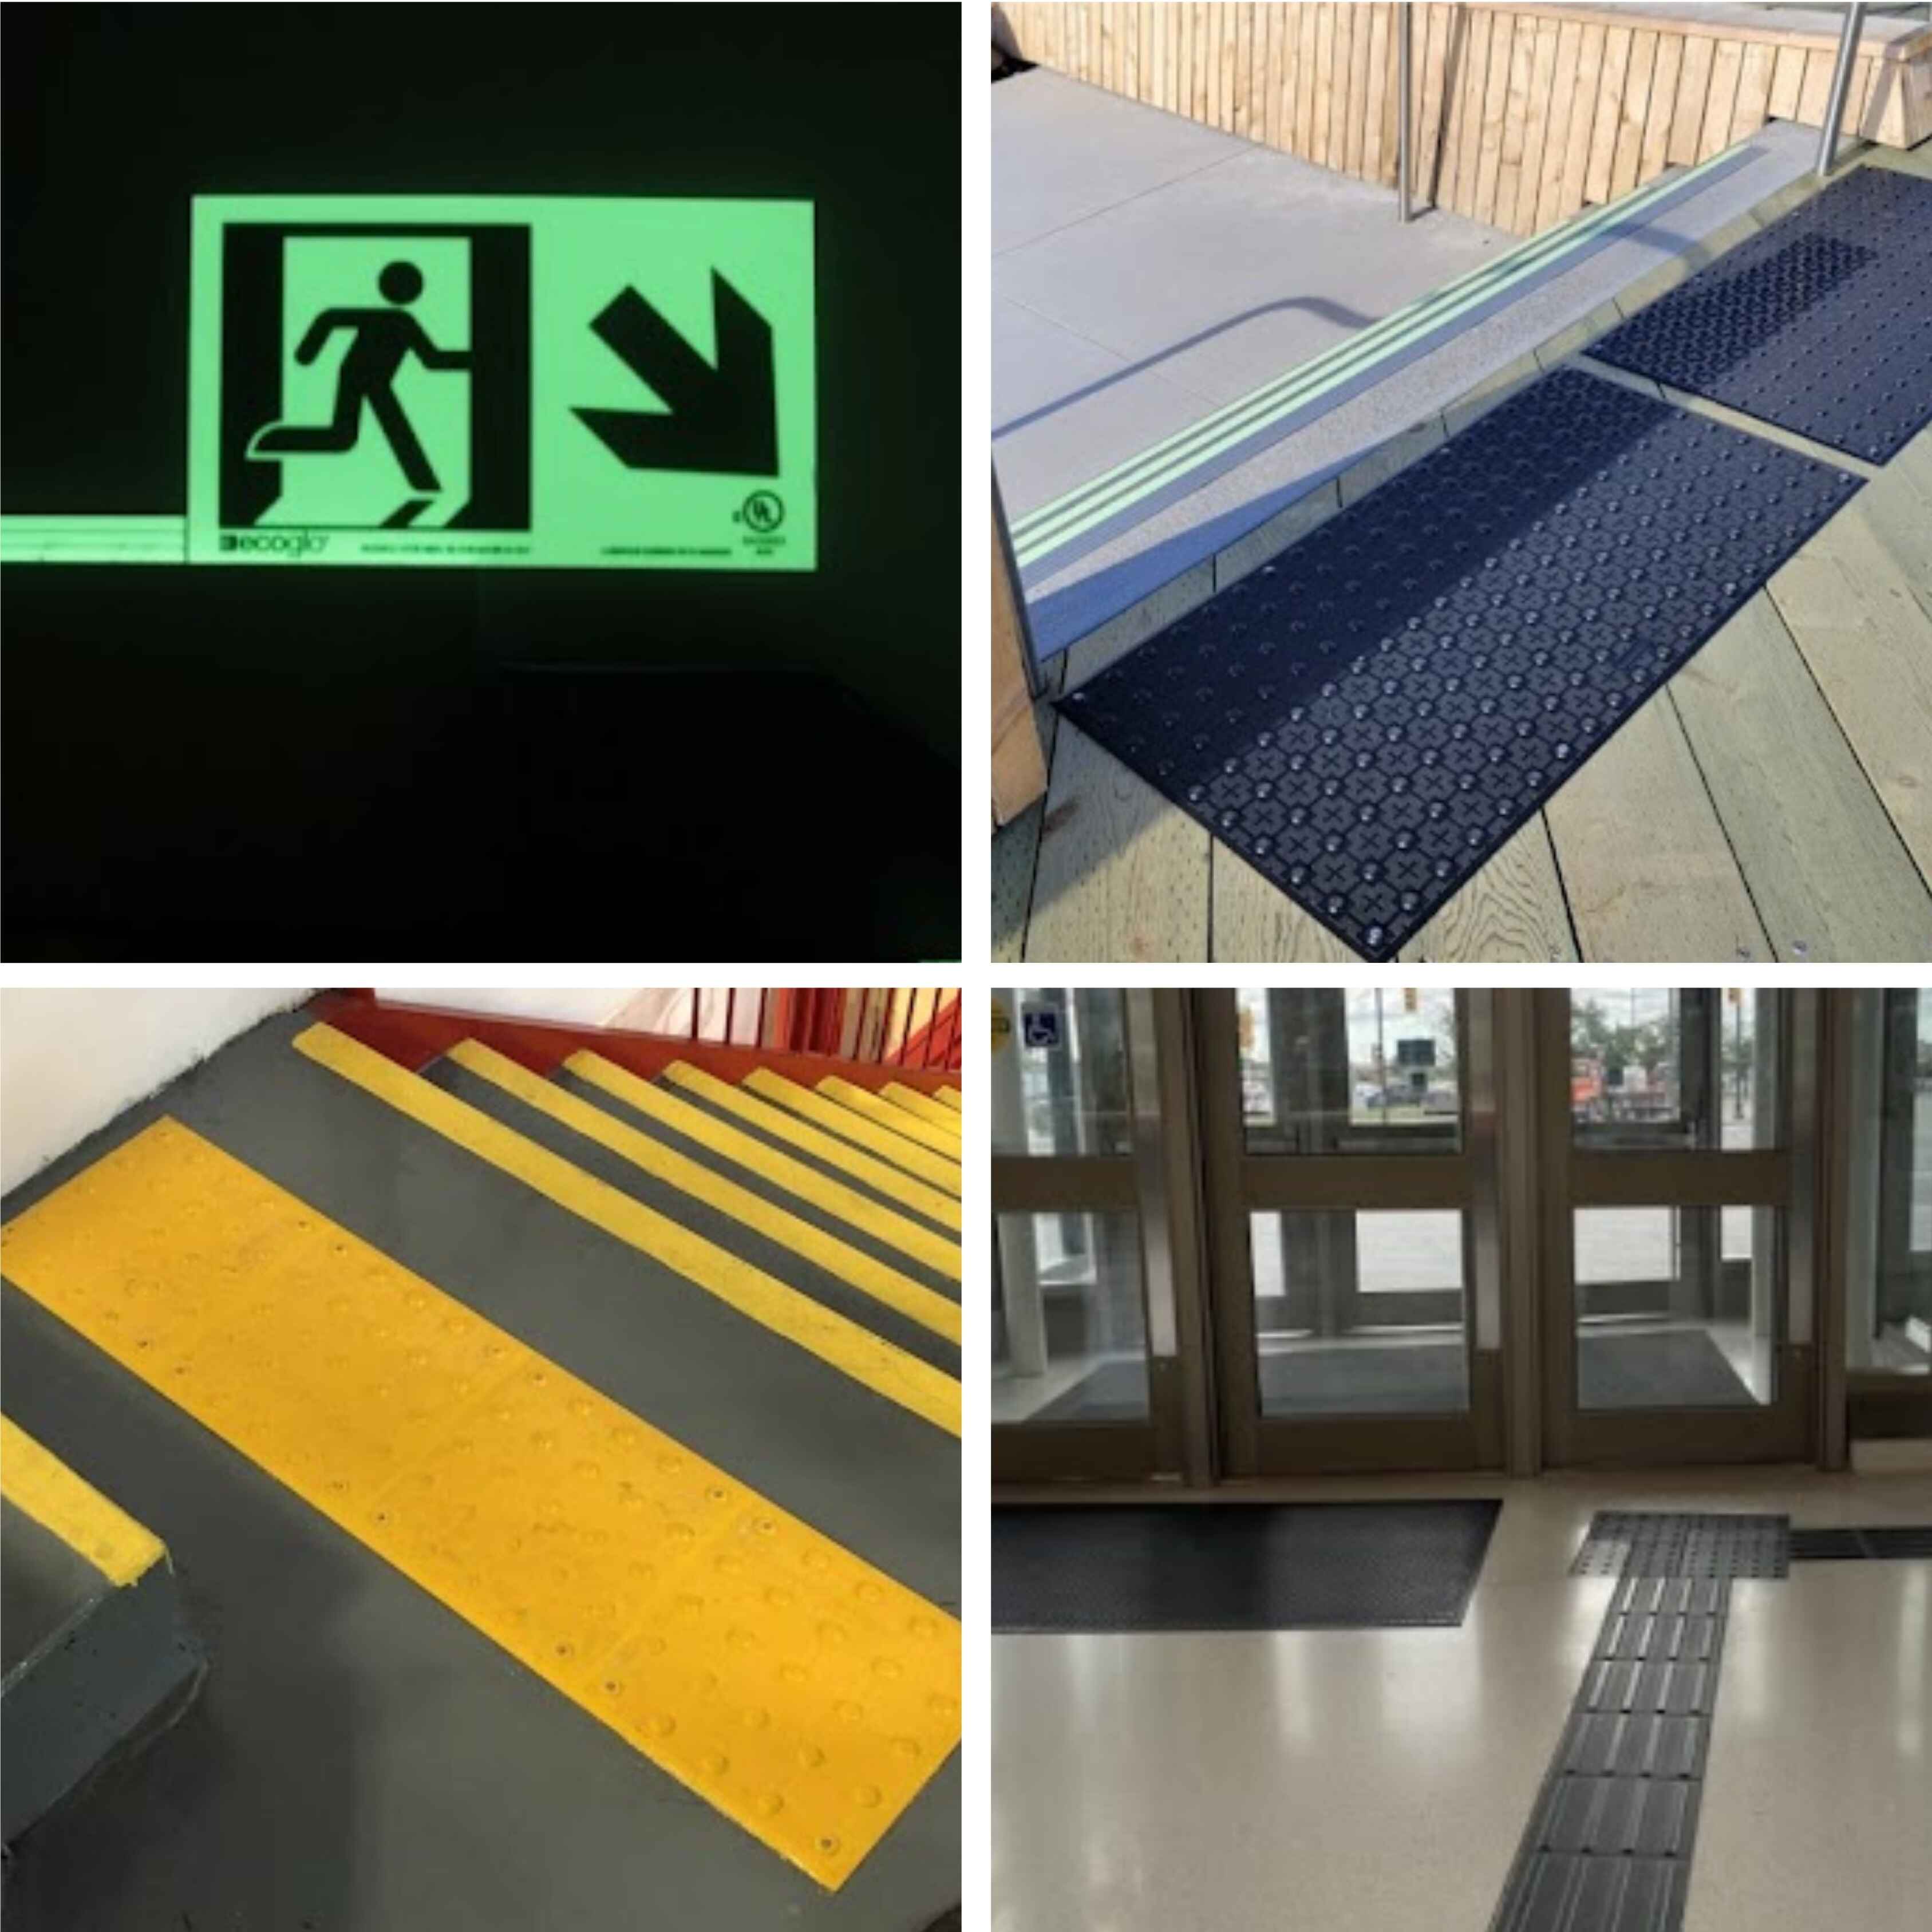
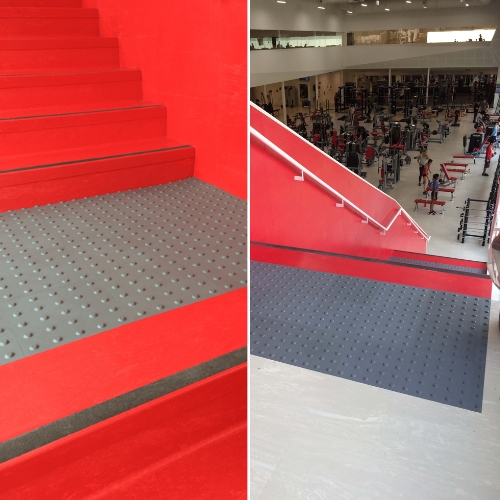
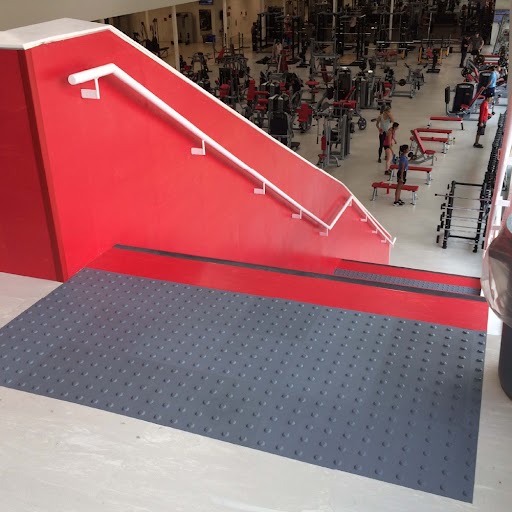
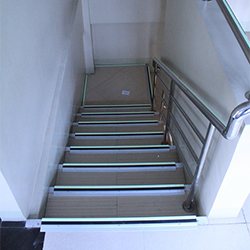
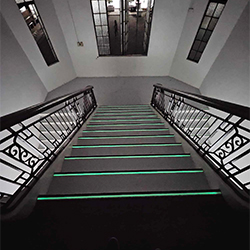
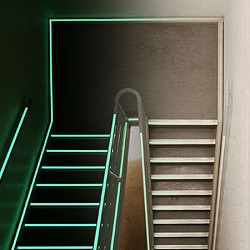
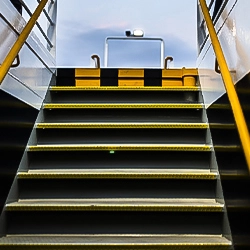
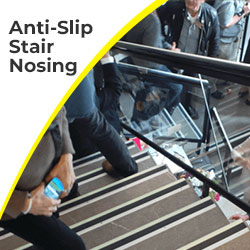
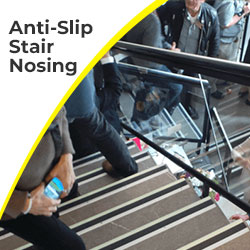
If you only address one thing, address the stairs. Falls on stairs account for a disproportionate share of serious injuries in Canadian homes, and the contributing factors are almost always the same: poor lighting, inconsistent riser heights, a handrail on one side only, and - critically - treads whose edges you cannot see.
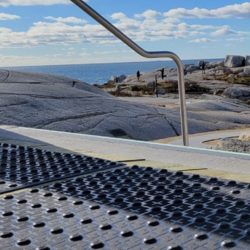
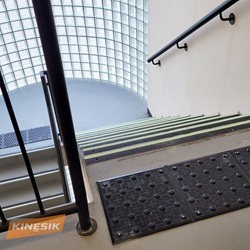
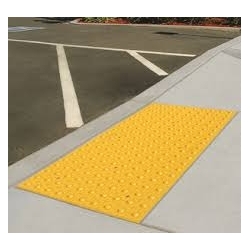
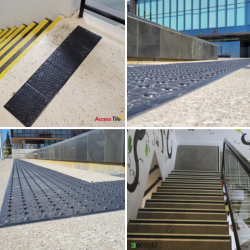
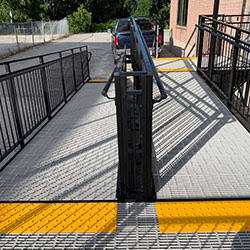
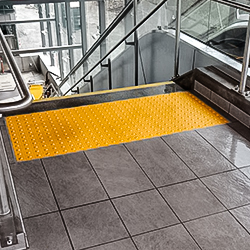
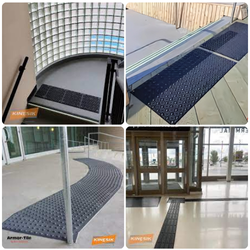
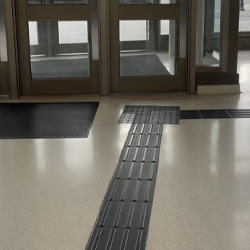
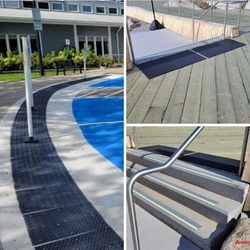
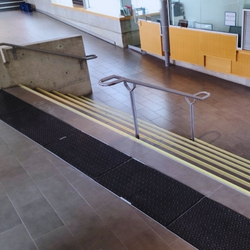
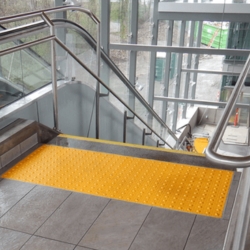
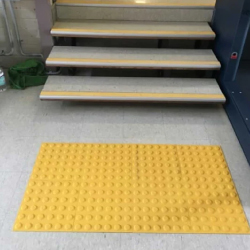
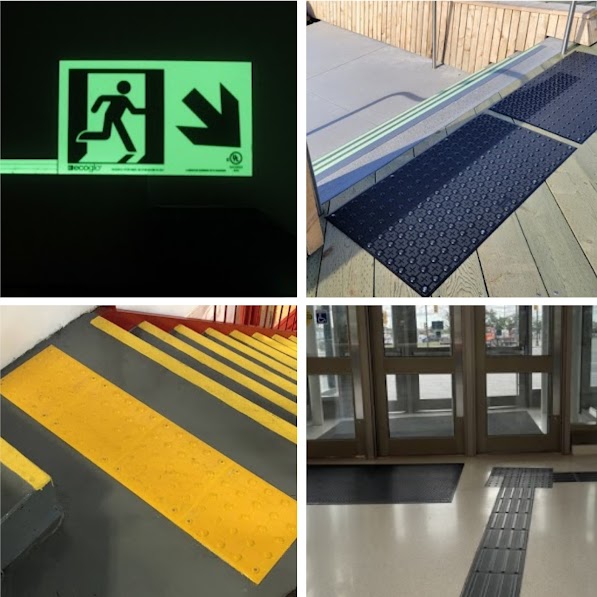
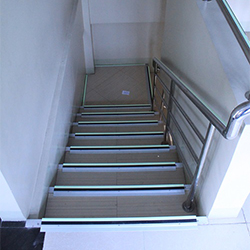
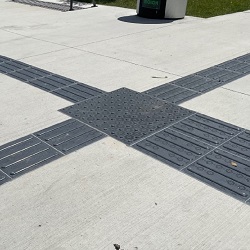
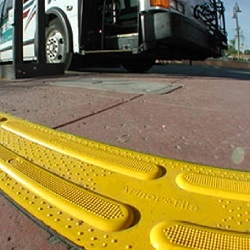
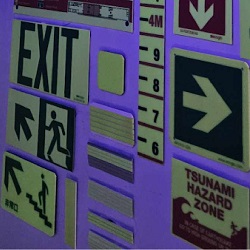
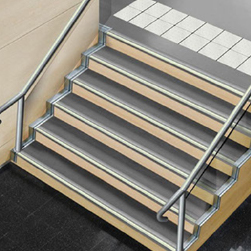
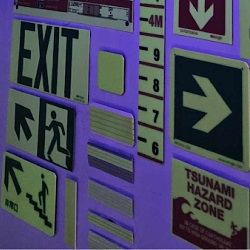
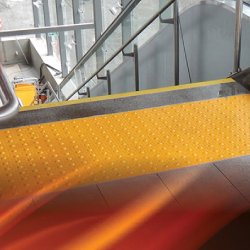
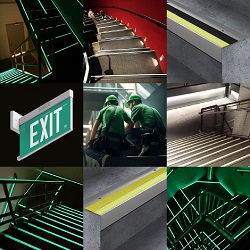
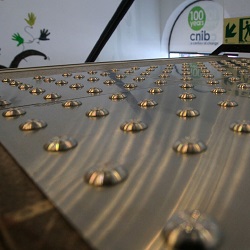
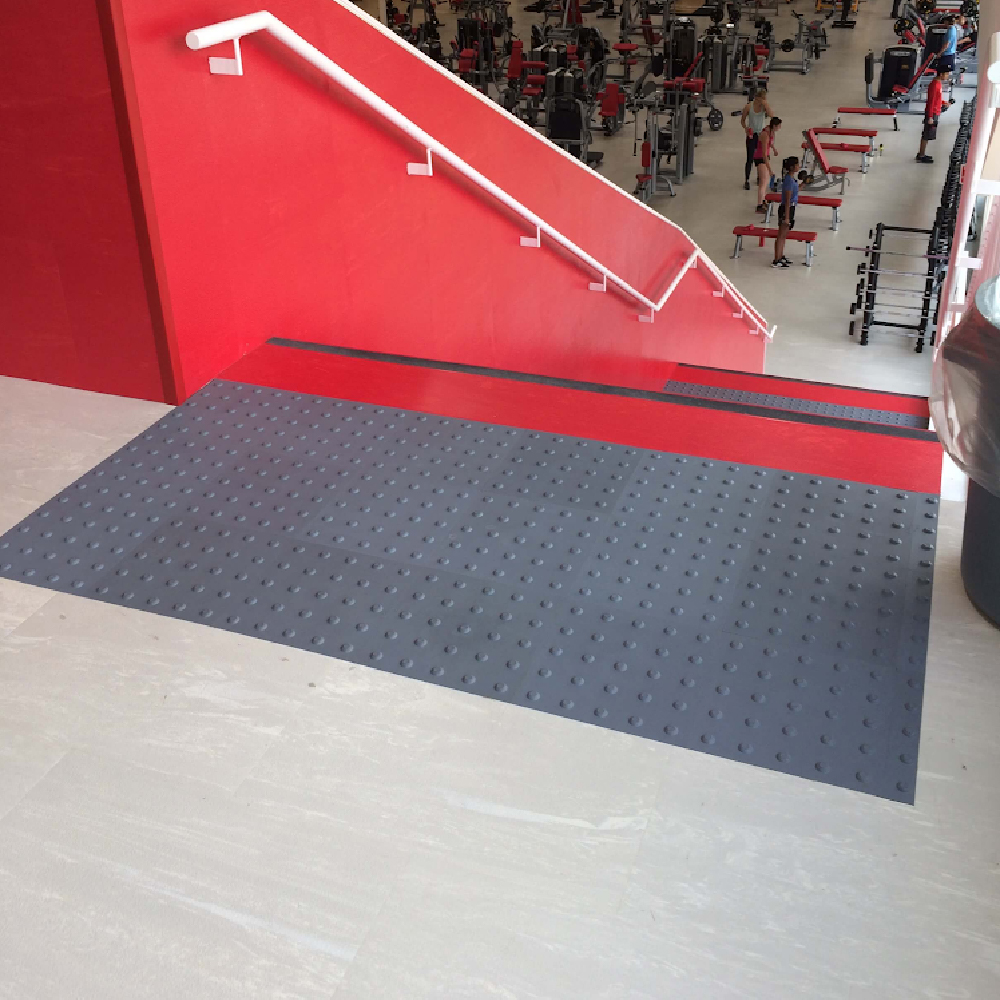
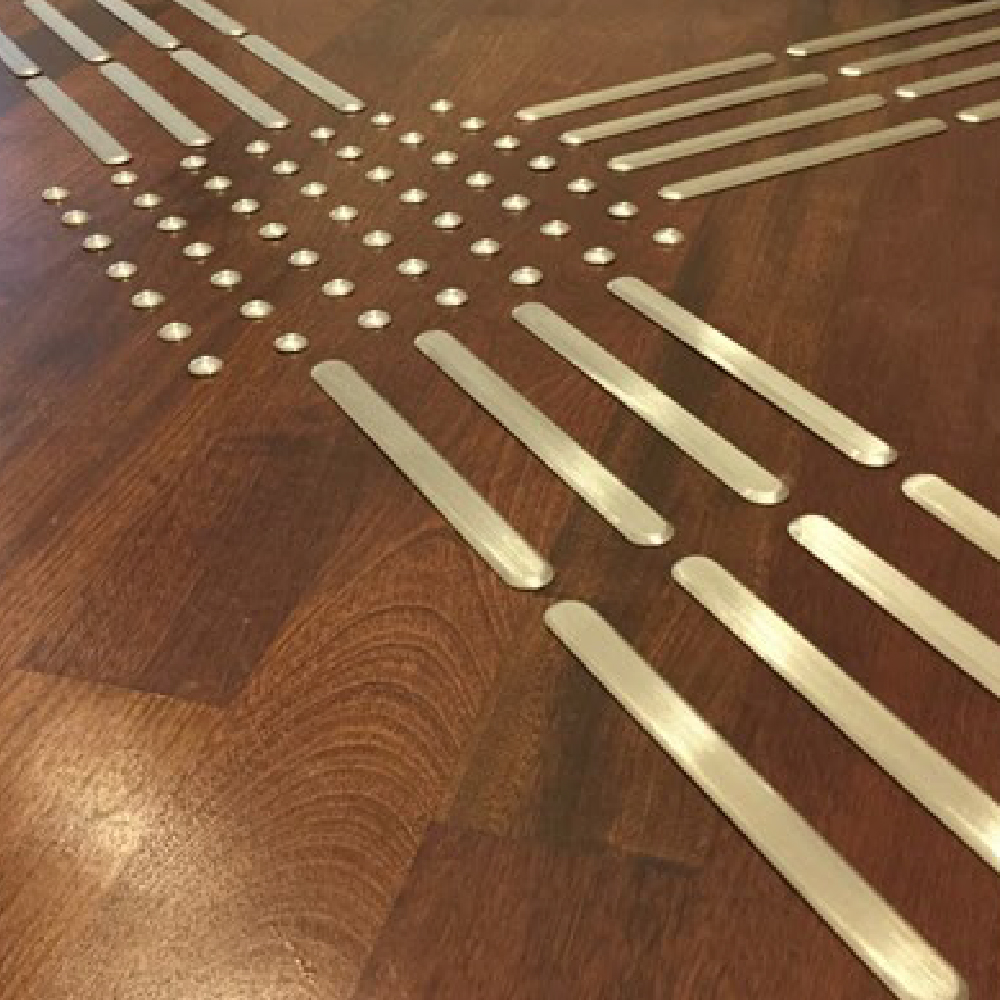
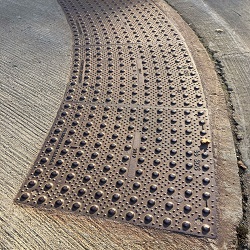
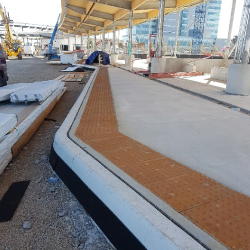
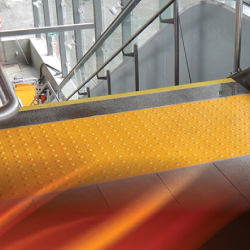
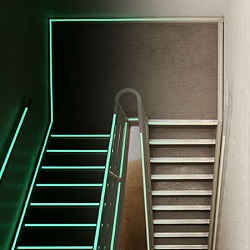
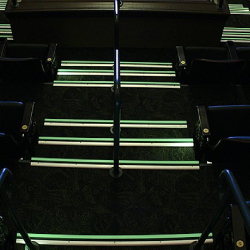
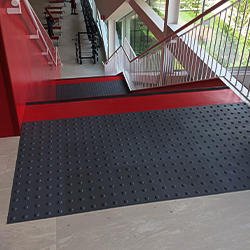
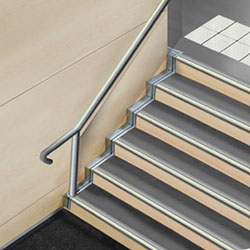
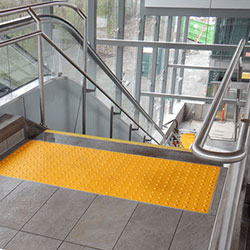
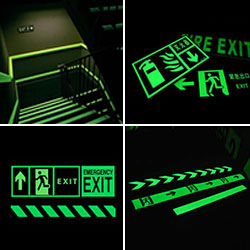
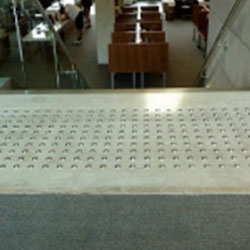
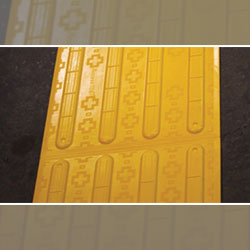
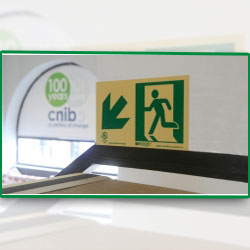
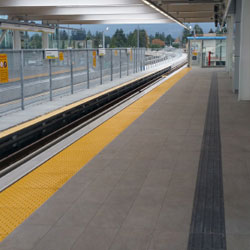
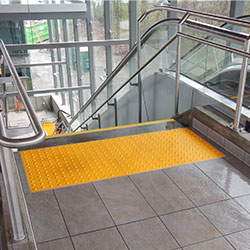
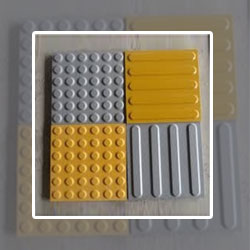
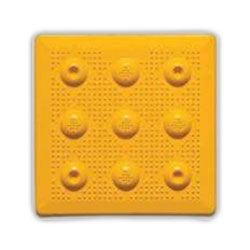
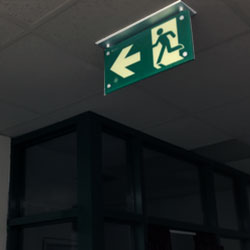
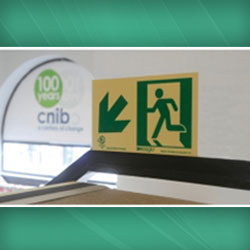
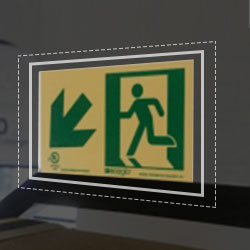
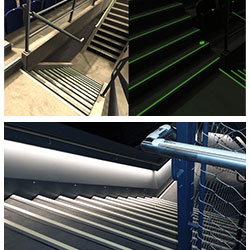
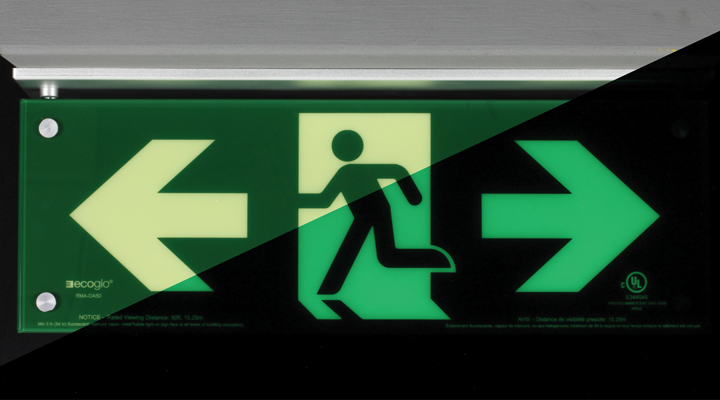
That last point gets overlooked. A person with reduced contrast sensitivity, which is extremely common after 60 and near-universal with cataracts, may not be able to distinguish where one tread ends and the next begins, particularly on a carpeted or uniformly dark stair. The fix is visual contrast at the nosing: a strip along the leading edge of each tread that contrasts sharply in luminance with the tread surface. In commercial and institutional buildings this is a code requirement met with contrast-marked or photoluminescent stair nosing. In a private home it isn't mandated, but the reasoning applies identically, and the products are the same ones specified for public buildings.
Alongside that:
The bathroom is the most expensive room to retrofit and the easiest to future-proof cheaply during a planned renovation.
Do now, even if you don't need it yet:
Kitchen accessibility is mostly about reach and variation. A single continuous counter at one height serves standing users only; including one lowered work surface around 760–815 millimetres makes seated food prep possible. Drawer-based lower cabinets beat door-and-shelf cabinets by a wide margin for anyone who can't crouch. Pull-out shelving, D-pull handles instead of knobs, and a side-opening wall oven all help.
For circulation, the numbers worth designing to:
| Element | Minimum | Better |
|---|---|---|
| Clear door opening | 810 mm (32") | 865–915 mm (34–36") |
| Hallway width | 915 mm (36") | 1065–1220 mm (42–48") |
| Turning space | 1500 mm circle | 1500 mm plus clear approach |
| Switch height | 900–1100 mm | Rocker or motion-sensing |
| Outlet height | 455 mm minimum | 455–1200 mm range |
Widening a door from 30 to 36 inches during a renovation is inexpensive. Doing it afterward means new framing, new trim, patched flooring, and possibly relocated electrical.
This is a common point of confusion, so it's worth being precise. The Accessibility for Ontarians with Disabilities Act and the barrier-free provisions in Section 3.8 of the Ontario Building Code govern public spaces and many multi-unit and commercial buildings. They do not apply to renovations inside a private single-family home. Nobody is going to require a curbless shower in your ensuite.
What that means practically: the standards exist as best practice rather than obligation, and CSA B651 is the reference most designers work from. But you still need permits. Structural changes, new or relocated plumbing, secondary suites, and exterior ramps or lifts generally require a building permit from Mississauga, Toronto or your local municipality, and secondary units carry their own zoning and fire-separation requirements. Toronto's garden suite framework, adopted in 2022, opened up options that didn't previously exist, with its own set of rules on size, setbacks and access.
Confirm requirements with your municipal building department before design work gets far along.
Two federal programs are worth knowing about, both delivered through your tax return:
Tax rules and thresholds change. Verify the current figures and eligibility conditions on the CRA website or with an accountant before you budget around them, and keep every invoice with the scope of work described on it.
The practical takeaway is about timing rather than budget. If you are already renovating a bathroom, add the blocking. If you are already replacing the basement stairs, get the nosings, handrails and lighting right. If you are already opening a wall, widen the door. Each of these adds a small amount to a project that is happening anyway, and each one removes a future renovation from your life entirely.
Accessible design done this way doesn't read as institutional. Curbless showers, lever handles, better lighting, wider doorways and contrast-marked stairs are things most people prefer regardless of mobility - which is rather the point.