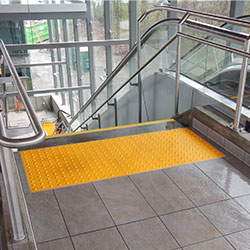
In a world of blurred edges, a raised bar underfoot becomes the clearest signpost.
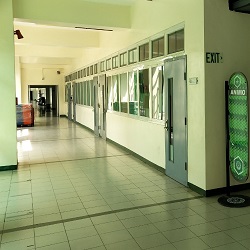
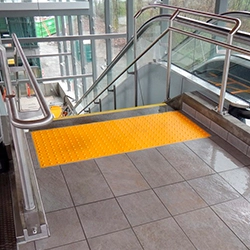
Let's think of Sarah, a Toronto teacher with retinitis pigmentosa, navigating a bustling hospital lobby. Echoes bounce off tiles, voices overlap, and her cane sweeps uncertainly. Then her foot catches a row of firm guidance or wayfinding bars, leading straight to the elevator bank. No hesitation, no help needed. That's the quiet power of smart indoor tactile wayfinding: turning confusion into confidence for over a million Canadians with vision loss. In high-traffic spots like medical centers, offices, and transit hubs, these Tactile Walking Surface Indicators (TWSIs) aren't extras, they're lifelines aligned with AODA, CSA B651, NBC, and provincial codes.
Canada is home to well over a million people living with vision impairments who often find large indoor spaces disorienting without tactile cues. Thoughtfully designed wayfinding is not just a nice-to-have; it is essential for dignity, independence, and safety in malls, hospitals, campuses, transit hubs, and office towers.
Legislation and standards such as the Accessibility for Ontarians with Disabilities Act (AODA), the National Building Code of Canada (NBC), CSA B651, and related provincial building codes all push facilities toward barrier‑free, navigable environments. When indoor wayfinding aligns with these codes, you are not simply “avoiding trouble”; you are building spaces where people can move confidently without constant assistance.
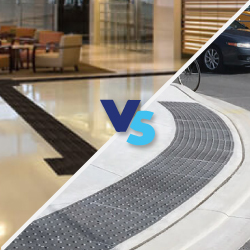
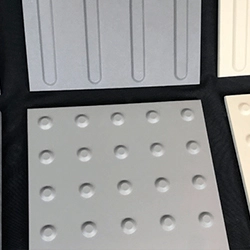
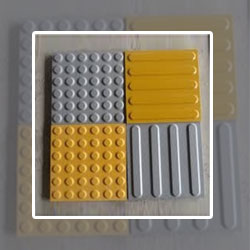
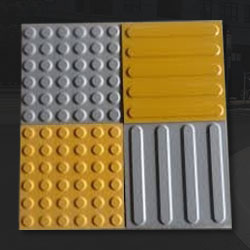
Before improving wayfinding, it helps to understand the two main types of Tactile Walking Surface Indicators (TWSIs) you’ll be working with.
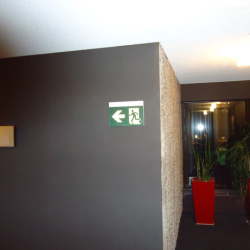
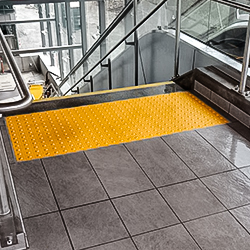
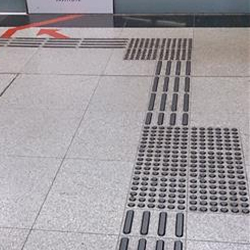
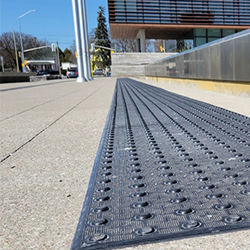
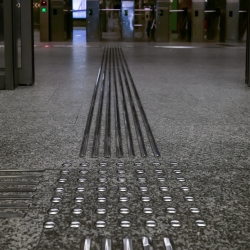
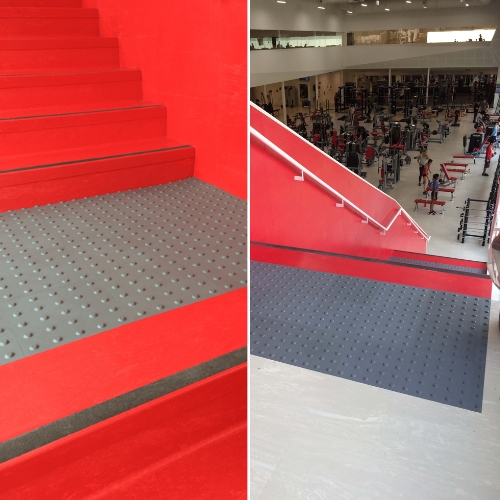
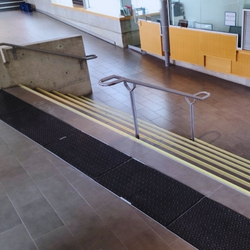
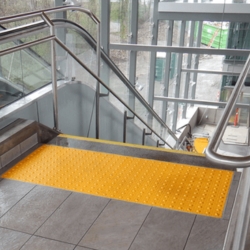
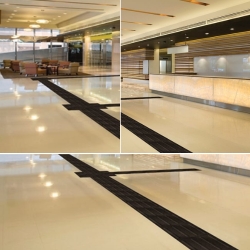
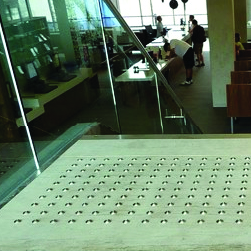
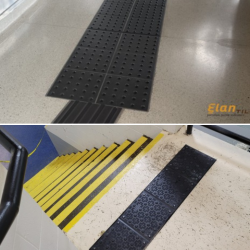
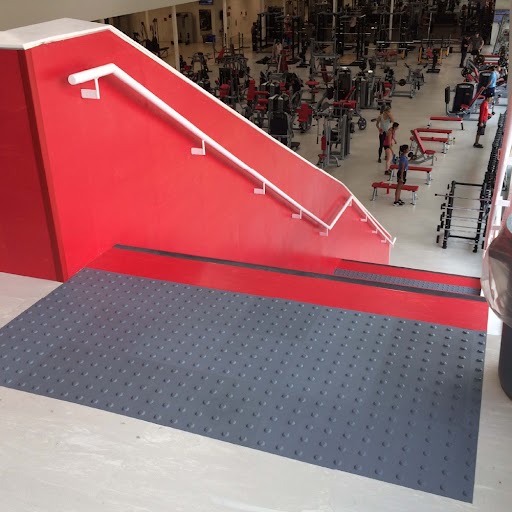
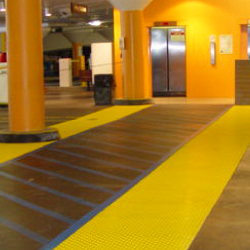
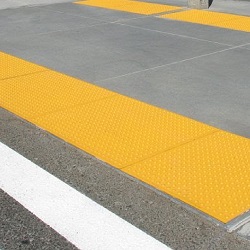
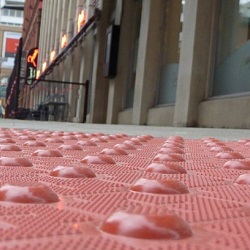
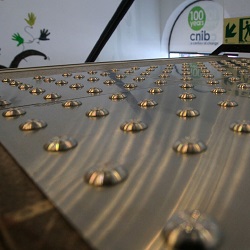
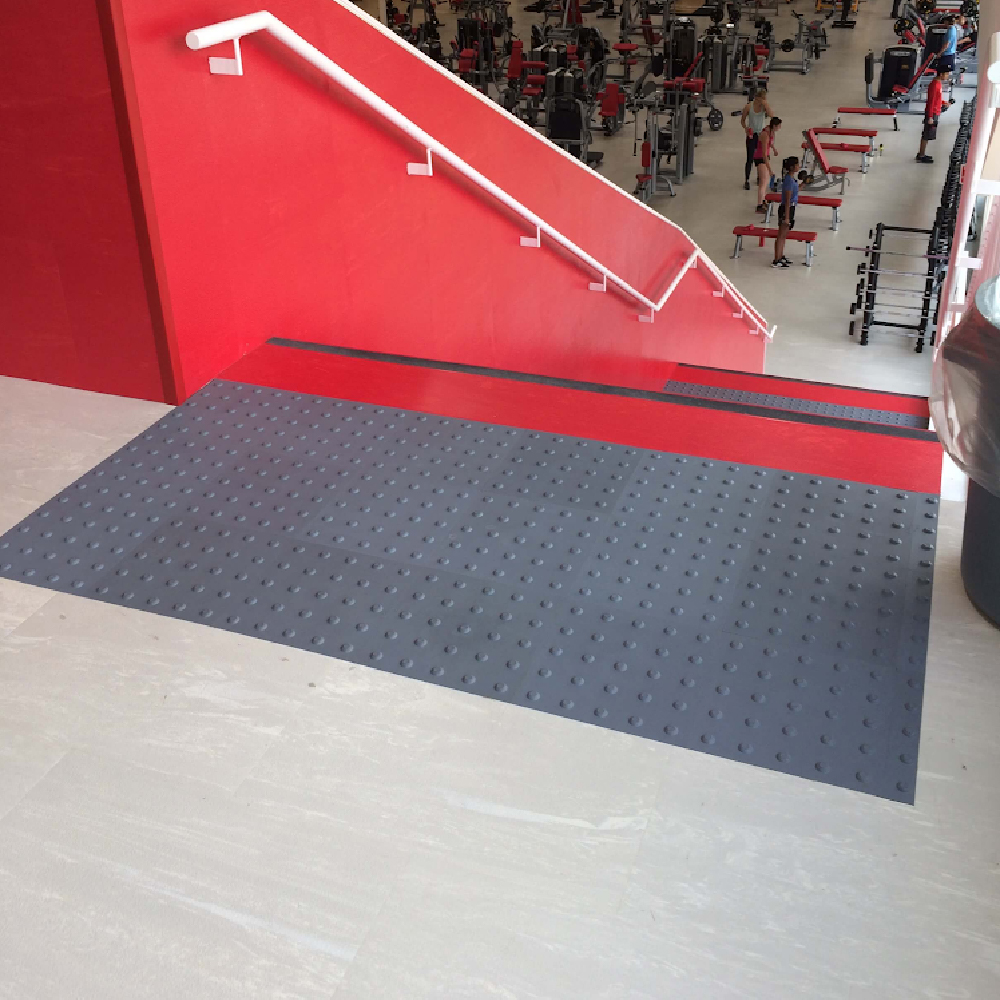
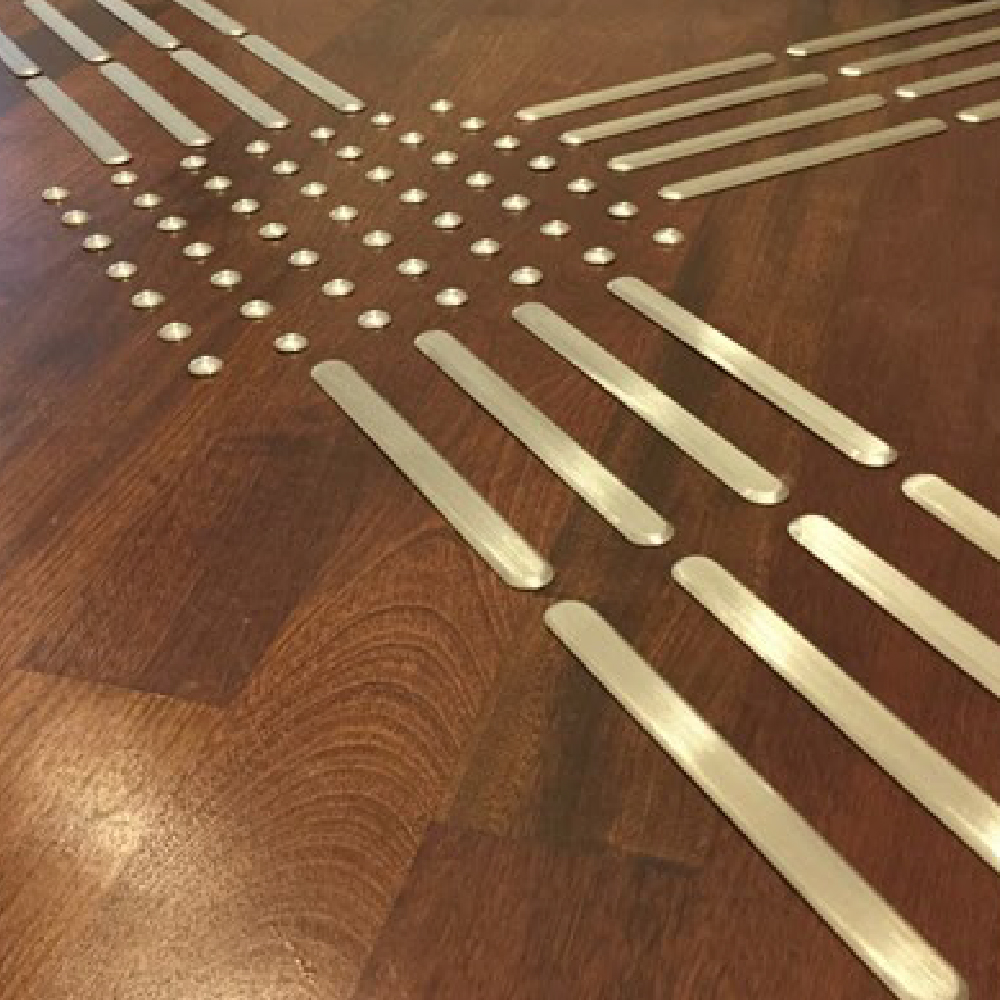
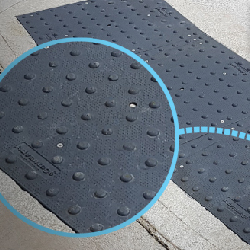
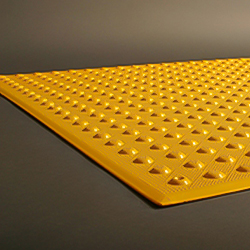
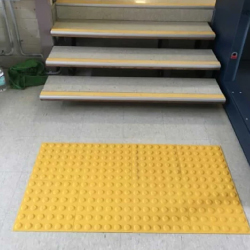
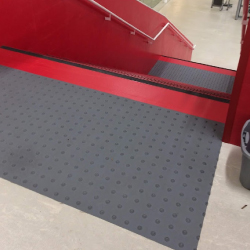
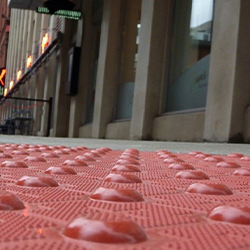
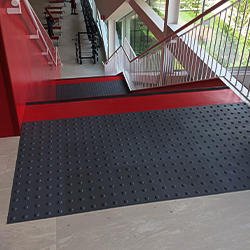
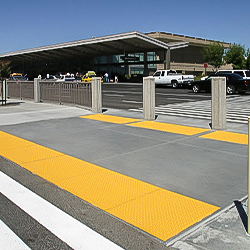
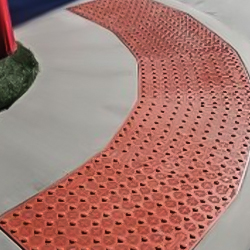
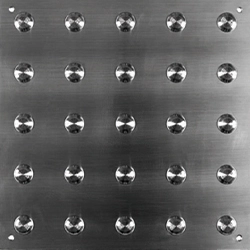
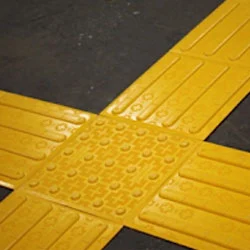
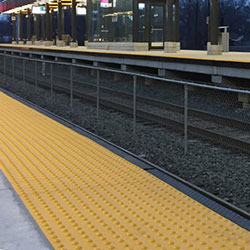
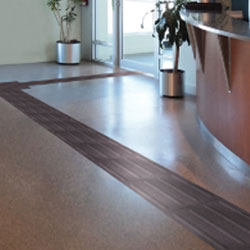
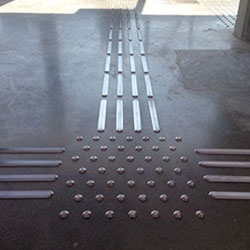
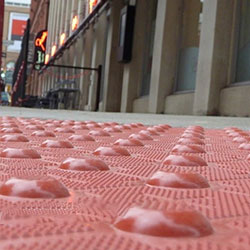
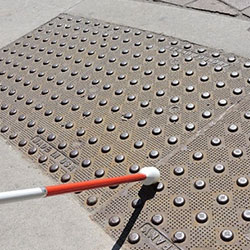
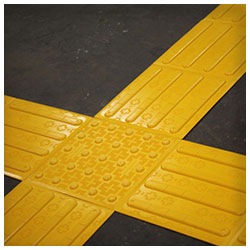
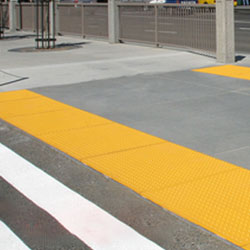
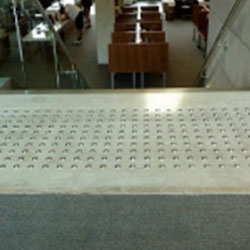
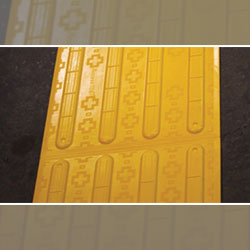
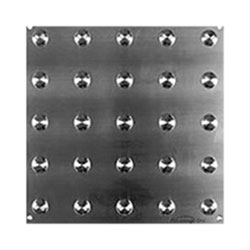
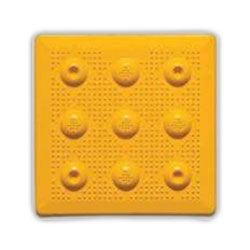
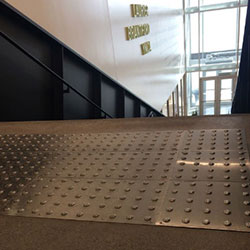
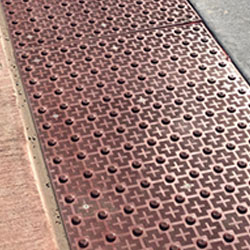
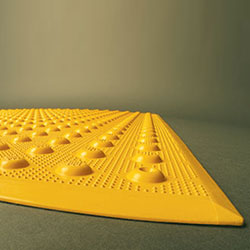
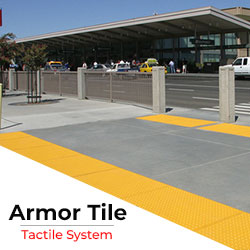
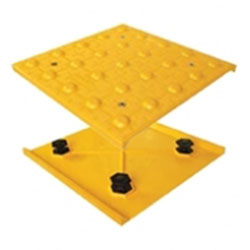
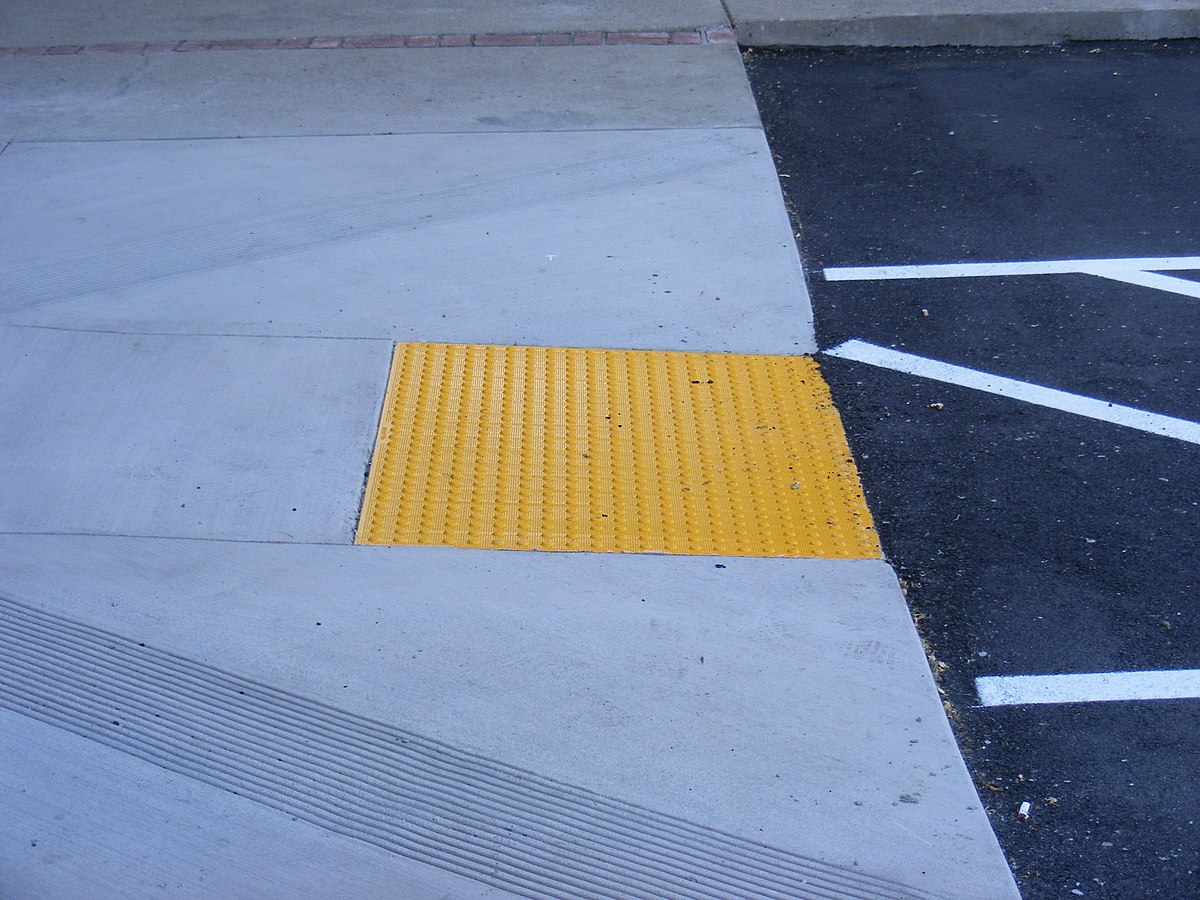
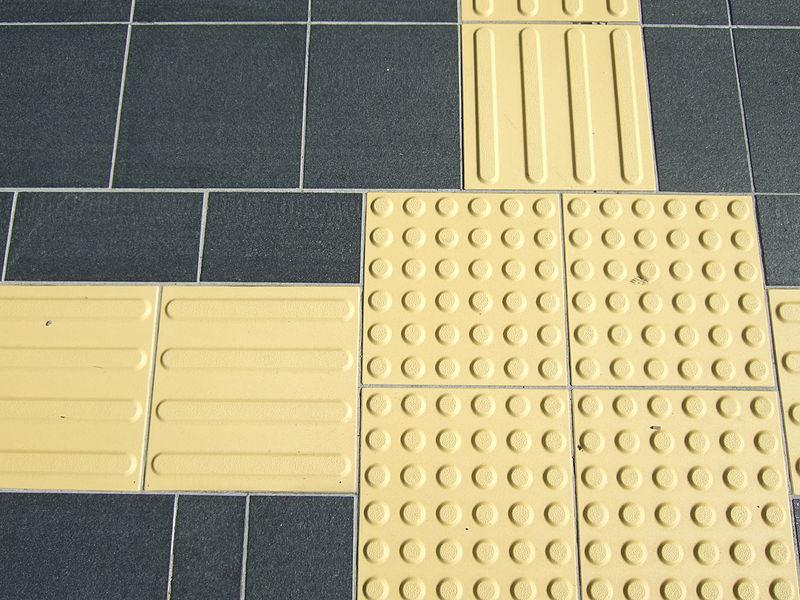
Warning / Attention Tactile
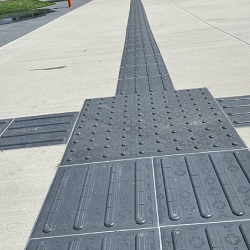
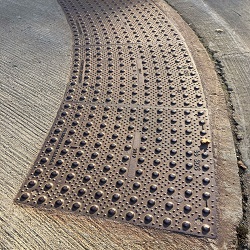
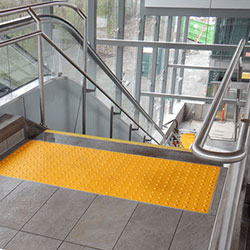
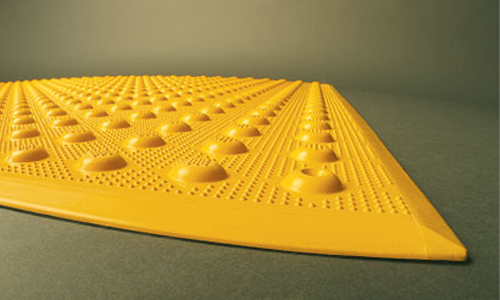
Guidance / Wayfinding Tactile
Together, they form a tactile language - bars guide between destinations, domes flag dangers at transitions. Curious about full specs? Dive into our Comprehensive Tactile Guide for placement diagrams and code breakdowns.
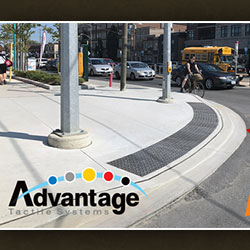
Indoor tactile wayfinding becomes especially powerful in complex or high‑footfall environments. Some key areas include:
Any indoor facility where people can easily lose their bearings, especially those serving the public, benefits from a clear, code‑compliant tactile wayfinding system.
Improving indoor wayfinding is not just about “adding tiles”; it’s about creating a readable, consistent journey from one key area to another. Best‑practice principles include:
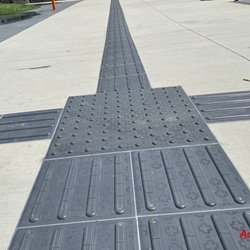
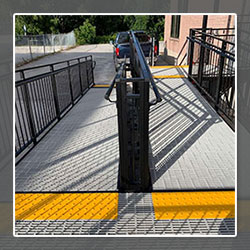
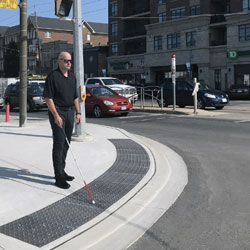
Maintain at least about 610 mm of unobstructed width so canes and feet can reliably detect the guidance bars.
Guidance paths should follow logical traffic flows and match floorplans rather than taking awkward shortcuts.
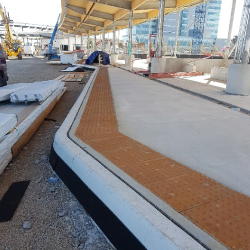
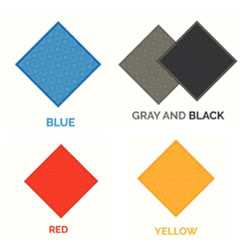
Tactile products should be slip-resistant under wet or dry conditions and clearly distinguishable in colour from the surrounding flooring.
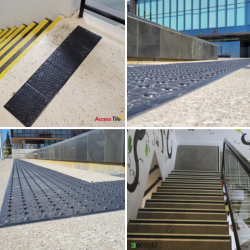
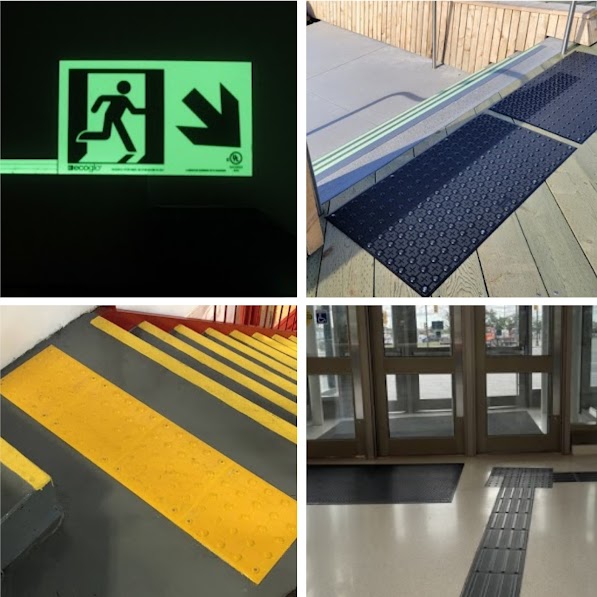
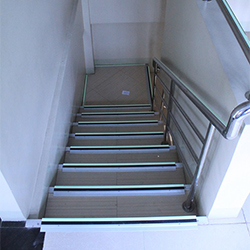
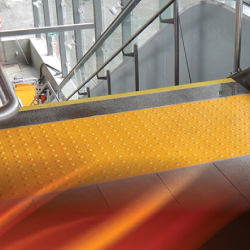
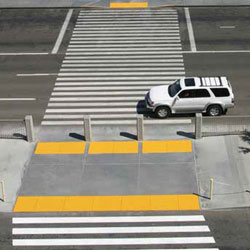
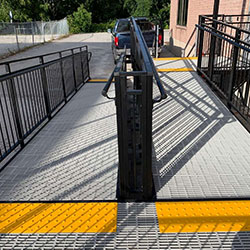
Begin and end guidance routes prominently, and use warning tiles near stairs, ramps, escalators, vehicle crossings, and transitions.
Iterative user evaluations with people who have low or no vision can reveal confusing areas and guide layout adjustments.
Here’s how contractors, building managers, landscapers working on interiors, and building owners can move from good intentions to concrete action.
1. Map the Critical Journeys
Start by mapping the routes that truly matter for independent access and emergency egress:
Mark where people make decisions (turns, intersections, level changes) and where hazards appear (stairs, ramps, vehicle interfaces). These are prime locations for guidance and warning tactiles.
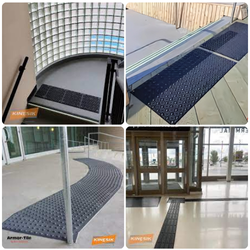
2. Choose the Right Tactile Products
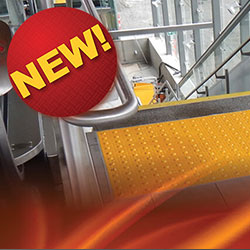
Different indoor environments call for different materials and profiles. Common high‑performing options include:
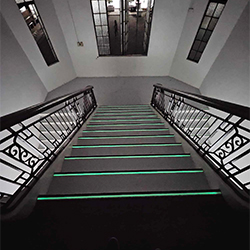
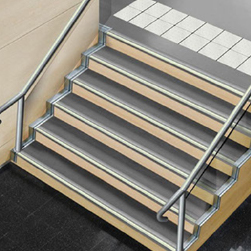
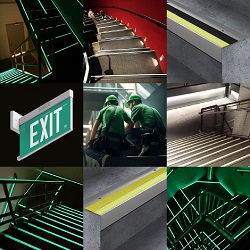
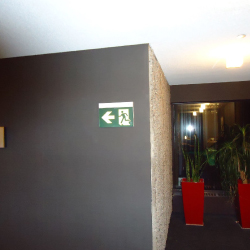
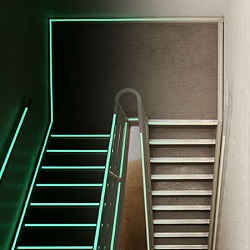
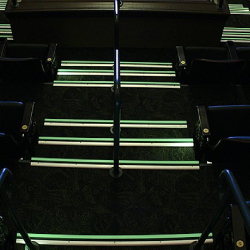
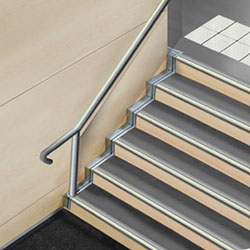
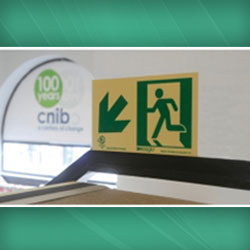
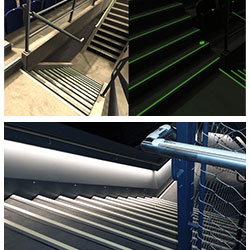
For stairs and exits, pairing tactile warning at landings with anti‑slip nosings and photoluminescent pathmarking provides both tactile and visual guidance that aligns with AODA, CSA B651, and NBC requirements.
3. Respect Canadian Codes and Standards
Improving indoor wayfinding for the visually impaired in Canada must be rooted in compliance. Relevant frameworks include:
Using products designed to meet these standards helps ensure consistent, interpretable cues across facilities and jurisdictions. For a deeper dive into types of tactile indicators and where they should be used, pointing readers toward a comprehensive tactile guide on the site helps them self‑educate before specifying.
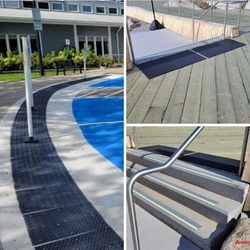
4. Install with Precision – Not “Close Enough”
Even the best products fail if they’re installed poorly. Good practice includes:
For stair nosings and tactile elements on steps, consistent edge alignment, correct overhang, and verified luminance are essential for both everyday safety and emergency performance.
5. Maintain, Inspect, and Upgrade Over Time
Traffic, cleaning, and aging can wear down tactile contrast, slip resistance, or photoluminescent performance. A proactive maintenance routine should:
When accessibility codes evolve, being able to replace older tiles with updated, compliant systems using similar footprints reduces disruption and cost.
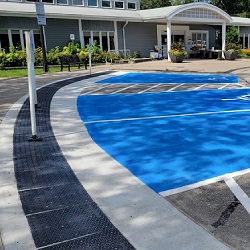
Indoor wayfinding is more than floor tiles; it’s a layered safety ecosystem. In many Canadian facilities, the most powerful combination for visually impaired users includes:
|
Element |
Primary Role in Wayfinding |
|
Guidance / wayfinding bars |
Provide continuous direction along safe paths between key functional areas. |
|
Warning / attention domes |
Alert users to hazards like stairs, platform edges, and level changes. |
|
Tactile stair nosing |
Make stair edges detectable and slip‑resistant, especially during emergencies. |
|
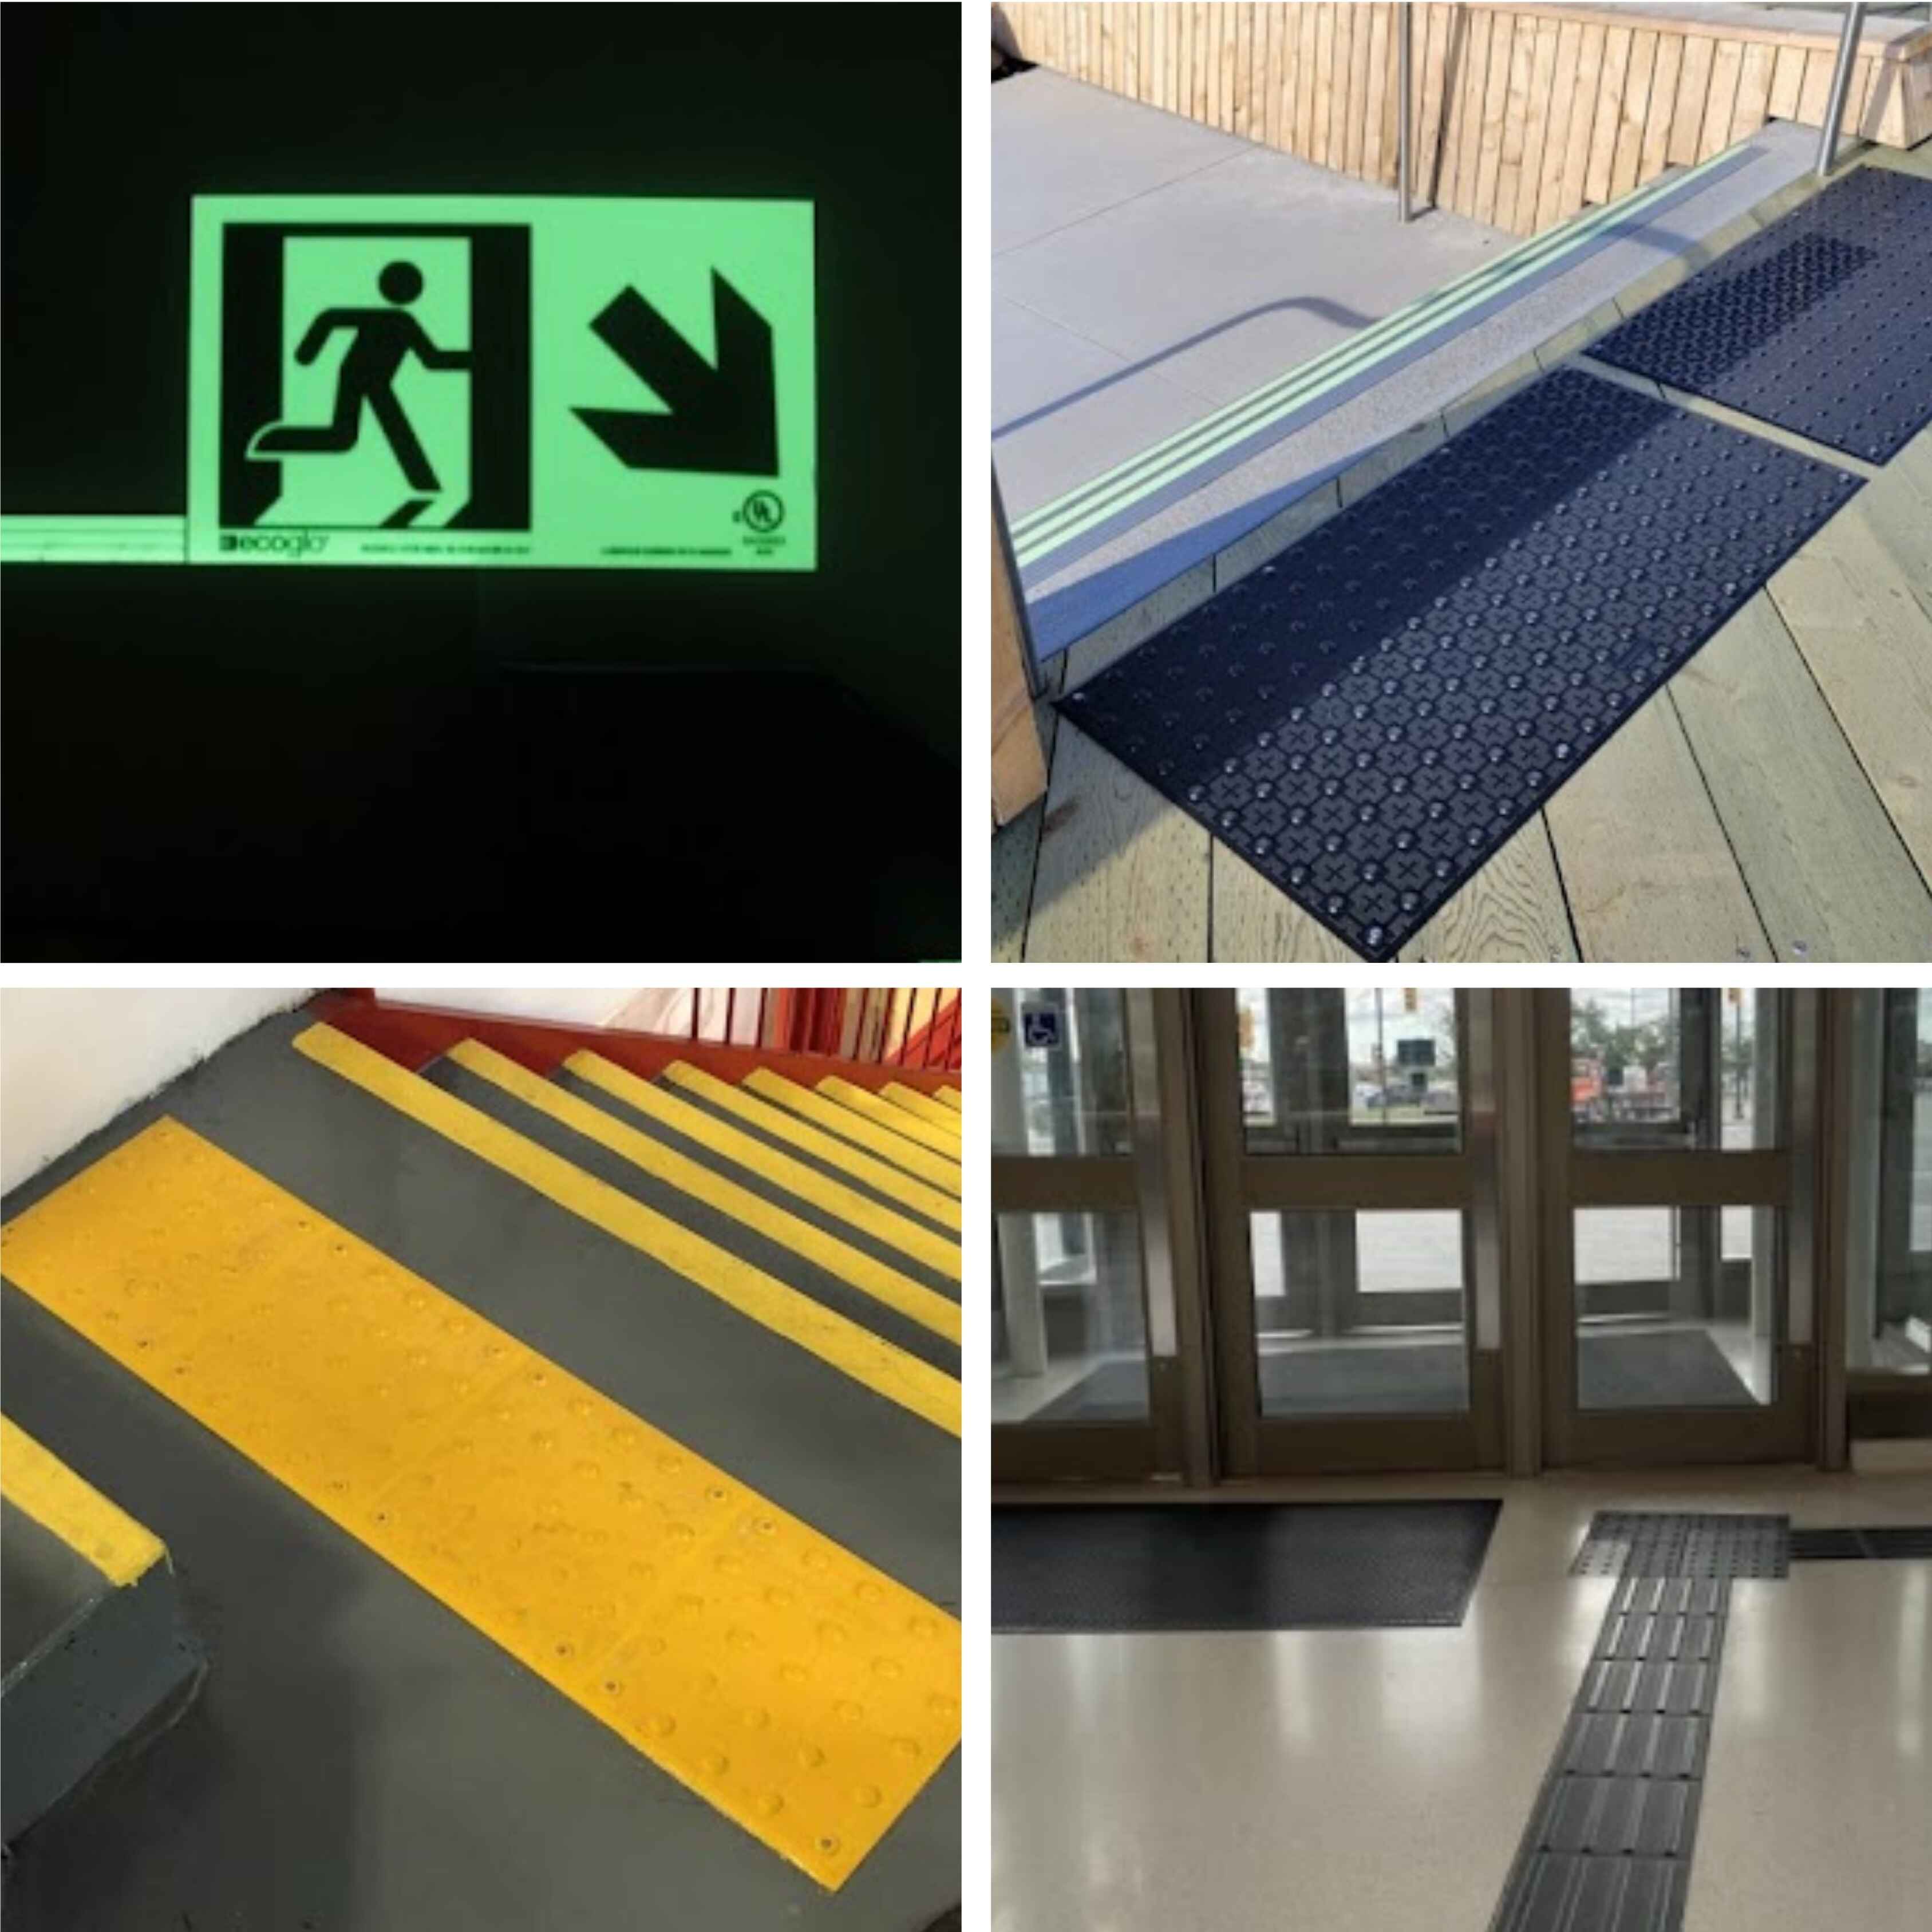
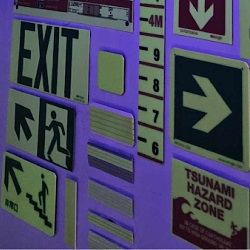
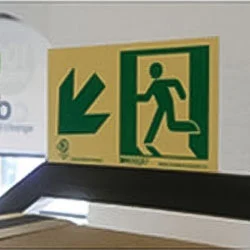
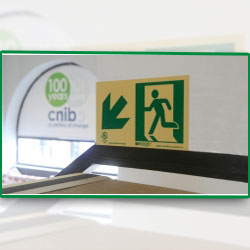
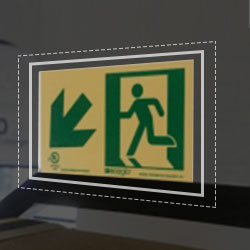
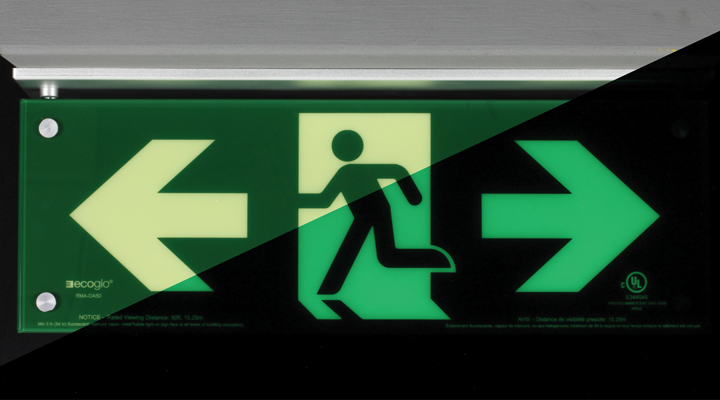
Photoluminescent exit signs & strips |
Provide visible egress guidance when power fails or light levels are low. |
When coordinated, these elements ensure that a person can enter a building, navigate to a destination, and evacuate safely using a combination of tactile and visual cuesregardless of lighting conditions.
Focus on high-use routes from entrances to elevators and exits first, incorporating warning fields at all identified hazards. Surface-applied systems allow phased implementation without major disruptions.
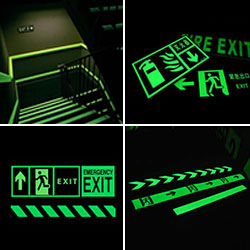
While not universally required, they exceed NBC recommendations for emergency pathmarking, providing critical visibility during power failures, essential for comprehensive compliance.
Guidance bars: 5mm x 35mm; domes: 23mm diameter x 5mm height; 610mm minimum path width with 70% contrast. Verification post-installation confirms adherence.
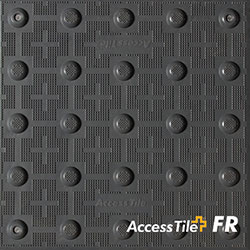
Opt for replaceable designs like Access Tile, which allow individual module swaps, restoring full functionality and compliance with minimal downtime.
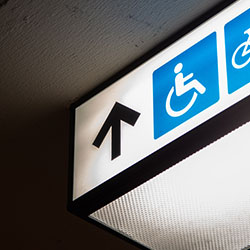
Absolutely - combine with audible beacons, braille signage, and ramp adjustments for a holistic barrier-free environment meeting all federal and provincial mandates.
Implementing these enhancements positions your facility as a model of inclusive design, fostering independence while mitigating liability. To identify the optimal products for your project - specifying surface type, hazard/path function, and luminescence needs - utilize our Tactile Solution Finder tool today.
Contact us now and receive a comprehensive quote, including freight, availability, data sheets, drawings, and installation guides, within hours. Get Your Custom Quote Now..