A perfect concrete pour is only as good as the safety features embedded within it. Precision today prevents the jackhammer tomorrow.
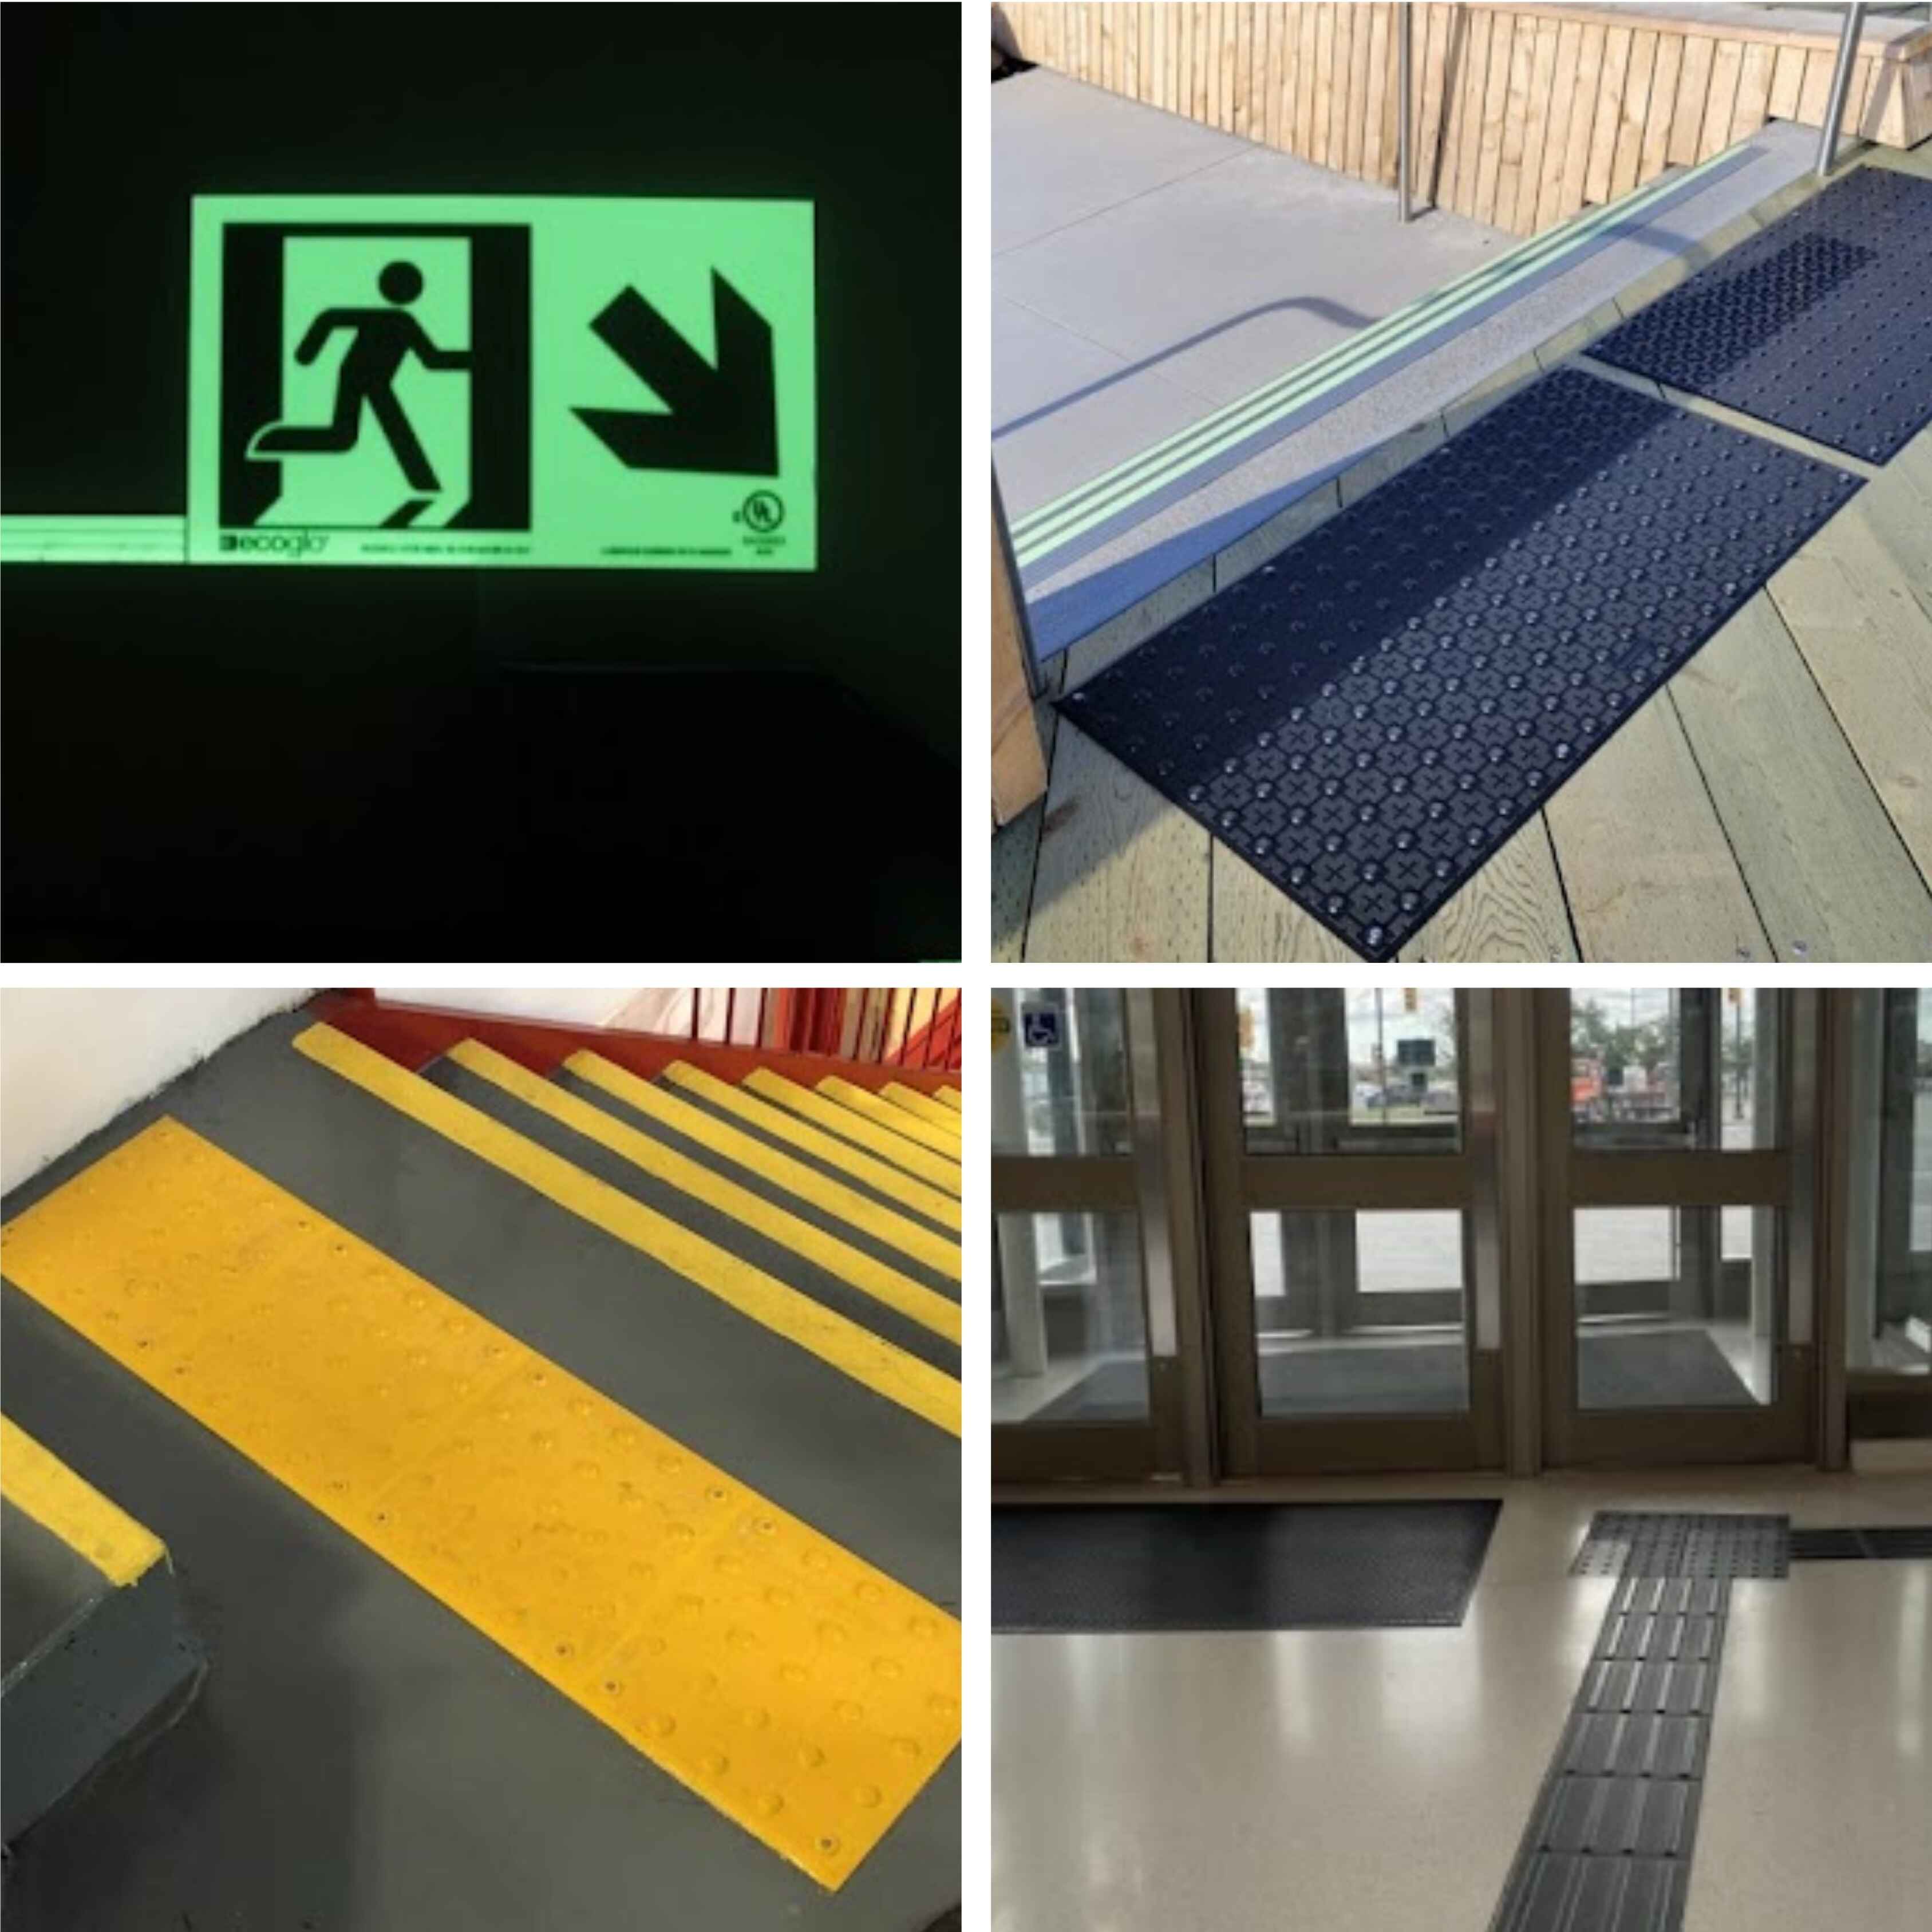
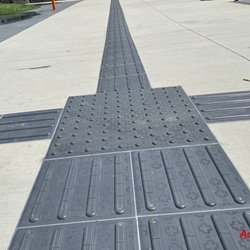
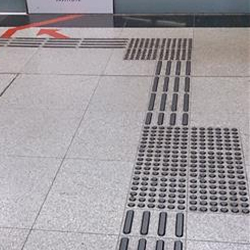
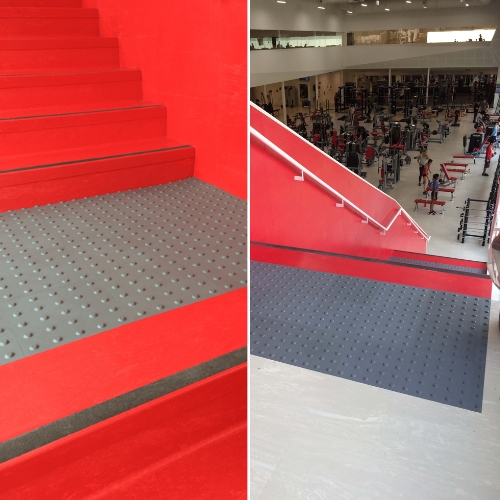
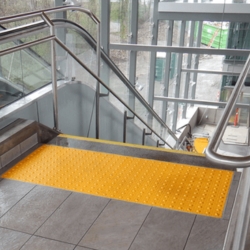
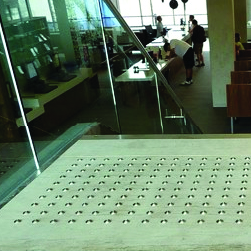
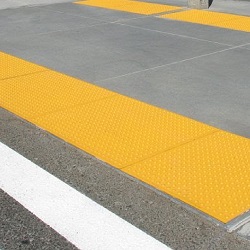
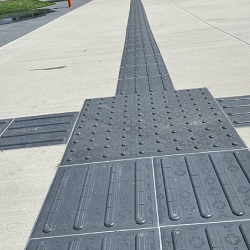
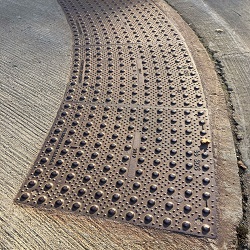
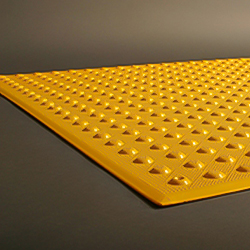
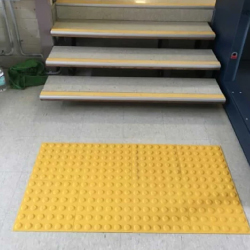
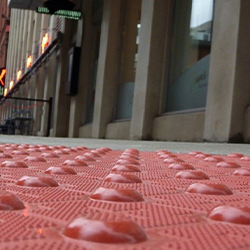
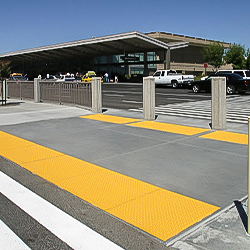
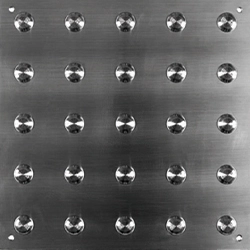
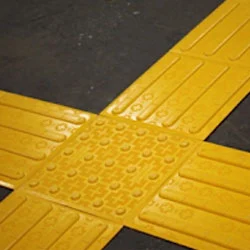
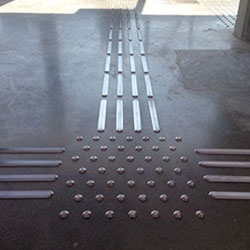
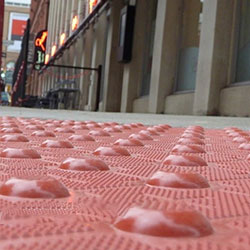
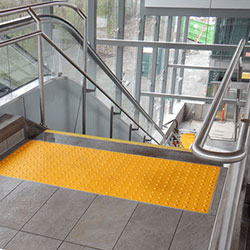
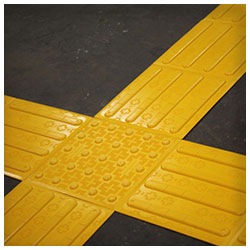
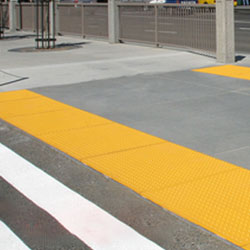
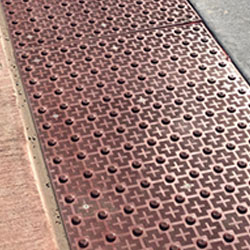
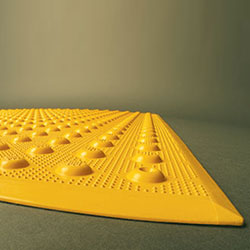
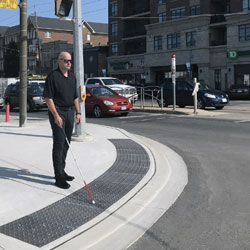
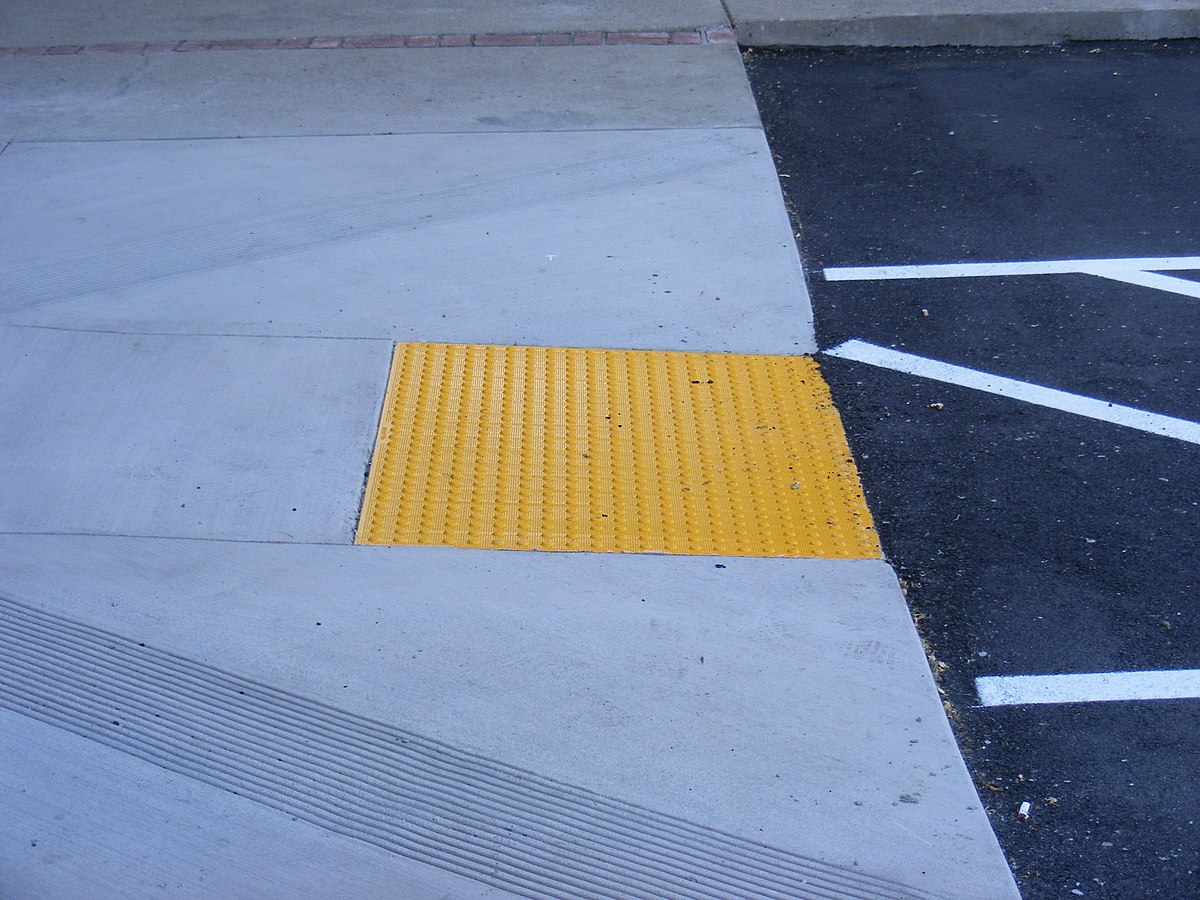
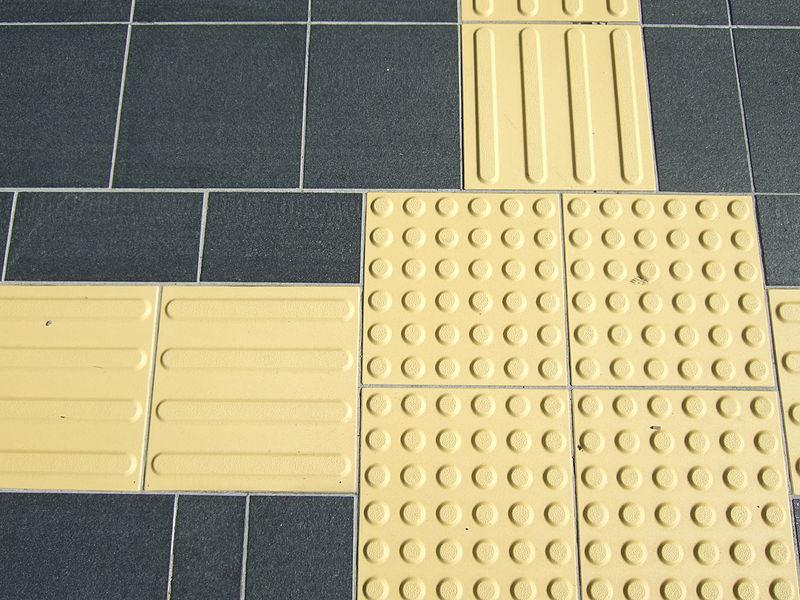
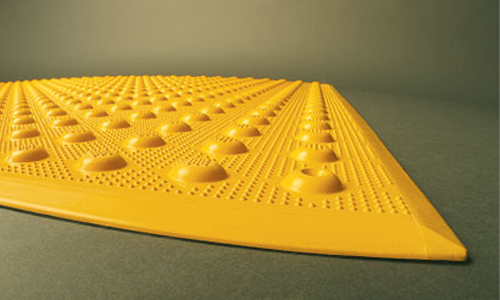
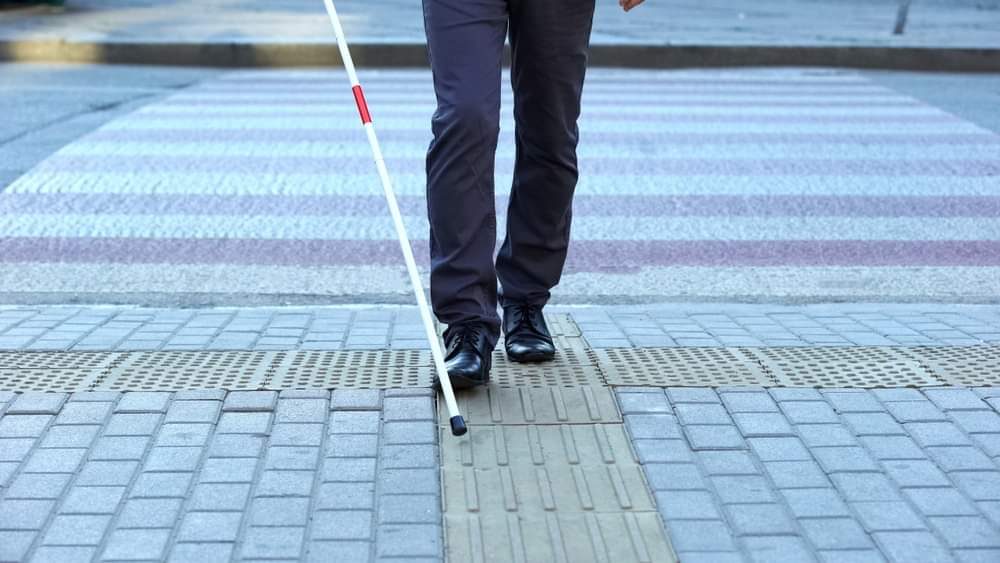
Installing a Tactile Walking Surface Indicator (TWSI) might look incredibly simple, just push a plastic tile into wet cement, right? Wrong. This process requires extreme precision, the correct tools, and a specific technique to ensure the attention domes sit perfectly flush with the surrounding surface. If a tile sits too high, it becomes a dangerous tripping hazard. If it sinks too low, someone using a white cane might not feel it.
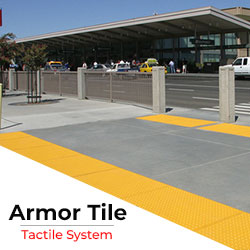
At Tactile Solution Canada, we want to help contractors, landscapers, and building managers get the job done flawlessly on the first try, ensuring full compliance with Canadian accessibility codes like CSA B651.
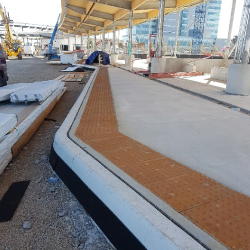
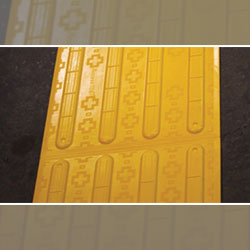
Here is your guide to perfectly installing Cast-in-Place tactile tiles into freshly poured concrete, plus how to replace them years down the road.
Before the concrete truck arrives, ensure your crew has the right tools ready:
The consistency of your concrete is critical. For a successful tactile installation, the concrete should be placed, maintaining a 4 to 7-inch slump range. If it's too wet, the tile will sink; if it's too dry, the anchors won't set properly.
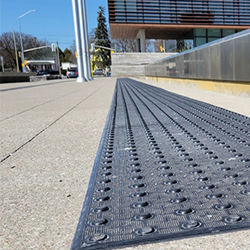
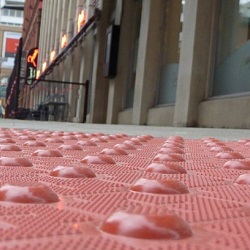
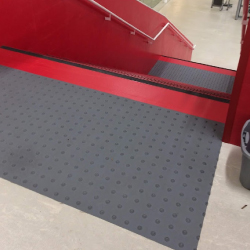
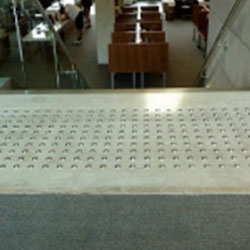
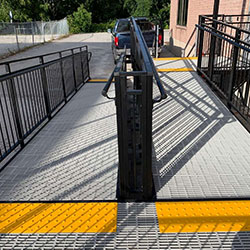
Continue vibrating the tile with your rubber mallet until the surface of the tile is flush and even with the surrounding concrete. The goal is a perfectly smooth transition.
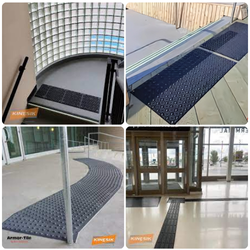
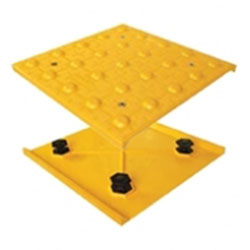
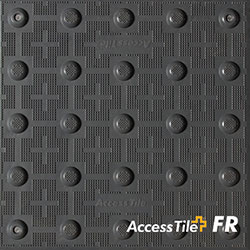
One of the best features of modern Cast-in-Place systems (like Access Tile) is their replaceability. The anchor system stays permanently in the ground. Here is how you handle a fast replacement job:
Use a cordless drill and a 5-millimeter pin and hex security bit (a T27 tamper-proof fastener) to unscrew all the stainless steel fasteners around the tile.
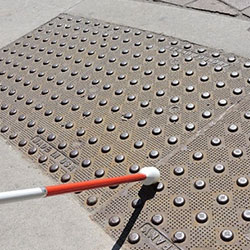
Give the perimeter of the old tile a few taps with your rubber mallet to break the bond between the concrete and the tile. Use a pry bar to pry up an edge and remove it.
Thoroughly remove all debris from the vacant cavity mold. A vacuum or a whisk broom works equally well to sweep all crevices.
Remove and discard the hexagonal anchors from the new tile. Save the security fasteners to reset the new tile.
Precision engineering means the new tile will have a tight fit. Insert the replacement tile and gently apply pressure to seat it in the recess. Massage the new tile in gently with a rubber mallet, working from one side to the other.
Reinsert the tamper-proof fasteners into the hex-shaped concrete anchors.
You should maintain a 4 to 7-inch slump range for the concrete mix. This consistency allows the tile to embed properly without floating or sinking.
You must wait until the concrete has substantially cured and is dry before removing the plastic with a sharp utility knife.
A non-marring rubber mallet is used to tamp the tile into the concrete without damaging the finish of the tile. It provides the necessary vibration to ensure a flush fit and eliminate air pockets.
You will need a cordless drill, a 5-millimeter pin and a hex security bit (T27), a rubber mallet, a pry bar, and a vacuum or whisk broom to clean the cavity.
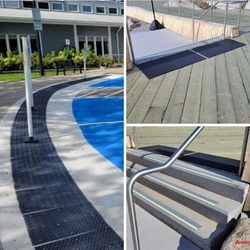
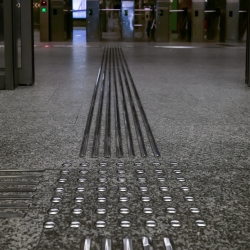
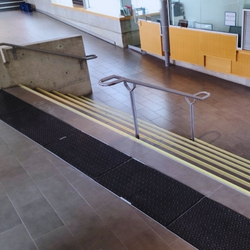
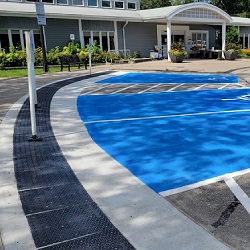
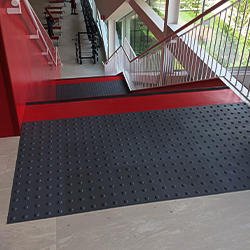
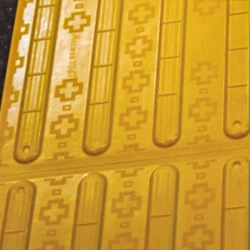
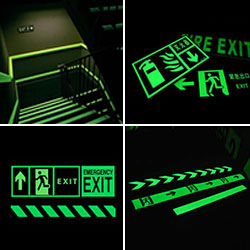
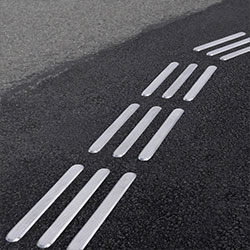
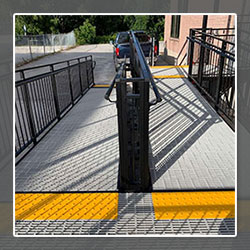
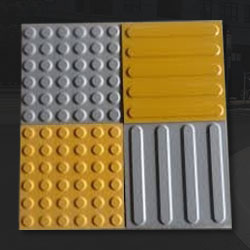
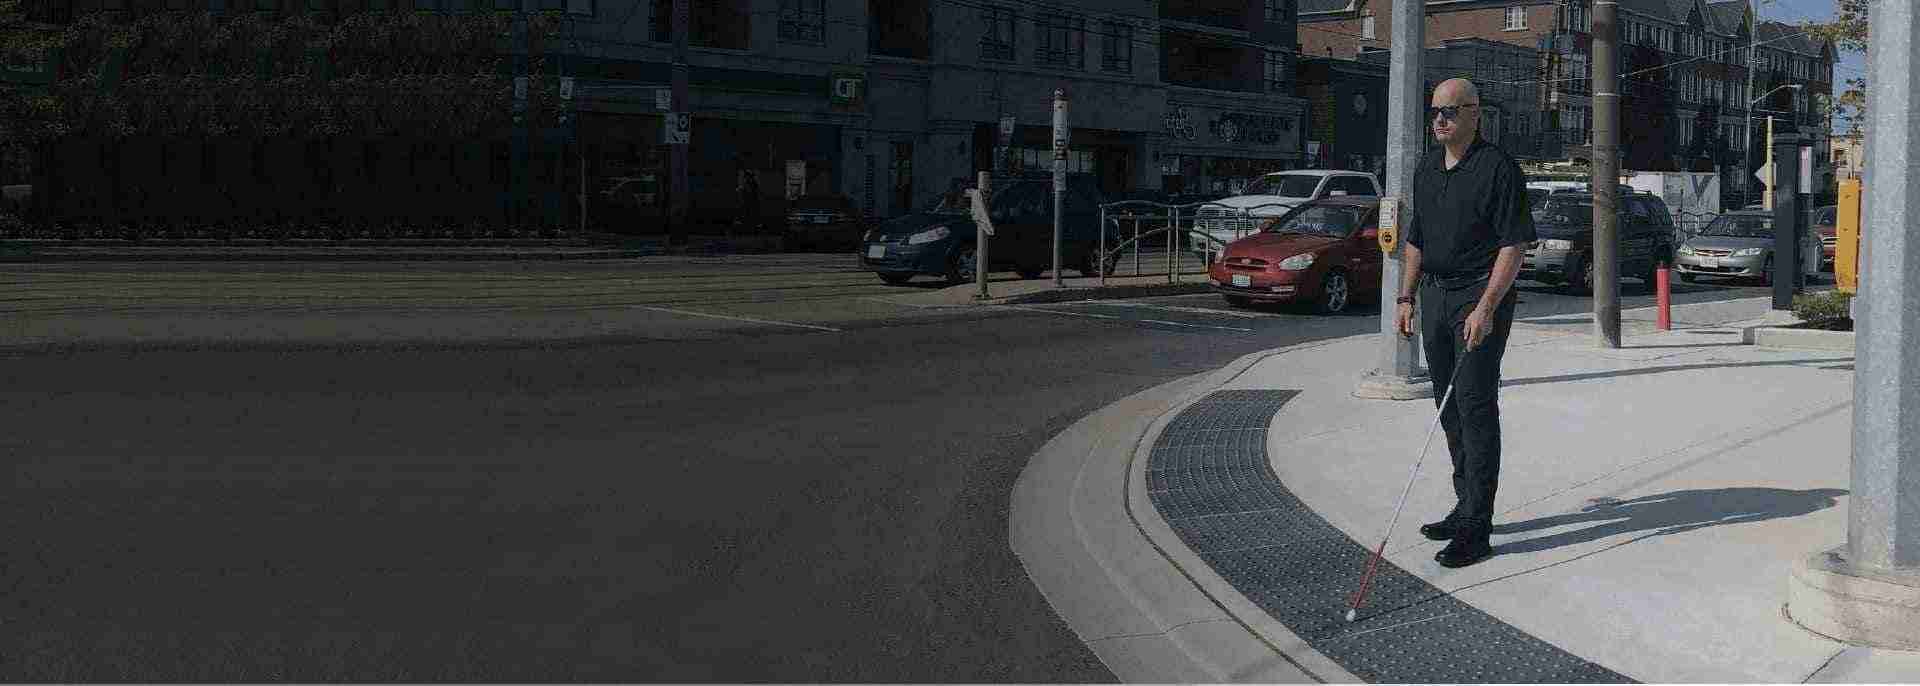
Installing these safety features correctly is a massive responsibility. Contractors and builders are the frontline workers creating safer cities for everyone. When you install your wayfinding bars and attention domes perfectly on the very first try, you save time, you save money, and you ultimately protect lives.
At Tactile Solution Canada, we are deeply proud to supply the highest quality materials to building professionals across the country. We want your projects to succeed. We want your building inspections to pass smoothly. Most importantly, we want every single pedestrian to feel completely safe walking through their own city.
Are you ready to tackle your next concrete pour with total confidence? Browse our full selection of Cast-in-Place tactile tiles today, or give our expert team a call. We have the exact code-compliant tactile products and the industry knowledge you need to finish the job flawlessly.