Safety isn’t a line item in your budget; it’s the invisible handrail every person trusts on the stairs.
Renovation is the perfect moment to make your stairways not just prettier, but safer, smarter, and fully compliant with Canadian accessibility codes. For contractors, building owners, landscapers, and facility managers across Canada, upgrading stairs with the right tactile systems is now a practical necessity - not an optional add‑on.
Canadian accessibility and building codes are very clear: stairs and exits must be easy to detect, navigate, and evacuate, especially for people with low or no vision.
In simple terms: code-compliant tactile stair nosing, attention domes, directional bars and photoluminescent exit markings are now the backbone of safe, lawful stair design.
Stairs are where many building stories quietly go wrong. In Canada, falls on stairs are a major cause of injury and mortality, especially among older adults, and the cost of fall‑related injuries runs into the billions.
So when you upgrade stairs, you’re not just swapping finishes, you are rebuilding your “life‑safety spine” from basement to roof.
Picture you’re the building manager of a mid‑rise in Halifax, finally tackling a stair and corridor renovation that’s been postponed for years. The paint is scuffed, the nosings are smooth from decades of use, and every fire drill leaves tenants nervous, especially seniors and residents with low vision.
During planning, you decide not to stop at cosmetics. You choose:
The next unannounced drill tells the story: instead of confusion and bottlenecks, people move calmly, guided by glowing edges underfoot and tactile cues they can feel with a cane or shoe. Complaints are replaced by quiet thank‑yous. You didn’t just “pass inspection” - you changed how safe the building feels every single day.
Before choosing products, codes, and manufacturers, expect you to understand your base conditions.
Ask yourself:
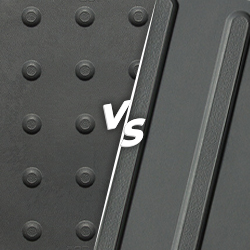
This simple scan determines whether you lean toward surface‑applied systems, cast‑in‑place options, heavy‑duty metals, porcelain finishes, or flexible polymer tiles.
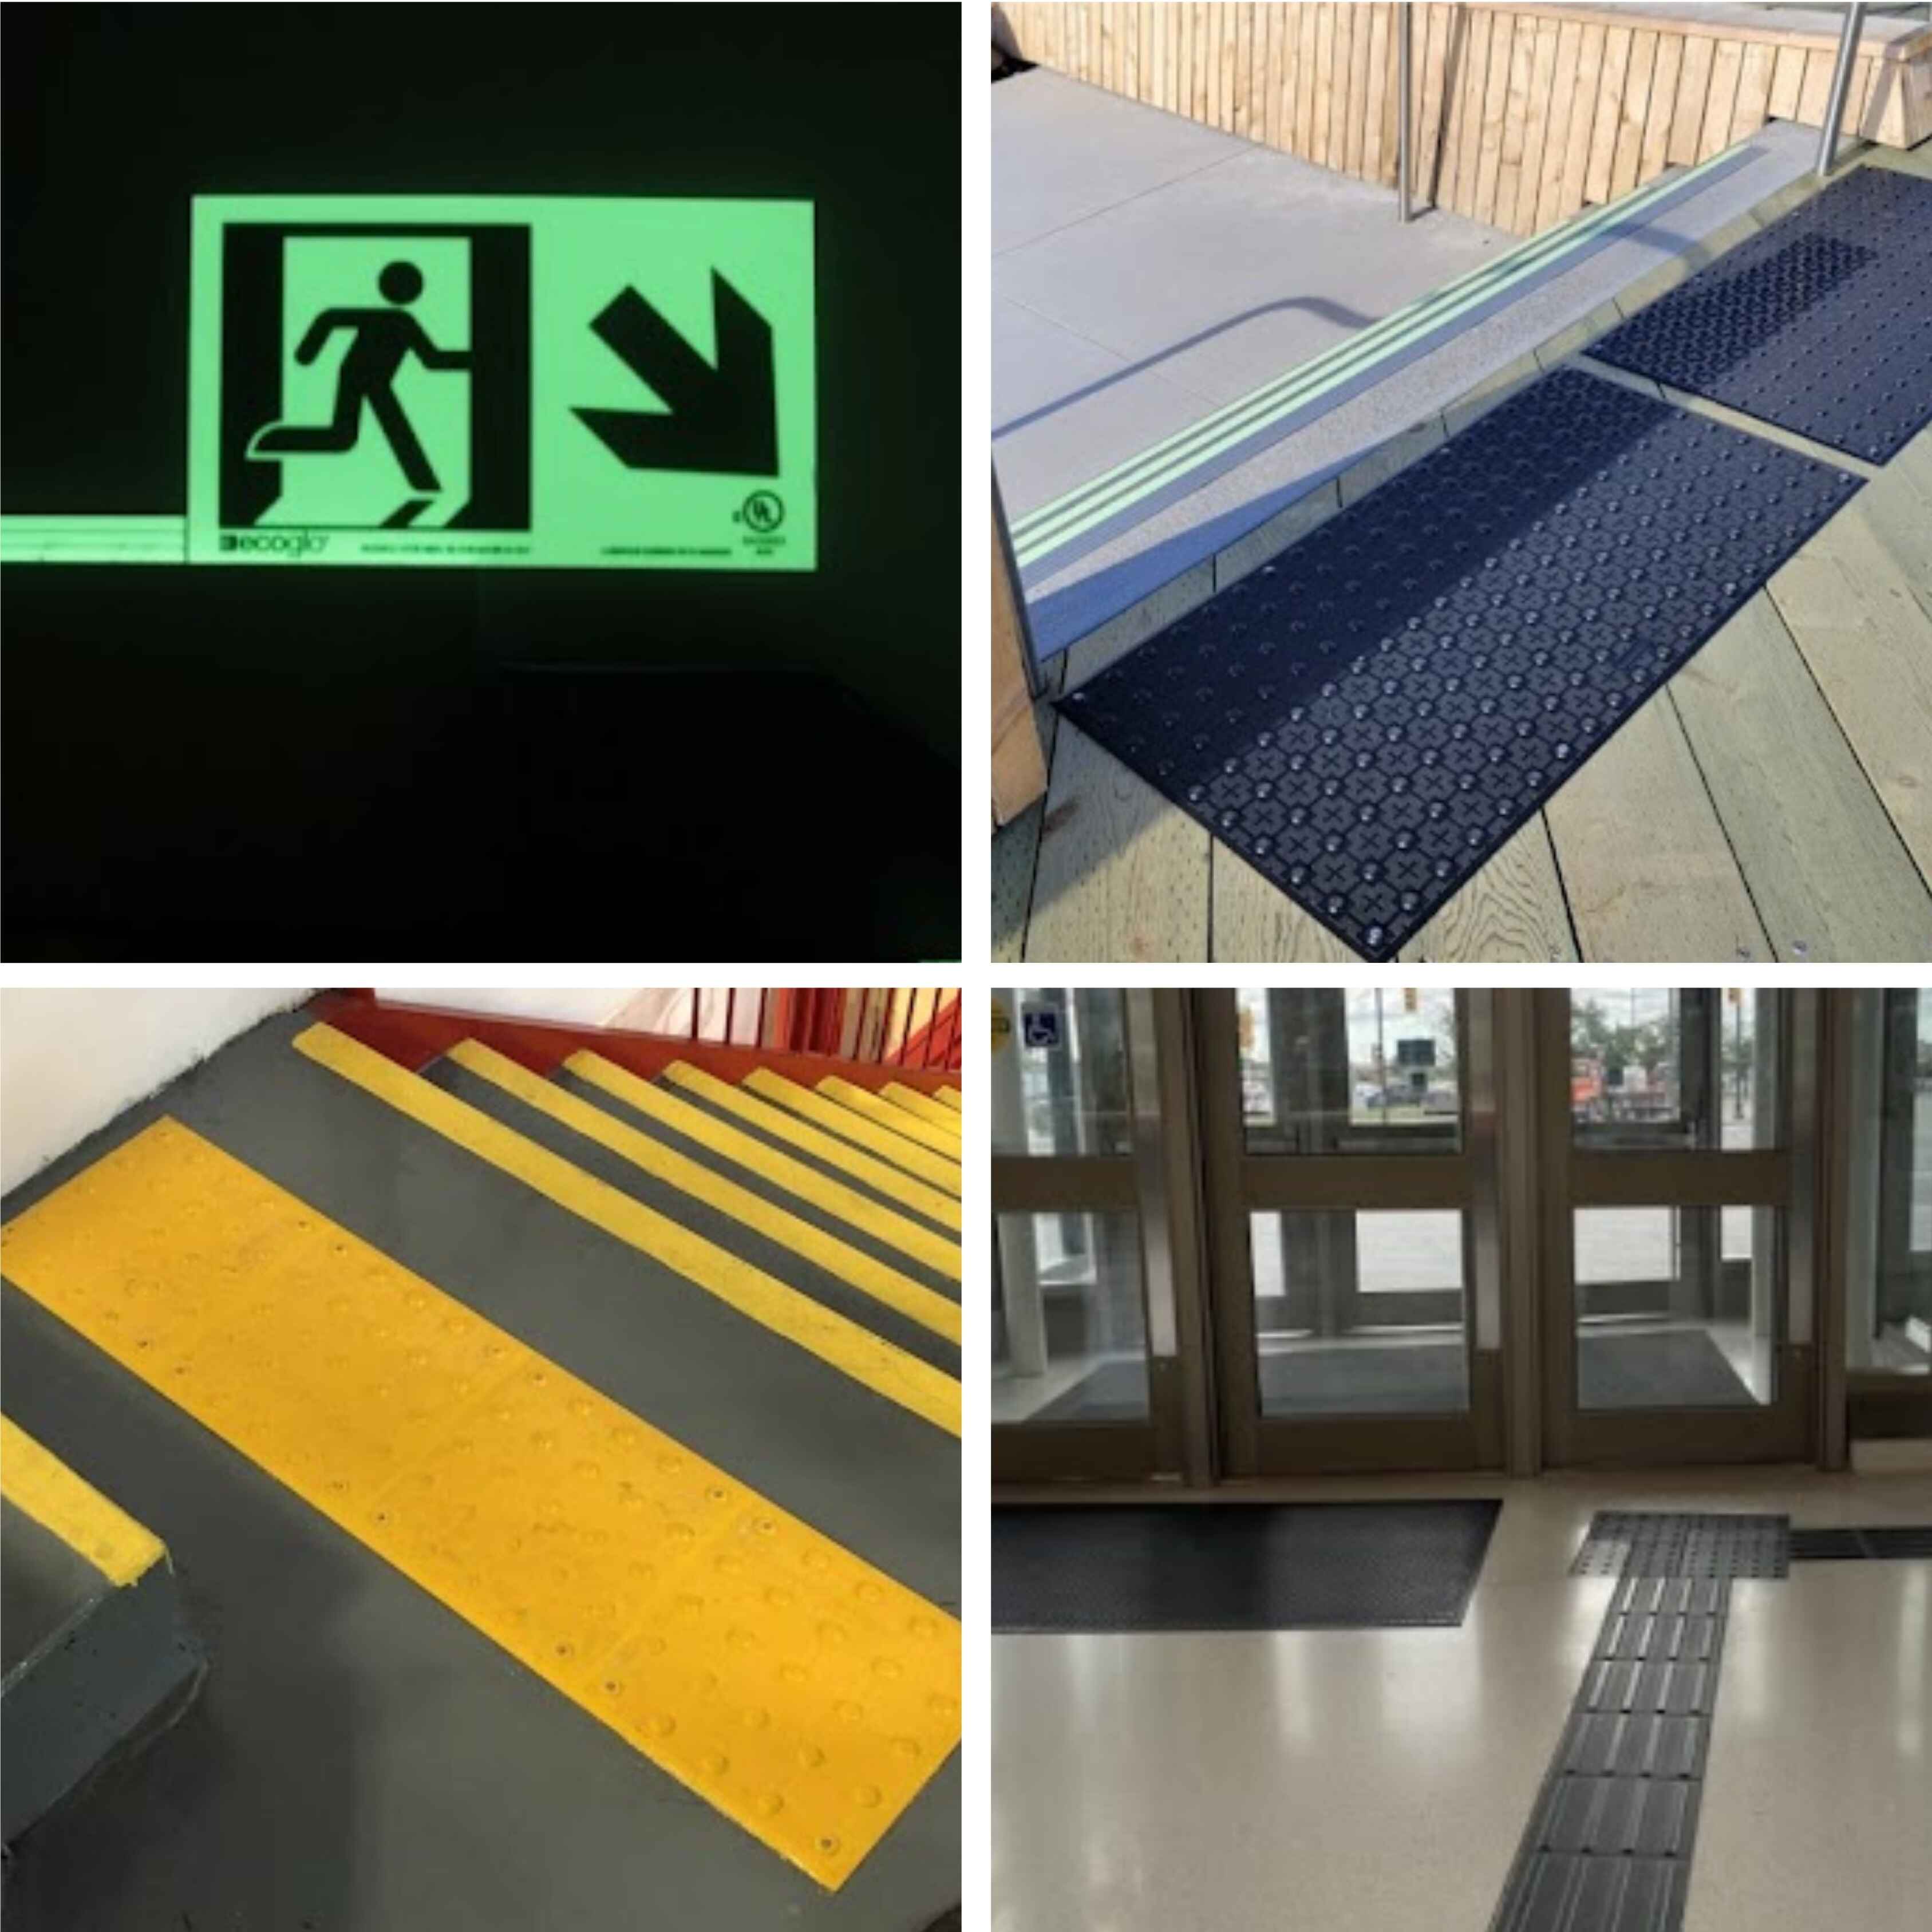
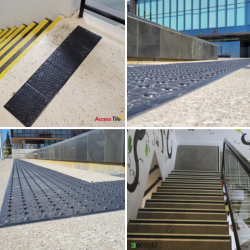
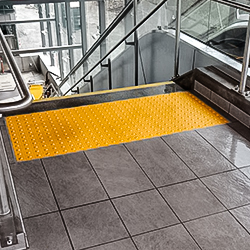
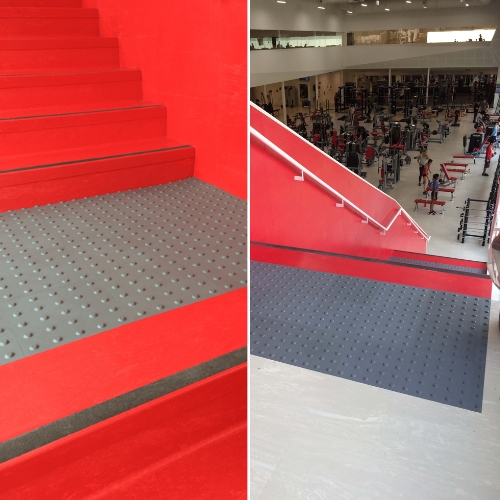
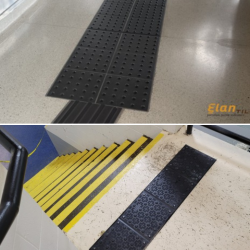
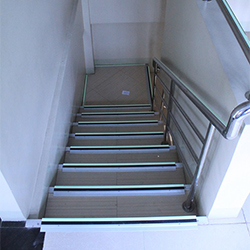
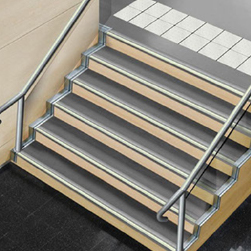
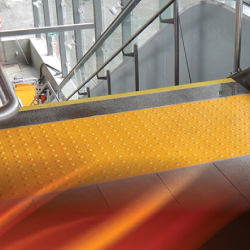
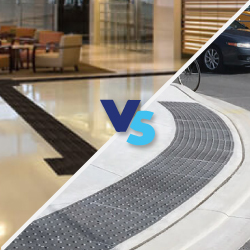
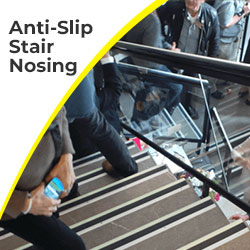
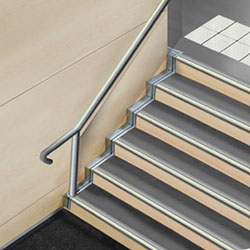
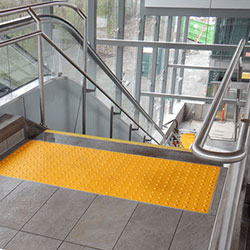
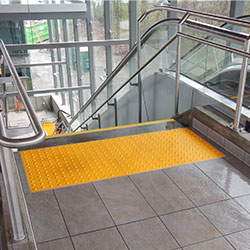
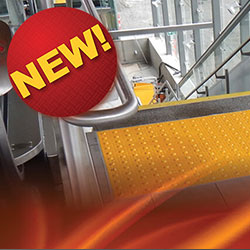
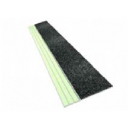
Tactile stair nosing is your first big win in any renovation. It combines slip resistance, visual contrast, and, when photoluminescent, emergency visibility in a single profile.
Modern Canadian stair codes expect your nosings to:
Ecoglo stair nosing supplied by Tactile Solution Canada is engineered specifically around these requirements, with aluminum profiles bonded to high‑performance photoluminescent strips and anti‑slip textures.
During renovation, proper mounting is just as important as the product choice:
That single detail, well‑installed, code‑compliant nosing, prevents countless slips on wet, dim, or crowded stairs.
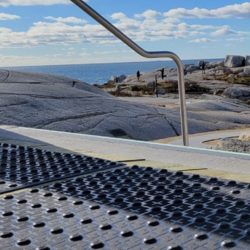
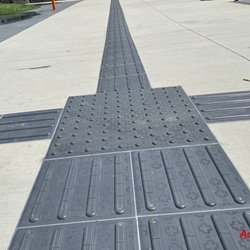
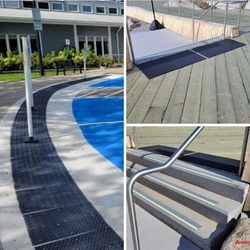
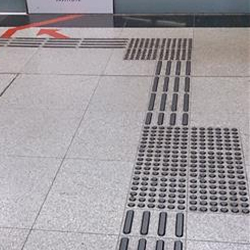
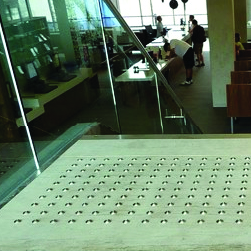
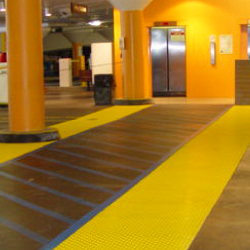
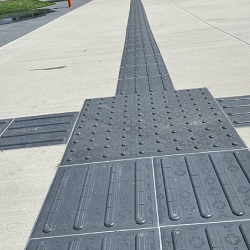
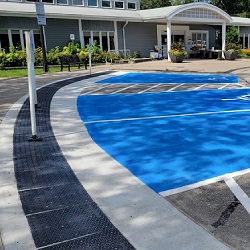
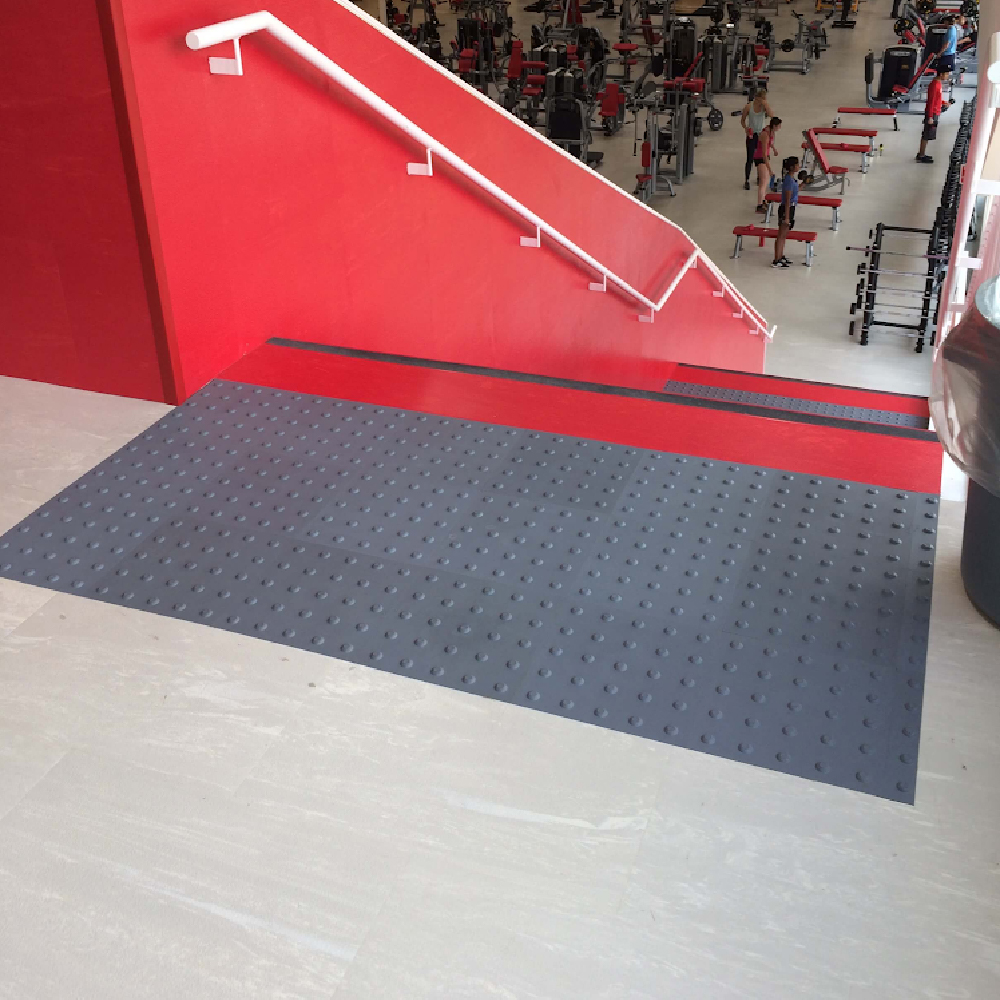
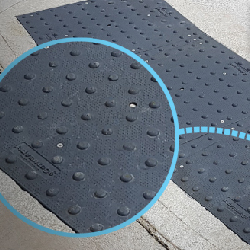
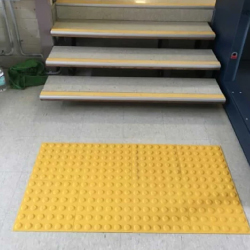
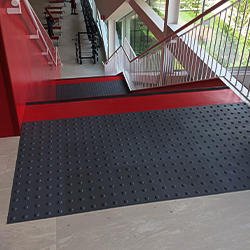
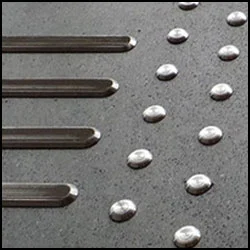
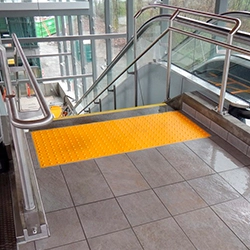
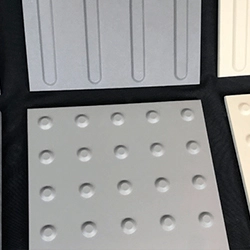
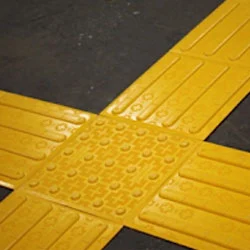
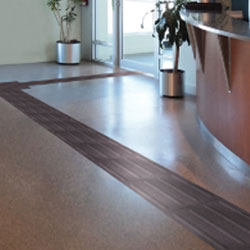
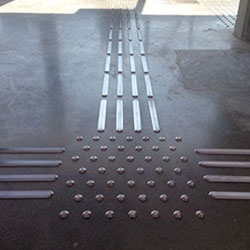
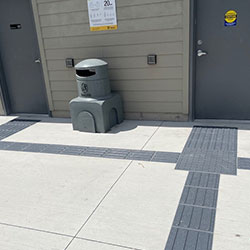
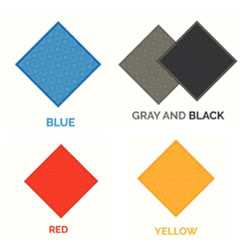
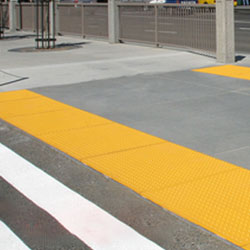
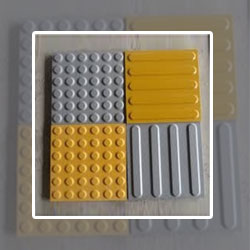
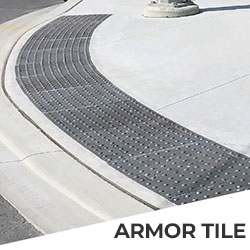
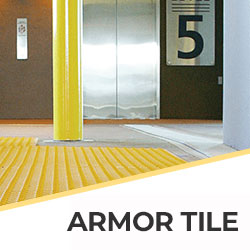
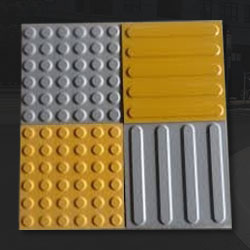
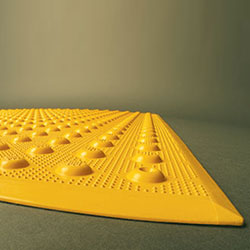
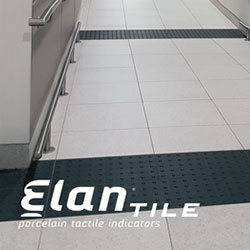
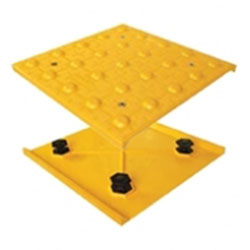
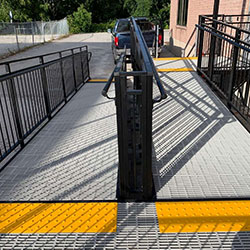
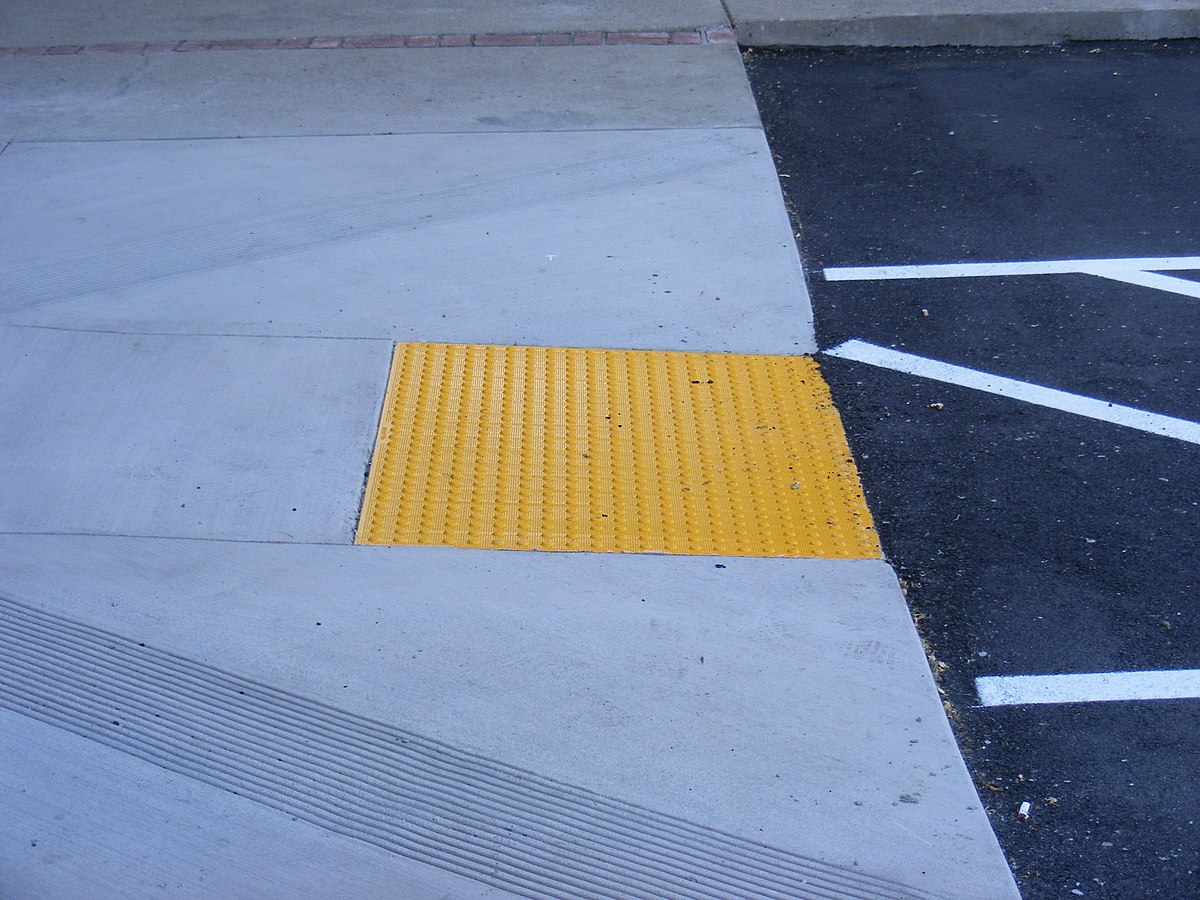
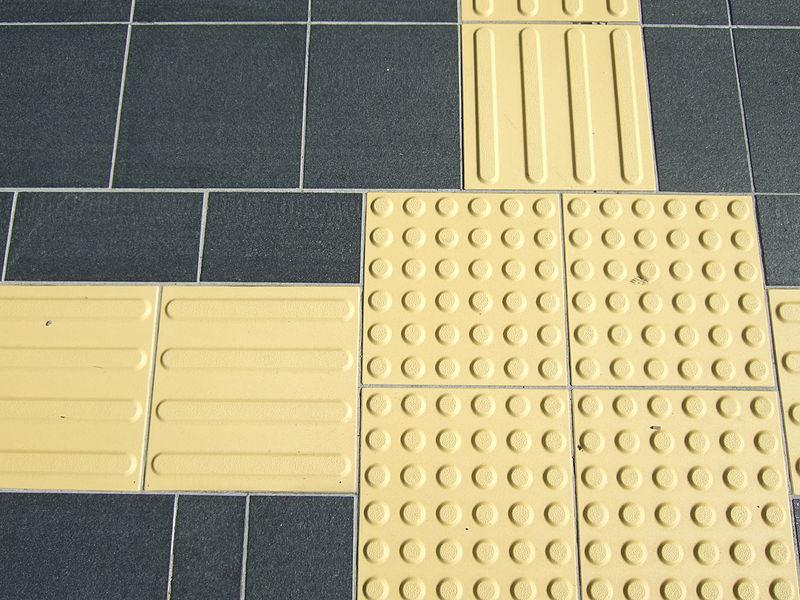
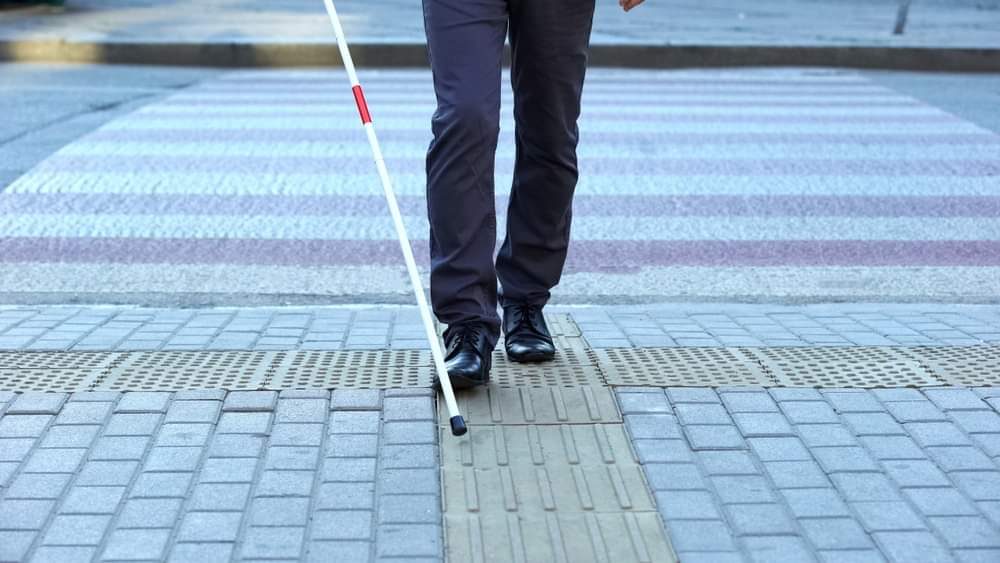
Tactile Walking Surface Indicators are the textured tiles and bars that translate your circulation plan into a readable, tactile map for blind and low‑vision users.
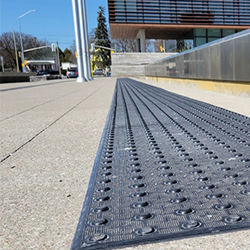
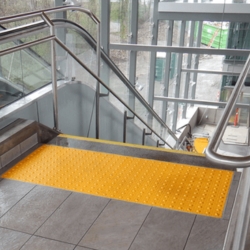
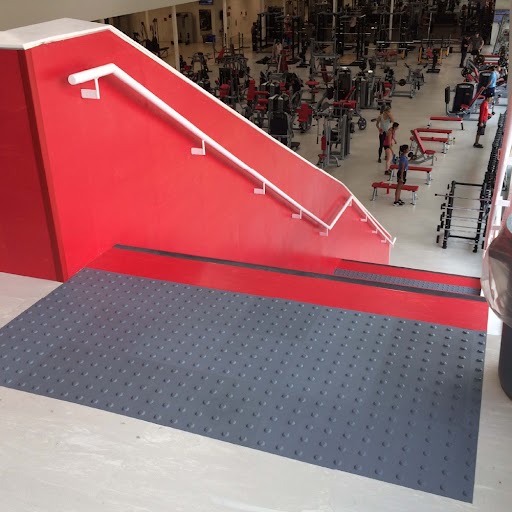
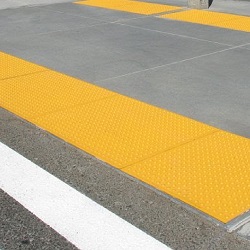
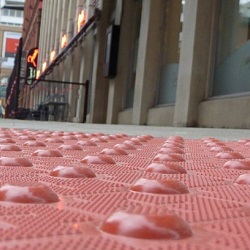
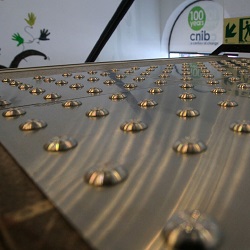
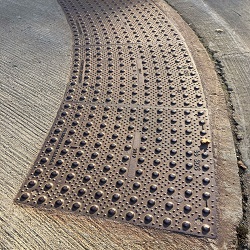
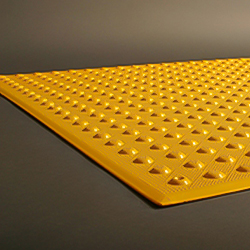
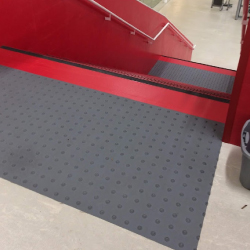
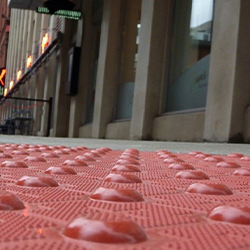
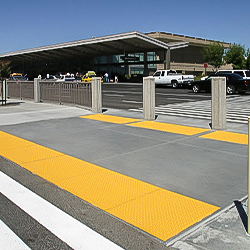
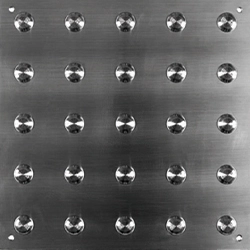
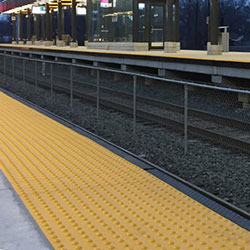
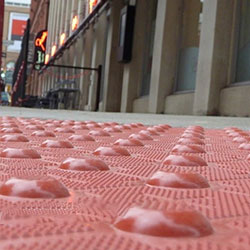
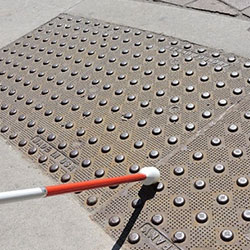
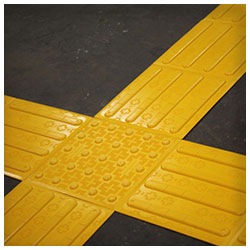
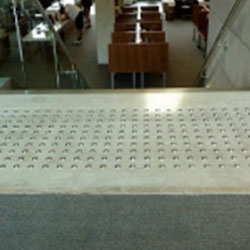
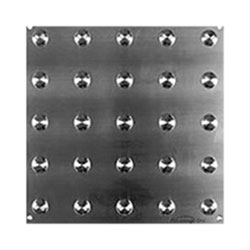
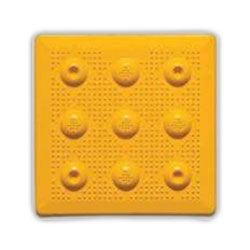
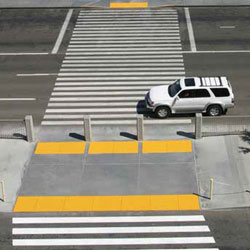
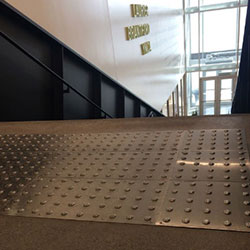
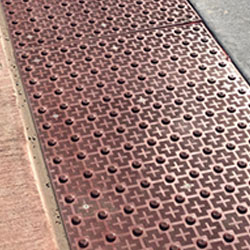
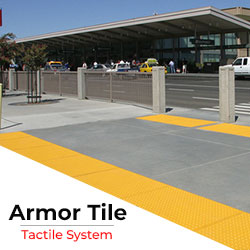
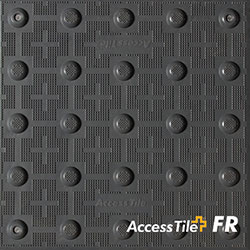
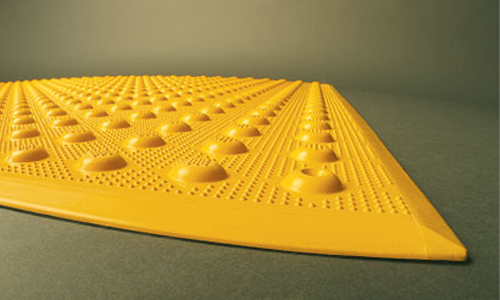
Tactile attention indicators (truncated domes) are used where people need a “caution” message underfoot:
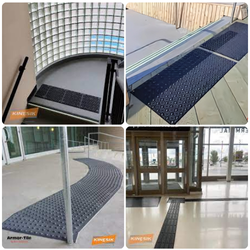
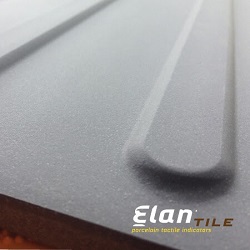
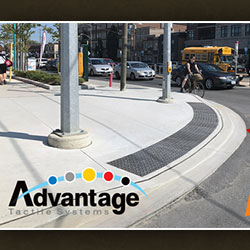
Access Tile, Armor Tile, Advantage, EON, and Elan porcelain systems offered by Tactile Solution Canada all provide AODA/CSA/ISO and NBC‑compliant attention surfaces in durable polymers, cast iron, rubber or porcelain.
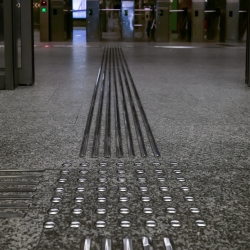
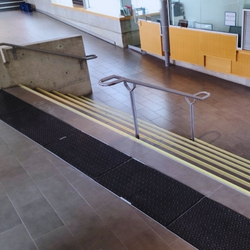
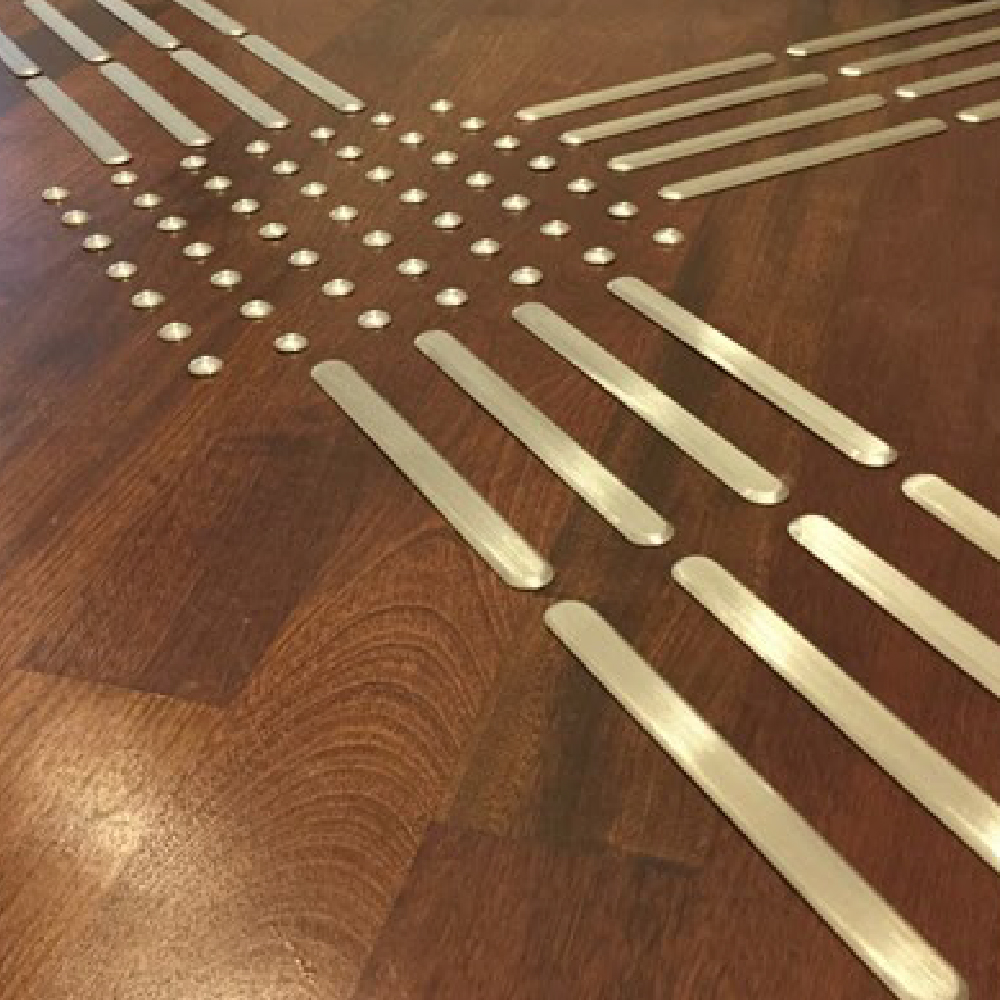
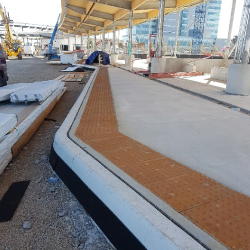
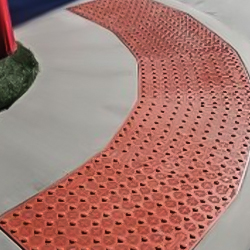
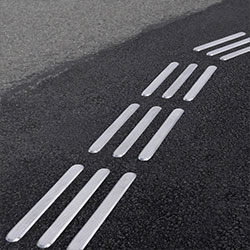
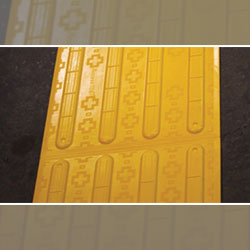
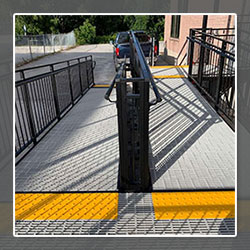
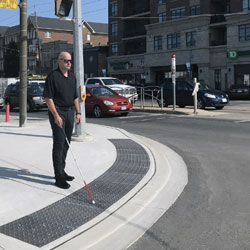
Directional or wayfinding bars provide “this way” guidance along routes:
These bars can be stainless steel, porcelain or polymer, depending on the aesthetic and wear conditions, but the key is a consistent layout that aligns with ISO and CSA guidelines for detectability by cane and foot.
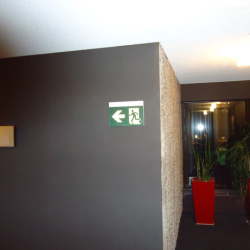
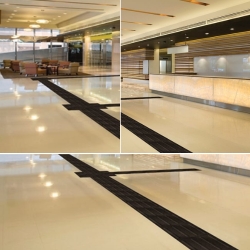
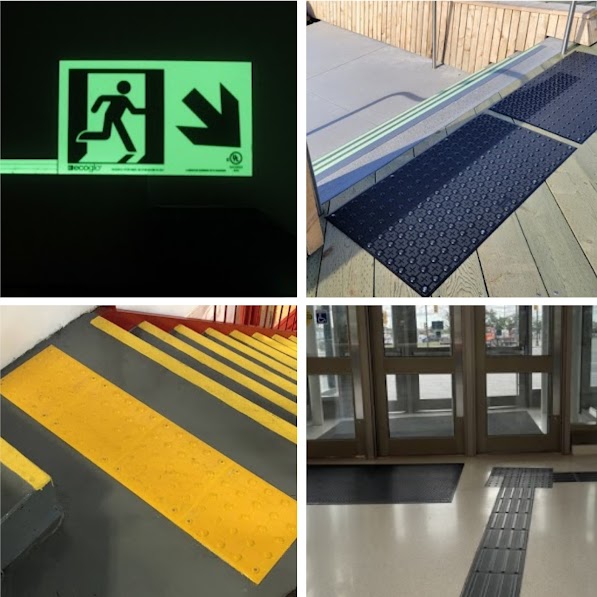
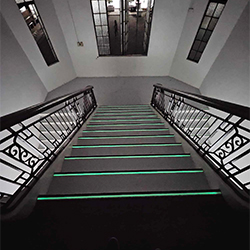
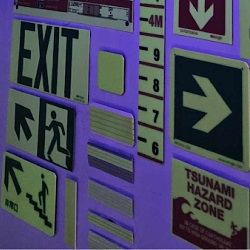
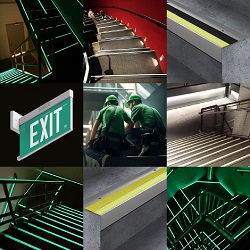
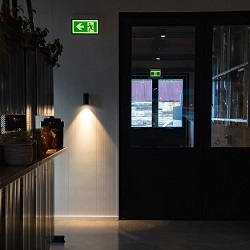
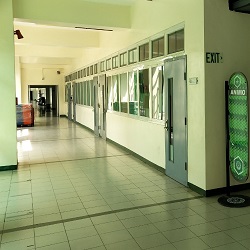
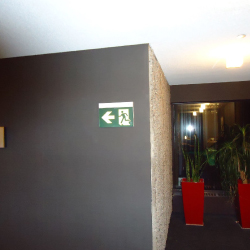
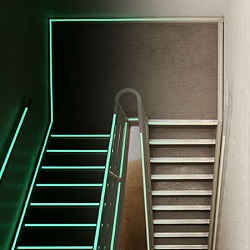
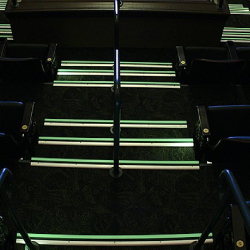
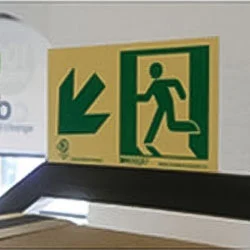
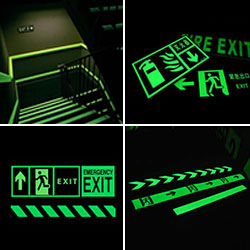
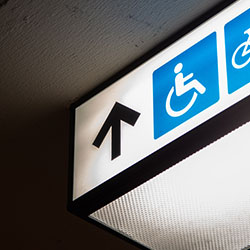
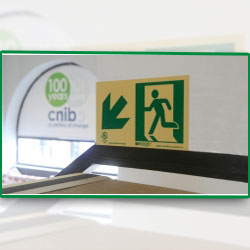
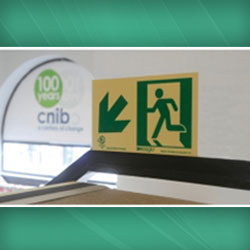
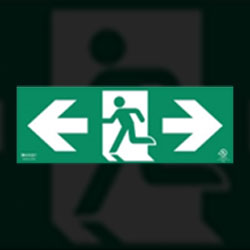
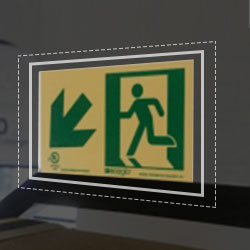
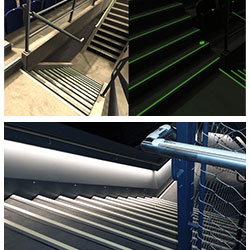
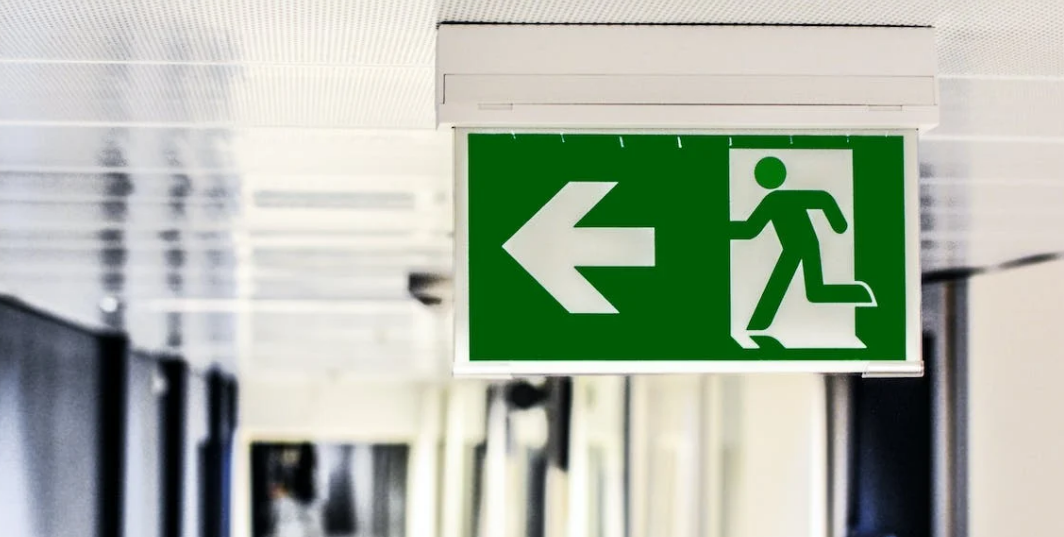
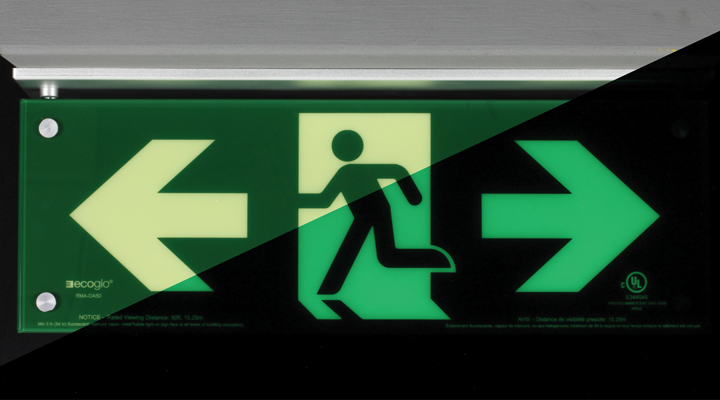
Your stairs are only as safe as the routes leading to and from them. That’s where photoluminescent exit systems come in.
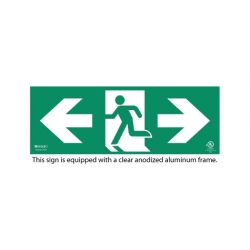
Ecoglo photoluminescent exit signs and pathmarking strips are designed to exceed worldwide code requirements while integrating with Canadian NBC needs for emergency egress visibility.
Paired with glowing stair nosings, these systems create a seamless visual and tactile escape route from any floor level to grade.
Choosing between all these options can feel overwhelming on a busy renovation schedule. That’s why Tactile Solution Canada offers a simplified process.
Contractors, building managers and owners use this approach to turn code complexity into a clear shopping list they can act on quickly, without guesswork.
Renovating your stairs is your moment to turn basic compliance into everyday confidence, for your tenants, your visitors, and anyone who trusts your building in the dark. Thoughtful tactile upgrades now will quietly protect people for decades. For guidance on the best tactile products for your project, contact Tactile Solution Canada now!
1. Do I really need tactile stair nosing if my stairs already have anti‑slip paint?
Anti‑slip coatings help, but codes and care for all expect much more: continuous, clearly defined edges, often with photoluminescent performance and specific luminance levels. Tactile stair nosing is engineered to meet those measurable safety and visibility benchmarks in a way that generic paint usually cannot.
2. When are tactile attention domes required on stairs?
Attention domes are typically required at the top of stair flights, at platform edges and at other points where a person could unknowingly walk into a hazard, especially for visually impaired users. They act as a tactile “stop and check” signal underfoot. Exact placement should follow AODA, CSA and local building code guidance.
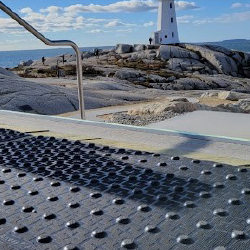
3. Can I use the same tactile products indoors and outdoors?
Some systems, like certain porcelain or stainless‑steel indicators and Ecoglo nosings, are designed to perform in both interior and exterior settings, but product choice must consider weather, salt, UV and traffic levels. Many lines from Tactile Solution Canada are specifically tested for Canadian climate extremes and high‑traffic public use.
4. How do I know if my upgraded stairs meet Canadian codes?
The safest route is to use products that are explicitly described as AODA, CSA, ISO, NBC and provincial‑code compliant, installed according to manufacturer instructions, and then coordinate with your local building official or accessibility consultant. Product data sheets and photometric test results from reputable suppliers form a strong compliance foundation.