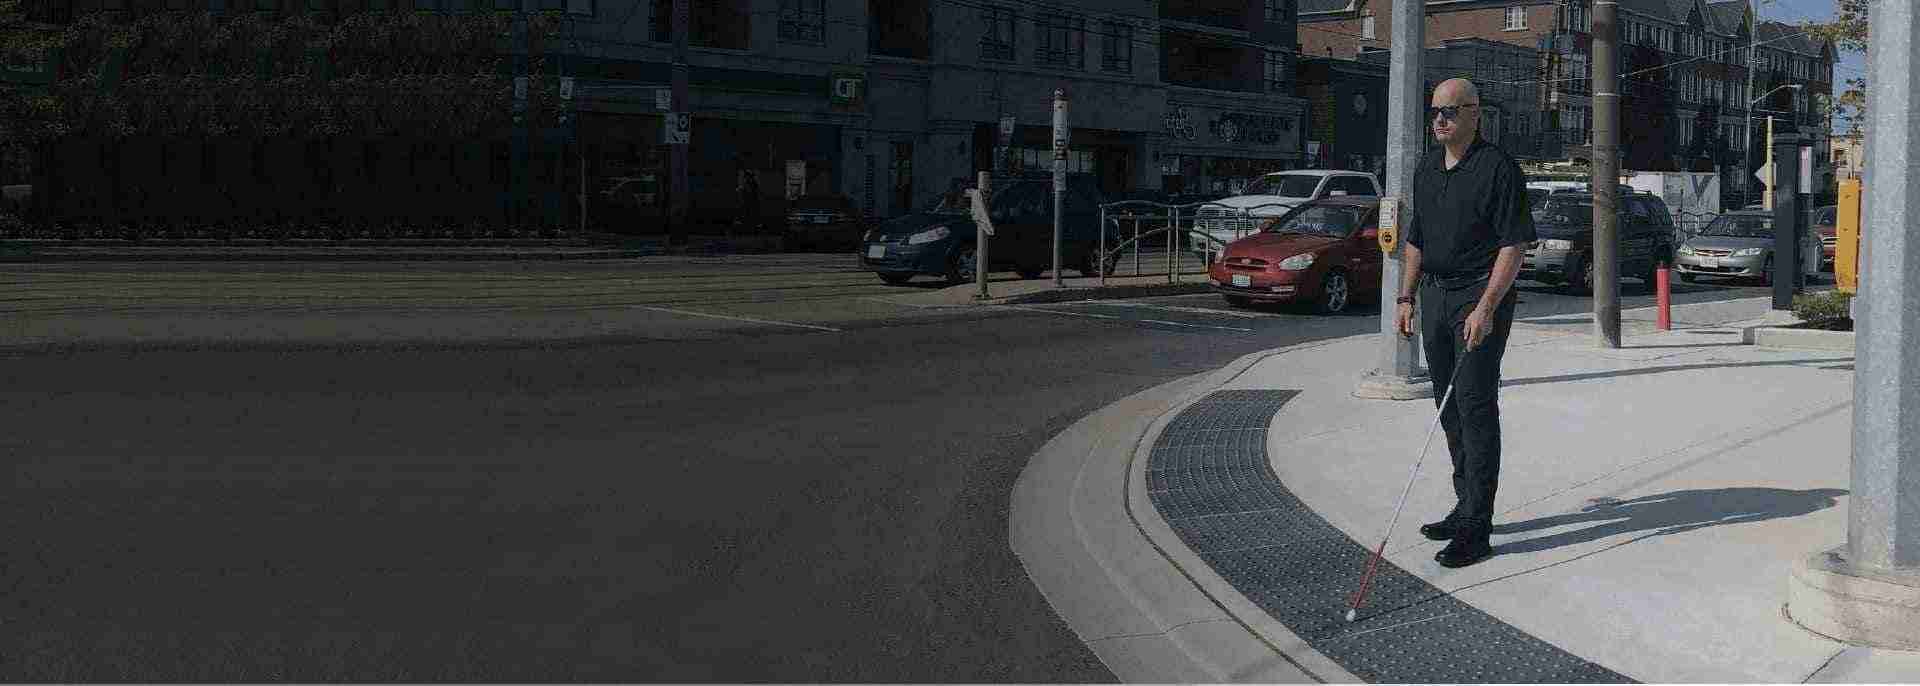
Ever noticed how a building feels calmer when the path just makes sense? When textured bars quietly draw you toward reception, a crisp stair edge line anchors your footing, and exit signs glow with a steady promise even in the dark - suddenly, high-traffic lobbies and long corridors become legible, humane, and safe for everyone. In Canada, that clarity is powered by compliant wayfinding tiles, photoluminescent stair nosings, and exit signage selected with intent, installed precisely, and maintained with care.
Accessibility is the art of making safety speak without words - underfoot, at every threshold, and along every exit.
Why indoor wayfinding matters?
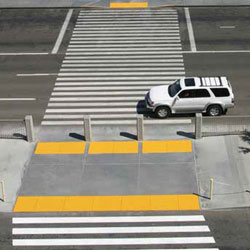
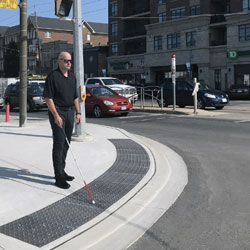
Indoor complexes - from office towers and campuses to malls and hospitals - can be disorienting and crowded, especially during peak hours and low-light events, making clear tactile guidance and luminous egress cues essential for people with low or no vision and helpful for everyone else.
Thoughtfully placed wayfinding bars and warning points reduce confusion, prevent missteps, and streamline circulation by connecting origins and destinations along intuitive routes that comply with AODA and CSA B651 expectations. In emergencies or power loss, photoluminescent stair nosings and exit signs maintain visible egress cues without electricity, supporting safe evacuation in line with Canadian code practices.
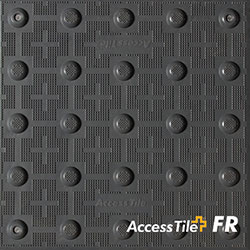
What are Different Tactile Indicators?
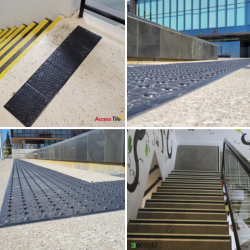
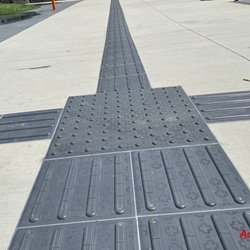
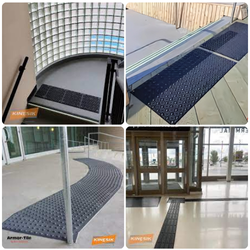
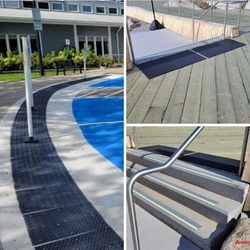
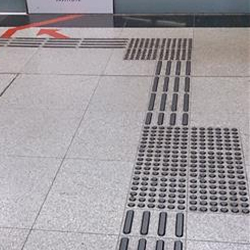
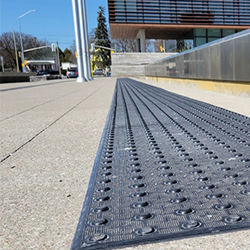
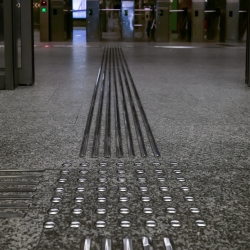
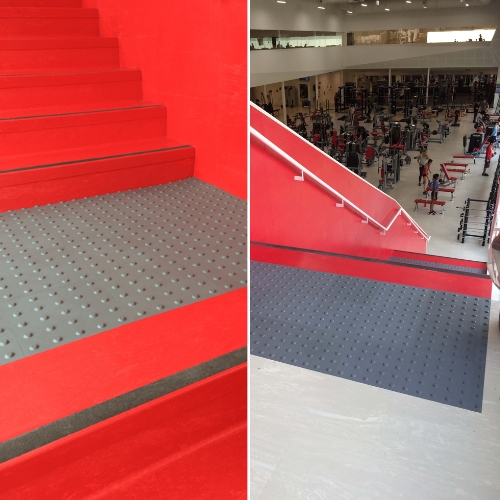
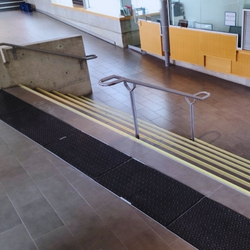
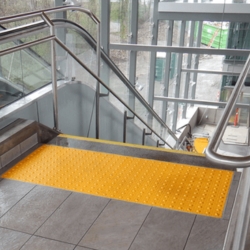
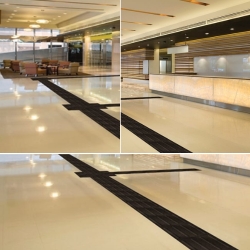
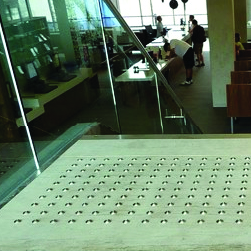
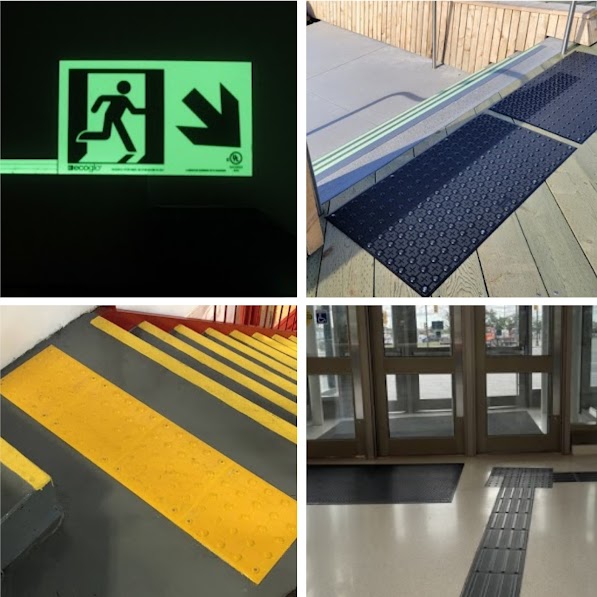
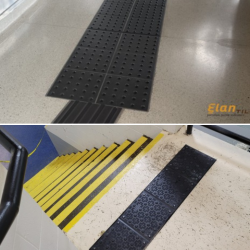
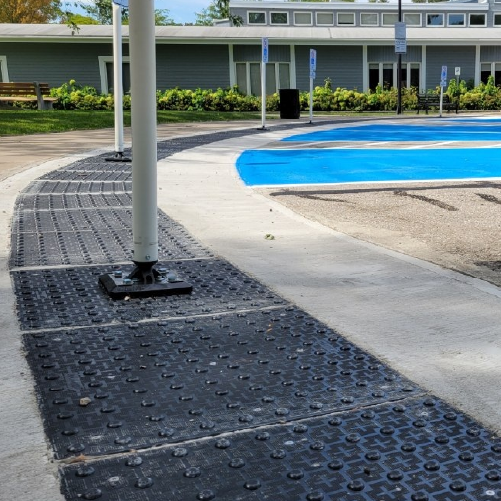
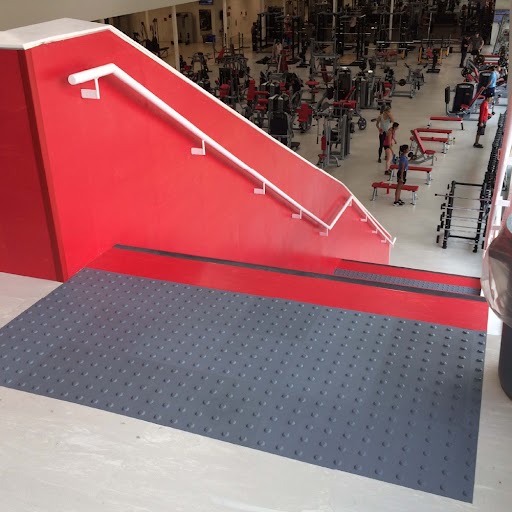
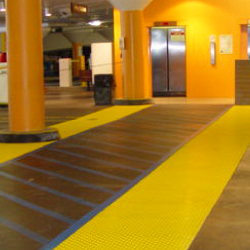
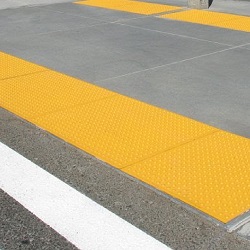
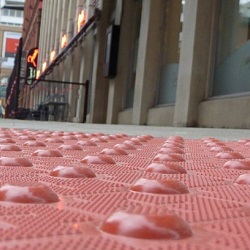
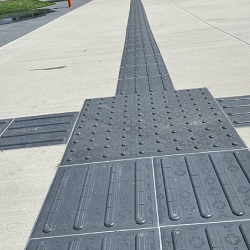
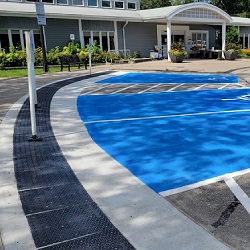
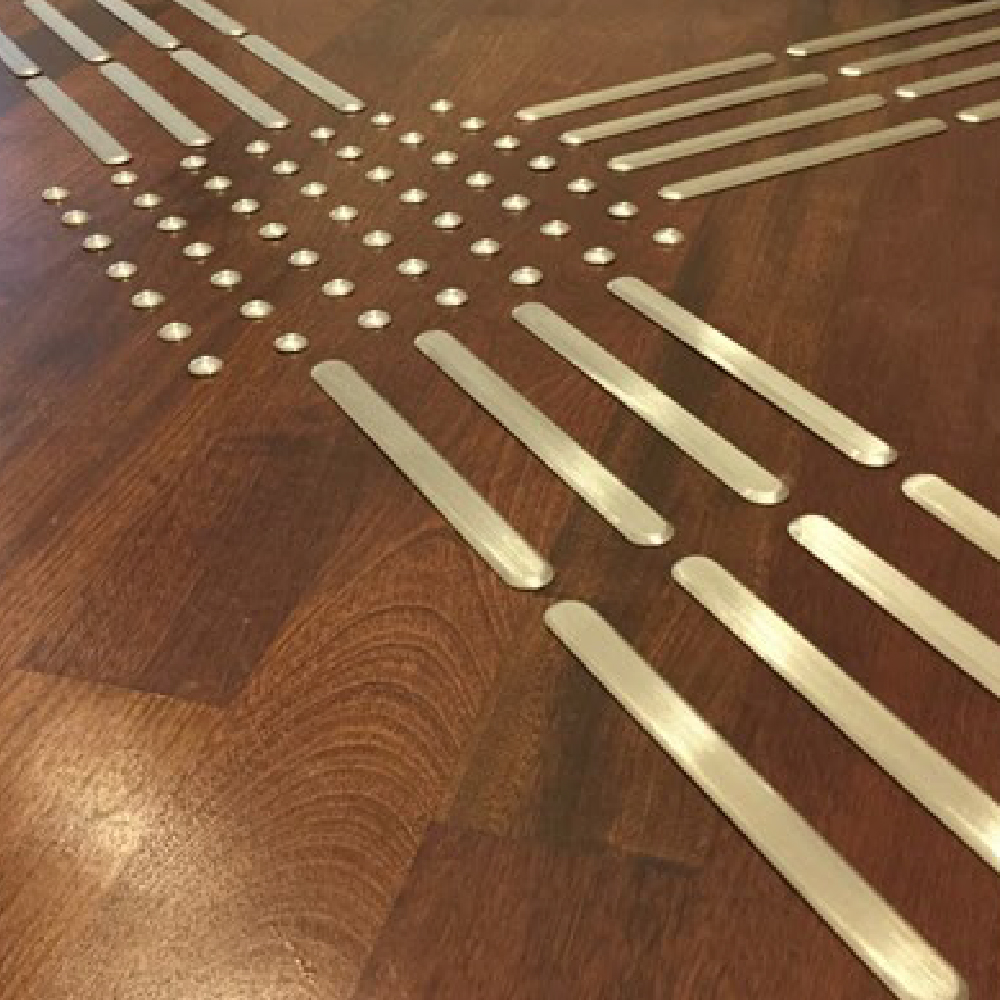
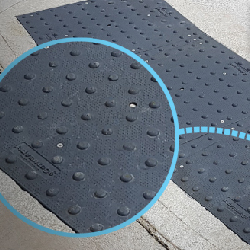
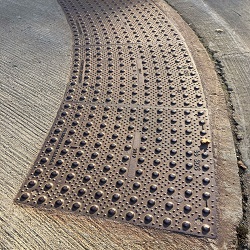
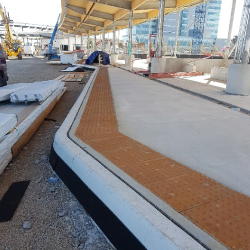
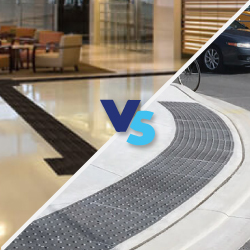
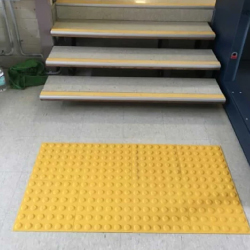
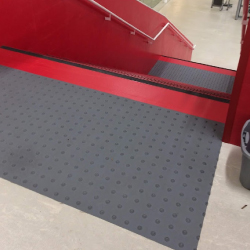
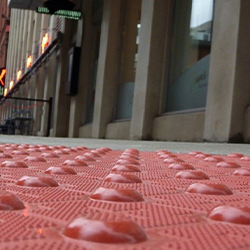
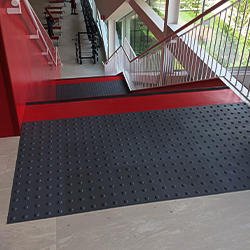
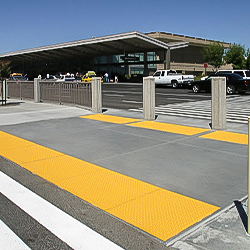
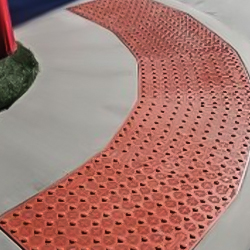
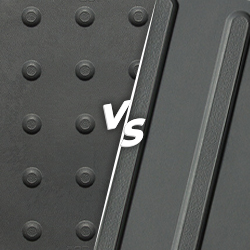
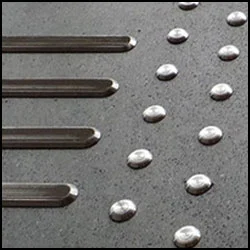
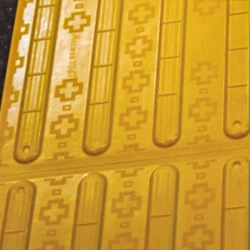
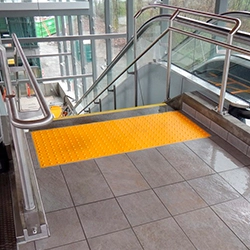
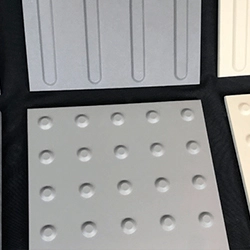
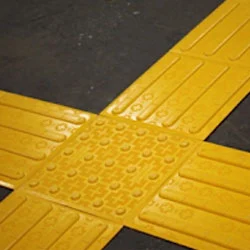
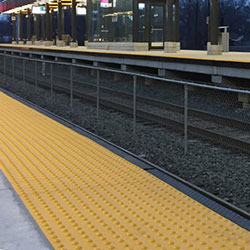
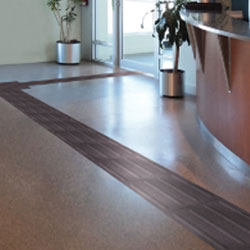
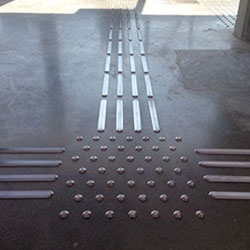
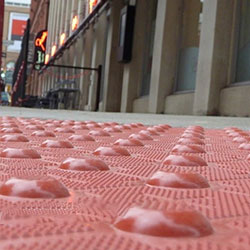
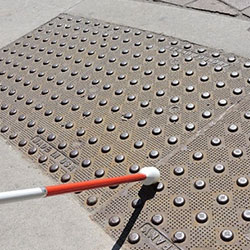
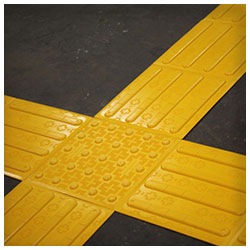
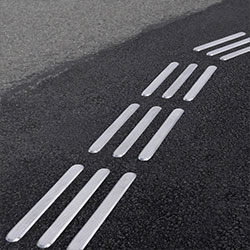
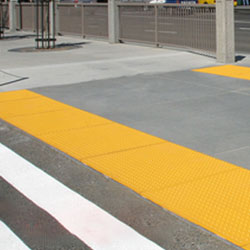
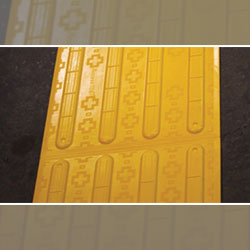
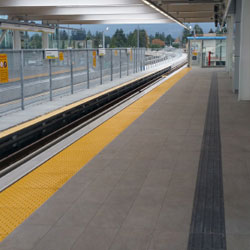
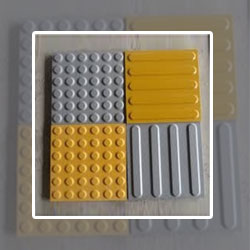
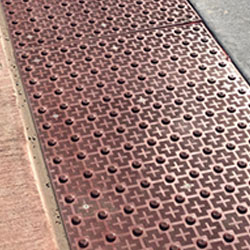
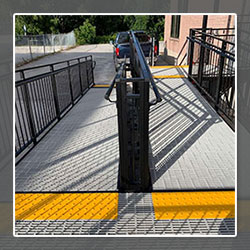
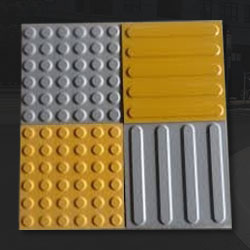
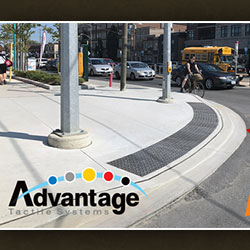
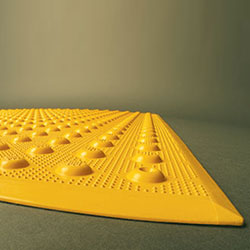
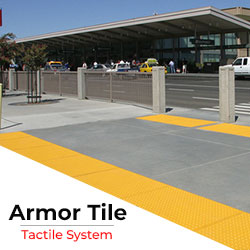
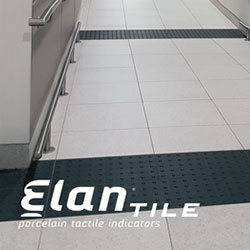
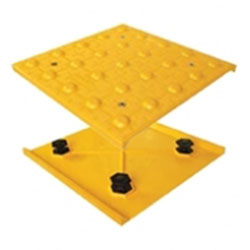
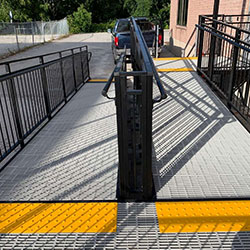
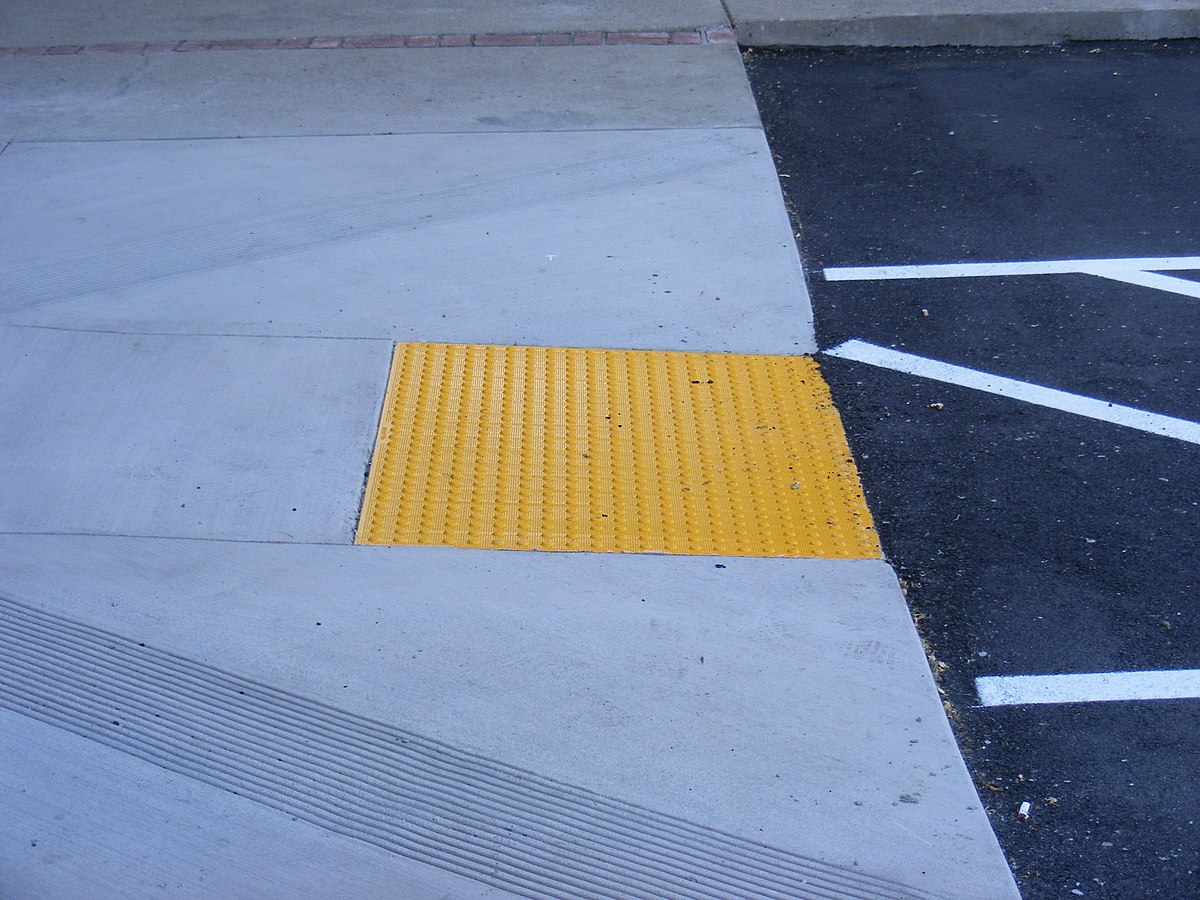
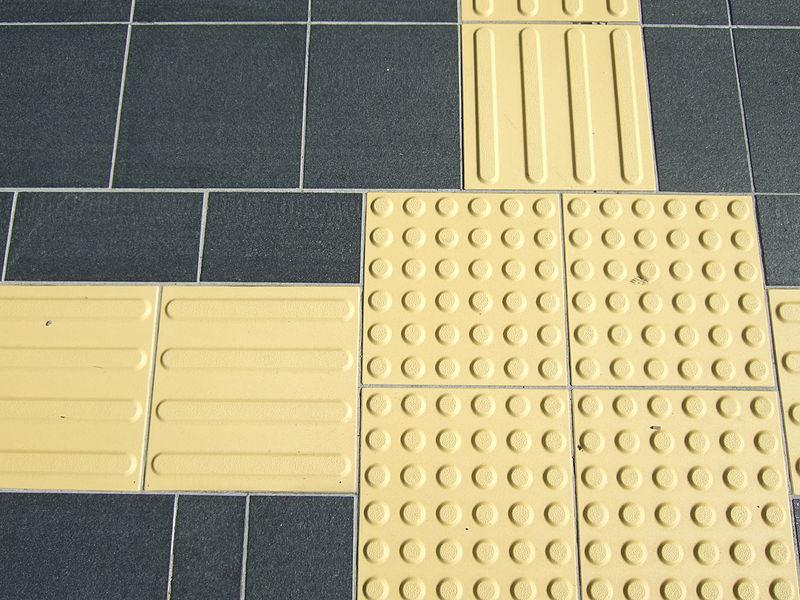
- Wayfinding (directional) tiles: Linear raised bars set along circulation routes, guiding users toward amenities like reception, elevators, and washrooms; they form coherent paths between decision points.
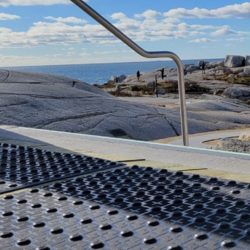
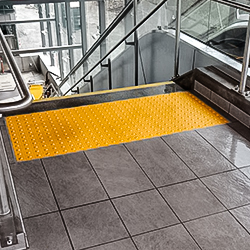
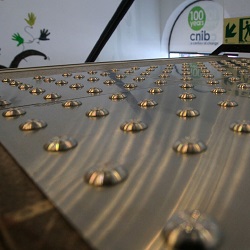
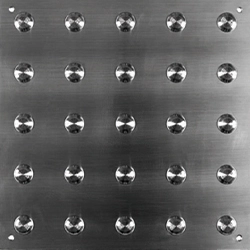
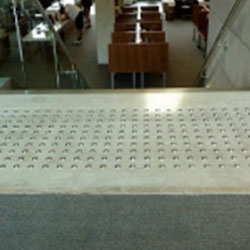
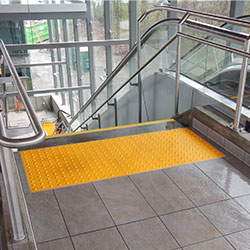
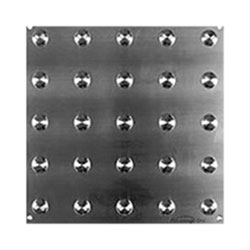
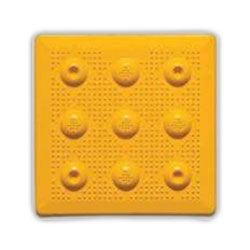
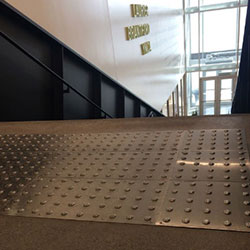
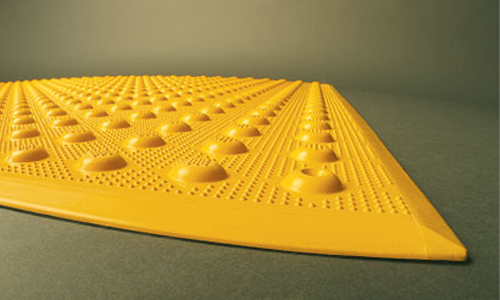
- Warning/attention points: Tactile cues at thresholds, hazards, or decision nodes—used at turns, level changes, or transitions to prompt caution and orientation.
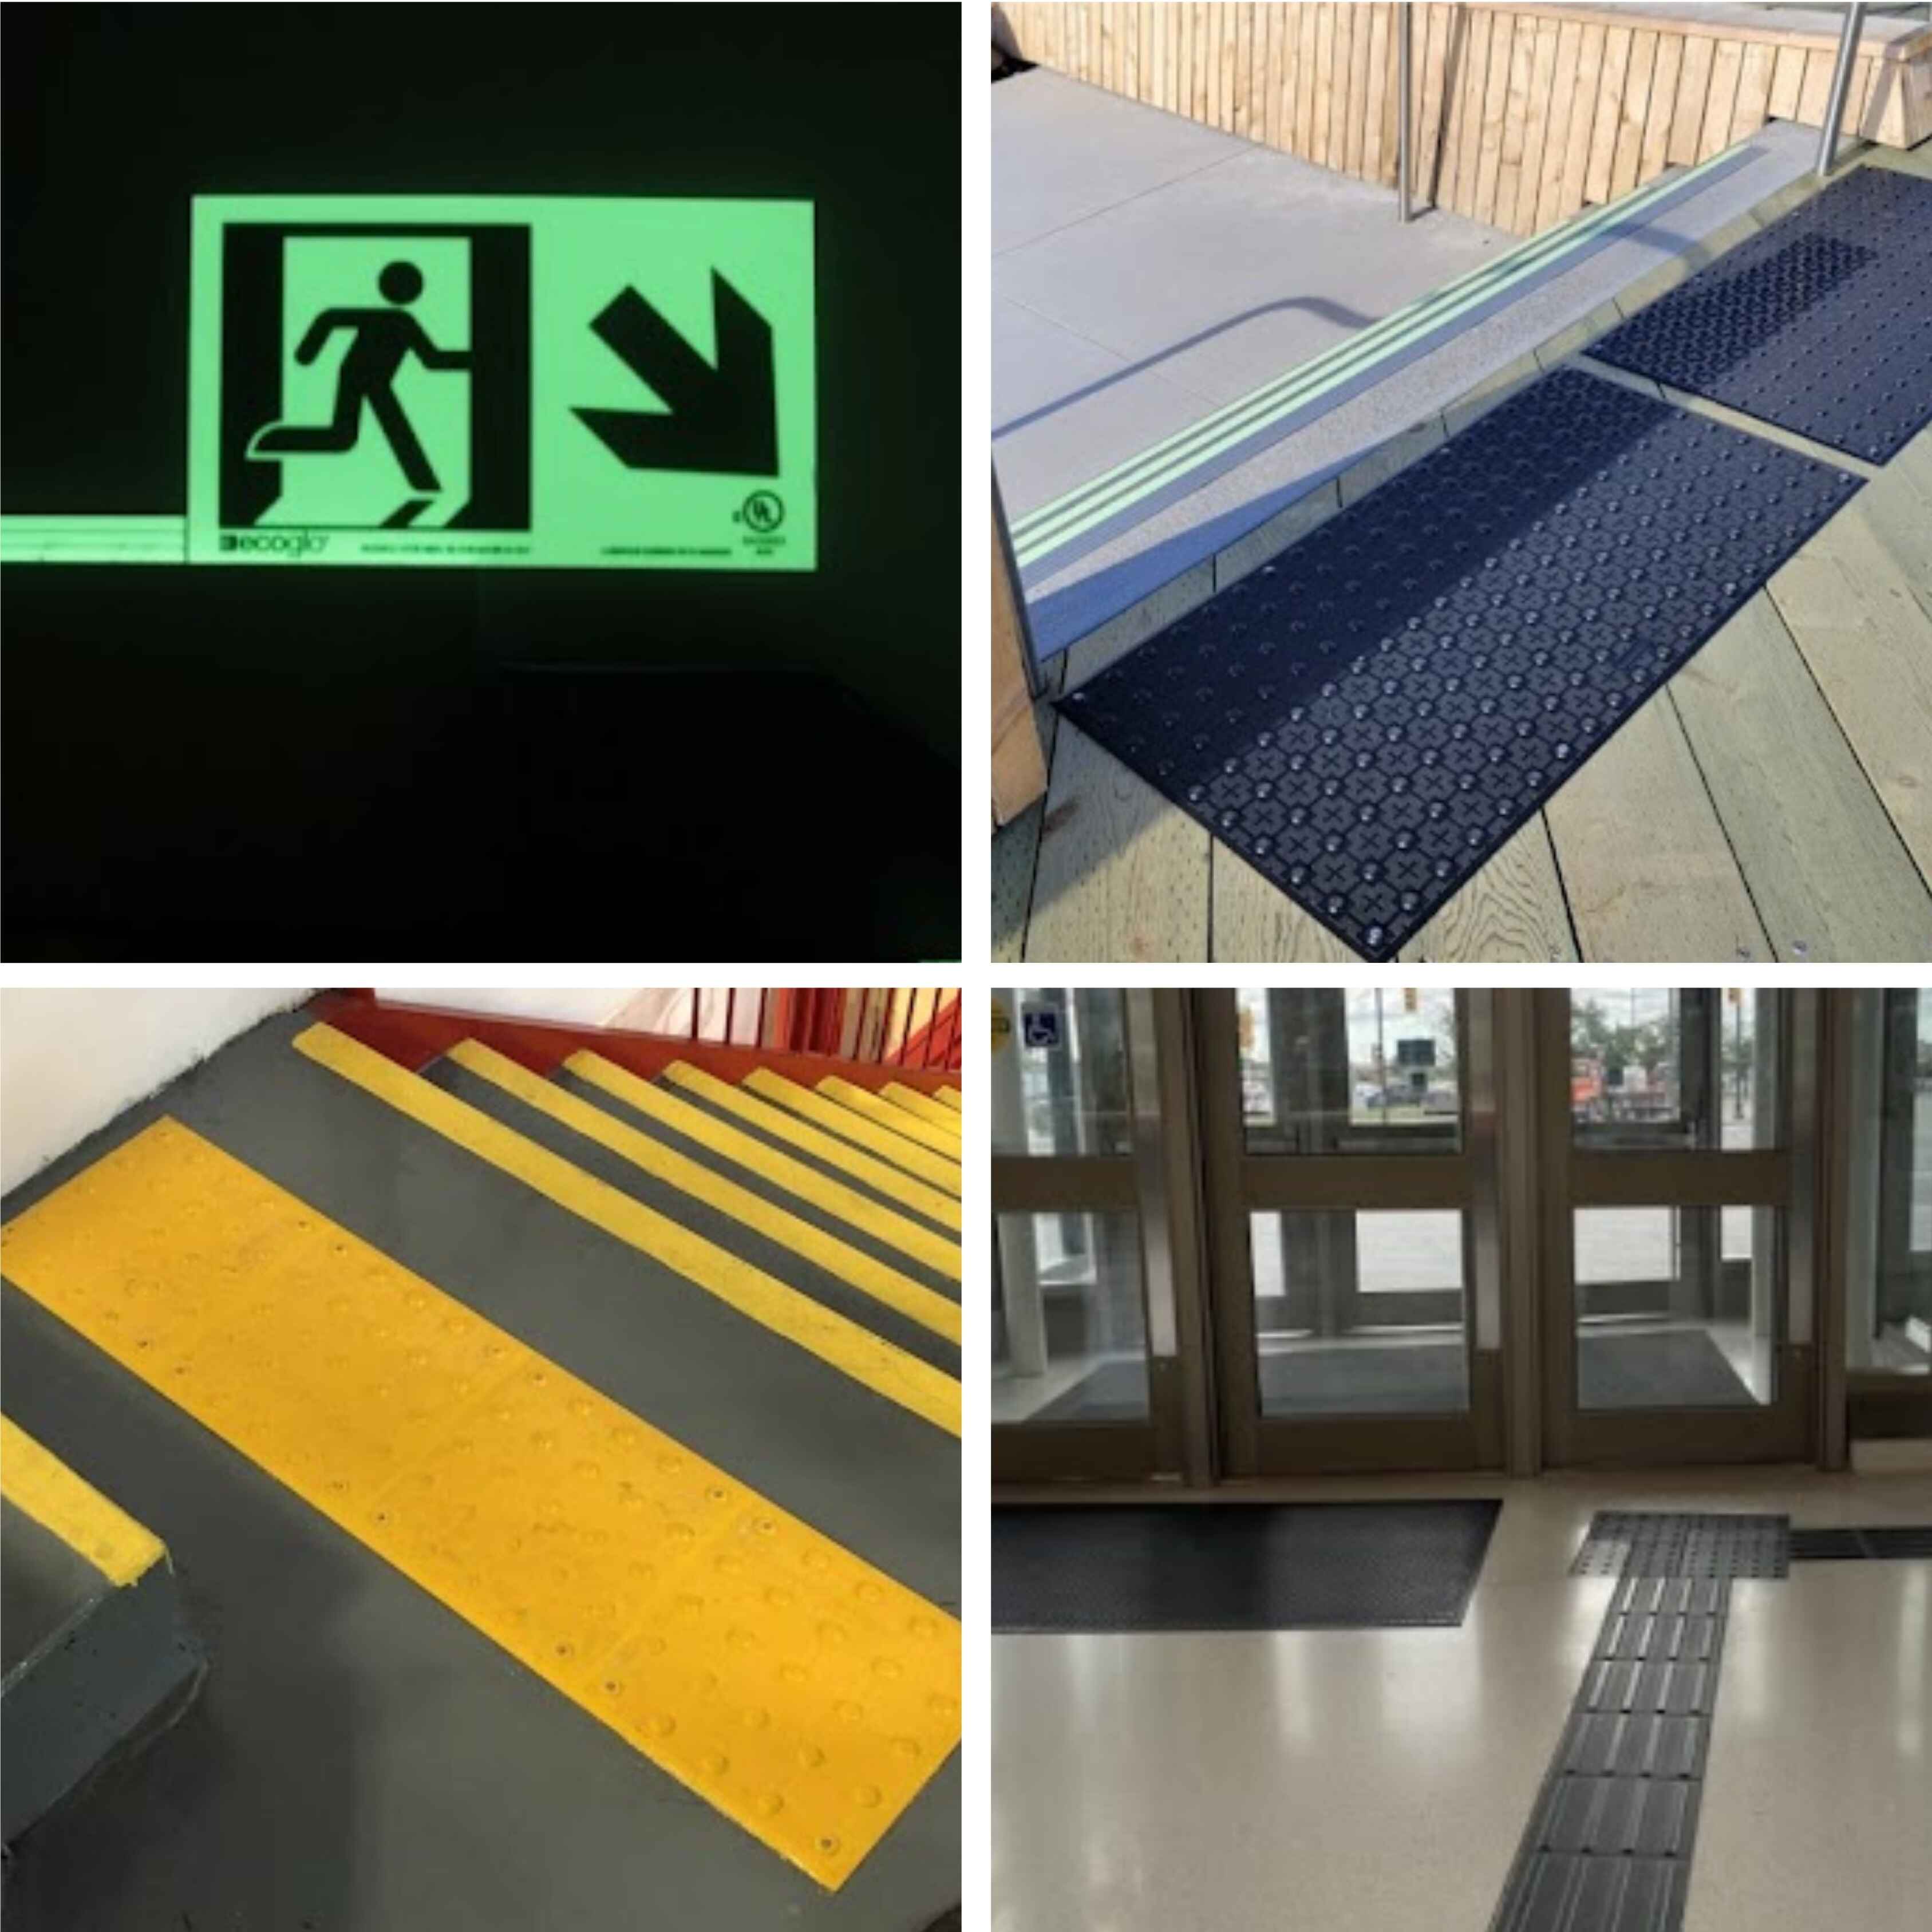
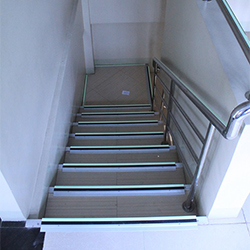
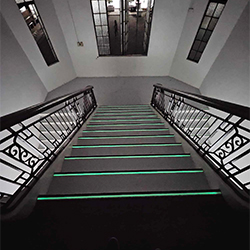
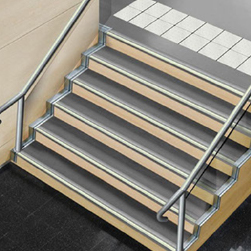
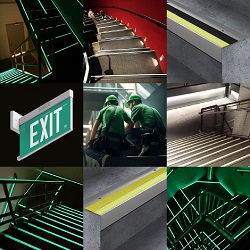
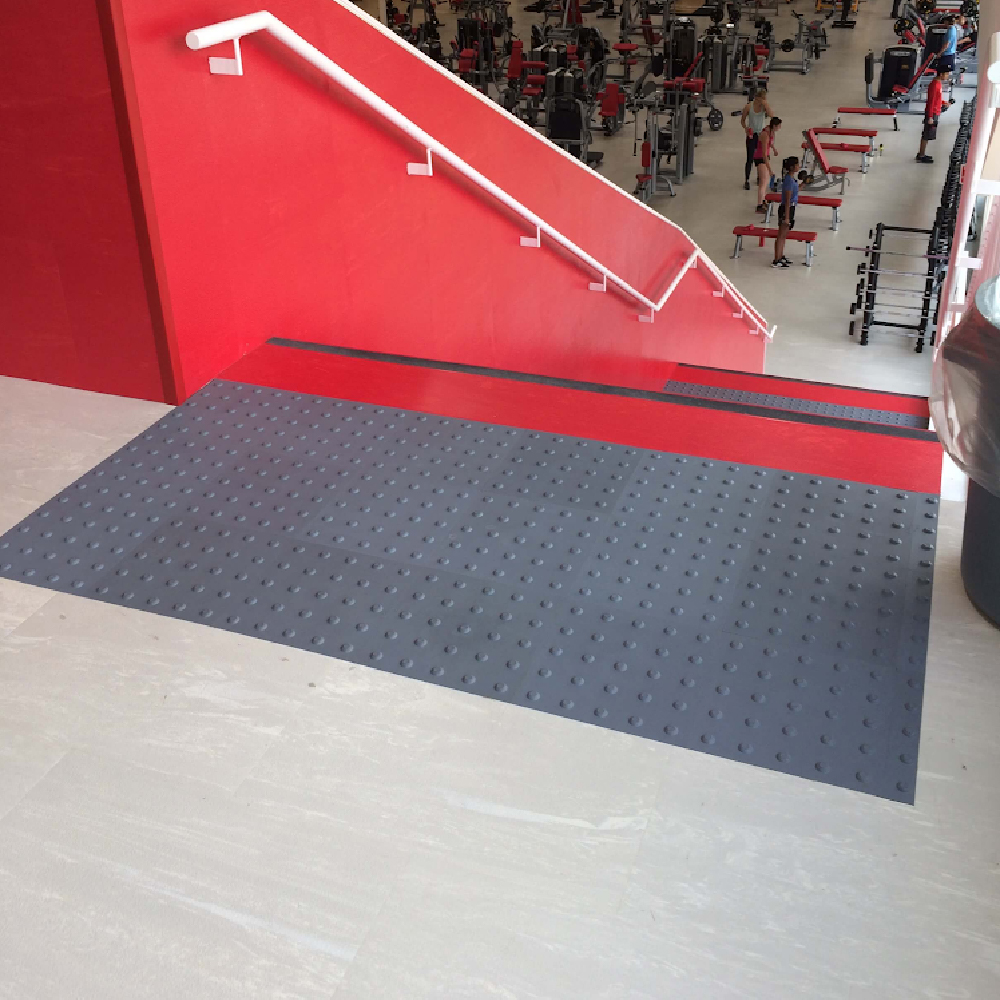
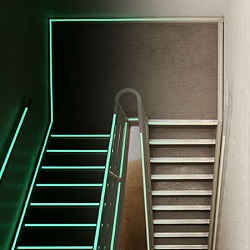
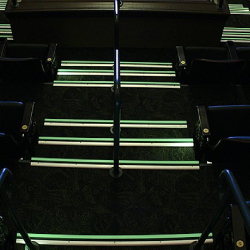
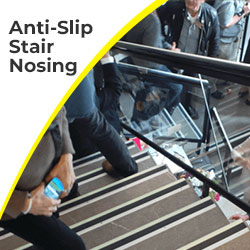
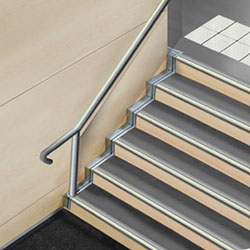
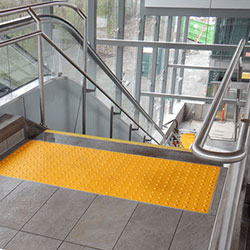
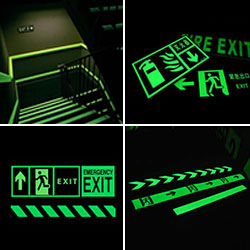
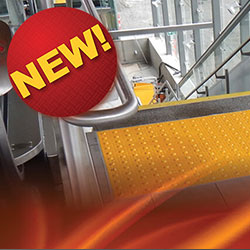
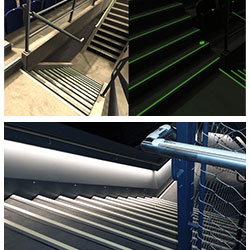
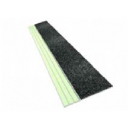
- Photoluminescent stair nosings: Non-photoluminescent and glow-in-the-dark edges along stair treads that delineate footing and support safe egress in no- or low-light conditions, aligning with Canadian life safety expectations.
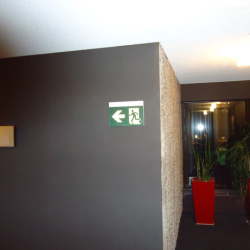
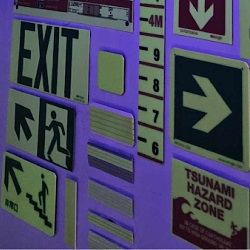
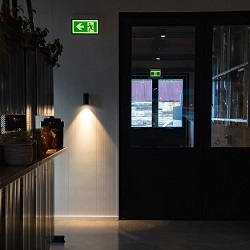
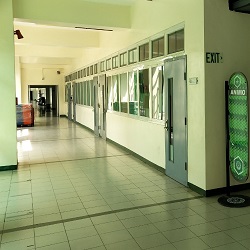
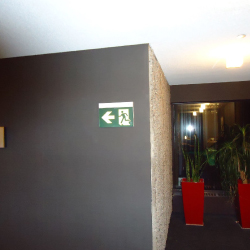
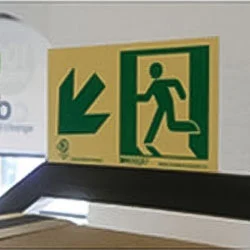
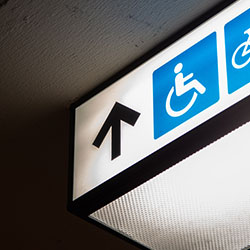
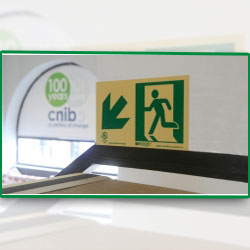
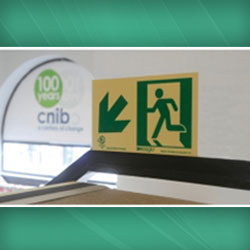
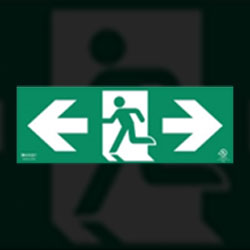
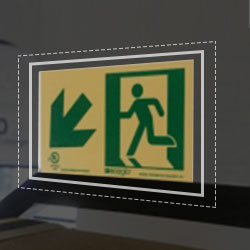
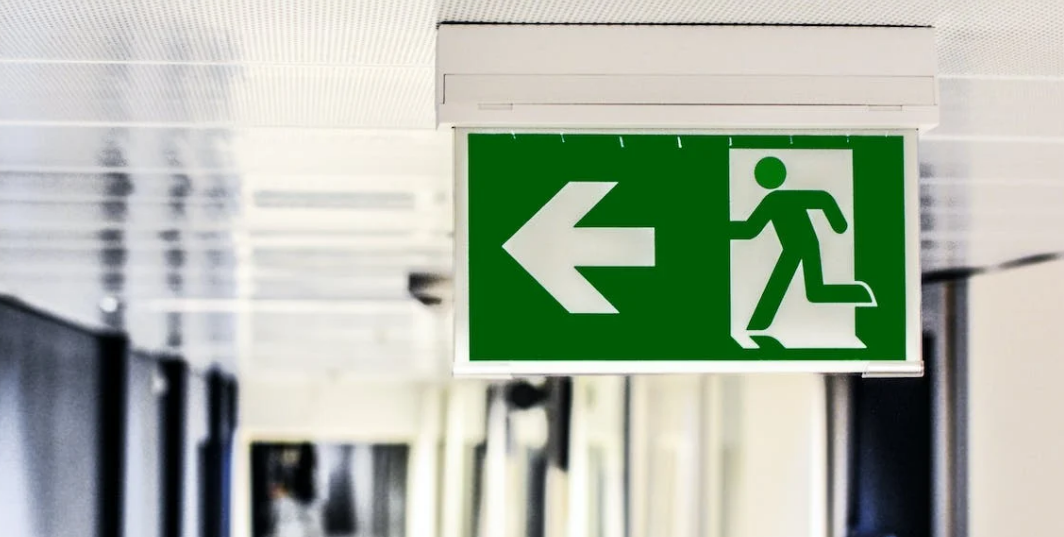
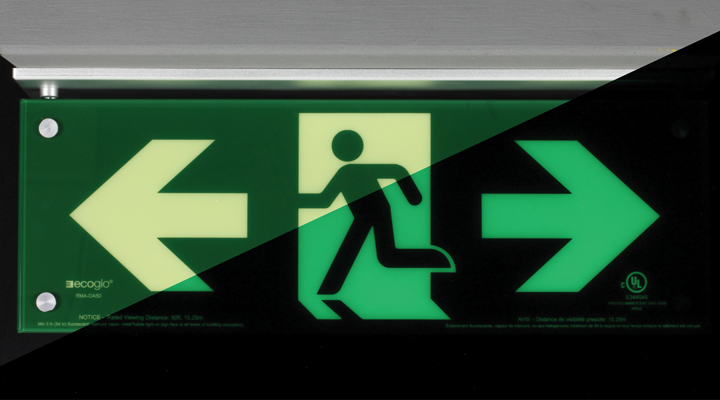
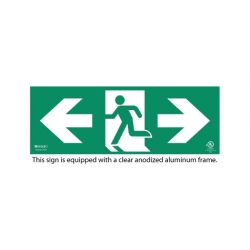
- Photoluminescent exit/directional signs: Photoluminescent signs that charge from ambient light and provide reliable route-finding during outages, installed at decision points and along egress paths.
How can I choose the right tactile system?
Start with the big picture: users, routes, risks, and codes. Indoors, routes must feel continuous and readable, with tactile and luminous cues working together as one language.
1. Map journeys and decision points
- Connect origins and destinations: entrance - reception - elevators - restrooms - meeting rooms; plot guidance bars along the clearest paths.
- Place warnings at risks: transitions, stair thresholds, and tight turns; use clear tactile cues to prompt a pause before proceeding.
- Align with egress: trace the actual exit path with PL signs and nosings so evacuation is intuitive and dependable in darkness.
2. Adhere to Canadian compliance codes and consistency
- Reference AODA and CSA B651 expectations for tactile clarity, placement consistency, and pathway logic within public interiors.
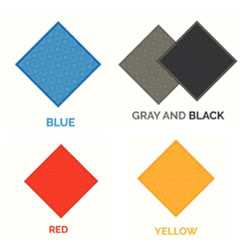
- Maintain consistent material, colour contrast, texture, and installation methodology across the entire route to reinforce legibility for cane and foot detection.
3. Fit to building type and traffic
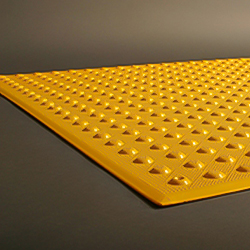
- High-traffic interiors need durable, slip-resistant surfaces and lower-glare finishes to preserve visibility and tactile legibility under wear.
- Retrofitting? Surface-applied wayfinding systems integrate cleanly with existing finishes, reducing downtime while maintaining code-aligned routes.
4. Use a structured selection tool to find the best tactile for your needs
Use a solution finder tool that asks where the system goes (indoors), what the substrate is (existing vs. fresh concrete), and whether the goal is hazard indication or safe-path guidance. This quickly narrows the field to compliant options and speeds up quoting.
How to install tactile for performance and longevity?
The finesse of installation determines how well cues read underfoot and in motion. Treat layout and bonding like life safety elements, not just finishes.
1. Prepare the substrate
- Clean, dry, level: Remove dust, oils, and coatings; ensure flatness for full adhesive contact and uniform tactile height.
- Dry-fit and mark: Align bars precisely with intended travel lines; centre warnings at thresholds and level changes for unambiguous detection.
2. Follow product specifications
- Adhesives and conditions: Apply manufacturer-specified adhesives under recommended environmental conditions; respect cure times before foot traffic.
- Edge flushness: Ensure installations sit flush within tolerance to avoid tripping hazards and preserve cane-readability along the entire path.
3. Integrate photoluminescent cues early
- Egress sightlines: Mount PL exit signs facing oncoming traffic along corridors and at intersections, typically at eye-level bands appropriate to the space.
- Continuous stair delineation: Run PL nosings along full tread edges for consistent visibility; prepare substrates meticulously and verify bond strength post-cure.
How to maintain tactile indicators perfectly?
Indoor spaces accumulate wear, dust, and finish changes; a light but disciplined maintenance cadence preserves luminance and tactile clarity.
1. Routine cleaning and inspections
- Cleaning: Monthly cleaning with approved agents restores PL luminance and keeps tactile textures debris-free for reliable detection.
- Inspections: Quarterly visual and bond integrity checks catch debonding, edge lift, or wear; replace degraded units promptly to sustain code alignment.
2. Performance assurance
- Luminance checks: Confirm PL components charge adequately from ambient lighting; adjust lighting or relocate signs if glow decays below acceptable thresholds.
- Evacuation drills: Conduct unannounced drills to validate real-world visibility, route logic, and stair safety, then fine-tune placements as needed.
Customer Story: The 5 p.m. stress test
At a bustling downtown community centre, the lobby once felt like a maze at dusk - crowds, reflections, and a tangle of corridors. The retrofit team began with a simple plan: map three daily journeys (entrance to reception, reception to elevators, elevators to washrooms), lay directional bars along those spines, and punctuate each hazard with clear tactile warnings at stairs and thresholds. Photoluminescent nosings traced the stair edges; exit signs aligned with actual egress turns. Within weeks, staff noticed fewer “How do I get to…” questions and smoother emergency drill flow - proof that a well-tuned tactile and luminous language quiets chaos, especially when the lights dip.
Design tactics for crowded interiors
High-traffic buildings suffer from noise, visual clutter, and tripping exposures; the best systems carve out a “tactile right-of-way” that people can feel and follow.
- Prioritize clear, uncluttered paths: Keep wayfinding tiles free of obstacles and away from glossy zones that mask texture and contrast.
- Use deliberate contrasts: Select colours and finishes that pop against surrounding floors without glare, preserving visibility for low vision users.
- Control tripping hazards: Verify flushness, seal edges where specified, and keep housekeeping aligned with the tactile route to prevent encroachments.
Photoluminescent stair nosing and exit signs: Indoor essentials
In darkness or smoke, non-electrical guidance can be the difference between confusion and calm evacuation. Photoluminescent systems charge from ambient light and then provide durable, legible cues across egress components.
Stair nosing best practices
- Full-length coverage: Run PL nosings continuously across each tread to define edges uniformly; avoid gaps that break rhythm underfoot.
- Substrate prep and cure: Degrease, level, and set within specified temperature/humidity windows; verify bond strength annually.
- Operational discipline: Monthly cleaning, quarterly deeper restoration, and biannual drills maintain readiness.
Exit/directional sign best practices
- Face traffic flow: Place PL exit arrows and markers in direct sightlines at corridor intersections and along the true egress path.
- Mounting heights: Maintain consistent, readable heights in the field of view; inspect quarterly and replace if luminance decays under acceptable levels.
Quick specification checklist
- Map user journeys, decision points, and hazards; align bars for guidance and tactile warnings at risks.
- Choose durable, slip-resistant, low-glare materials with strong contrast for indoor longevity.
- Plan PL egress: stair nosings across full tread edges; exit signs at intersections and along routes in direct sightlines.
- Prepare substrates meticulously; use specified adhesives and conditions; verify flushness and bond before opening to traffic.
- Set maintenance cadence: monthly cleaning, quarterly inspections, annual bond tests, and biannual drills.
FAQs
What’s the first step to planning indoor tactile wayfinding?
Map the core journeys - entrance to reception, reception to elevators, and to key amenities - then lay directional bars along those routes and place tactile warnings at hazards like stair thresholds or level changes. This ensures routes are intuitive, continuous, and compliant with AODA/CSA expectations.
How do photoluminescent stair nosings help during outages?
They store ambient light and glow in the dark, clearly defining tread edges so people can descend safely without electrical power, aligning with Canadian life safety practices for indoor facilities. Regular cleaning and inspections preserve luminance and bond integrity.
Where should exit and directional signs go indoors?
Install photoluminescent exit and directional signs facing oncoming traffic at corridor intersections and along the actual egress path, mounted consistently within eye-level bands and inspected regularly for luminance performance.
How can we streamline tactile product selection and stay code-aligned?
Use a guided solution finder tool that filters by indoor vs. outdoor, substrate condition, hazard vs. guidance need, and compliance requirements, then request a quote with those two scoping answers - existing surface or fresh concrete, and danger indication or safe path.
A Few Last Words
Indoor accessibility is built in layers - a tactile narrative underfoot and a luminous thread on the walls and stairs. When wayfinding tiles, stair nosings, and exit signs are chosen with Canadian codes in mind, installed with precision, and kept crisp through light-touch maintenance, buildings feel intuitive at noon rush and calm during lights-out alike. That’s how interiors invite independence and keep every journey on solid ground. For more guidance and product recommendation, contact Tactile Solution Canada now!